Download
1 / 2
20 likes | 37 Views
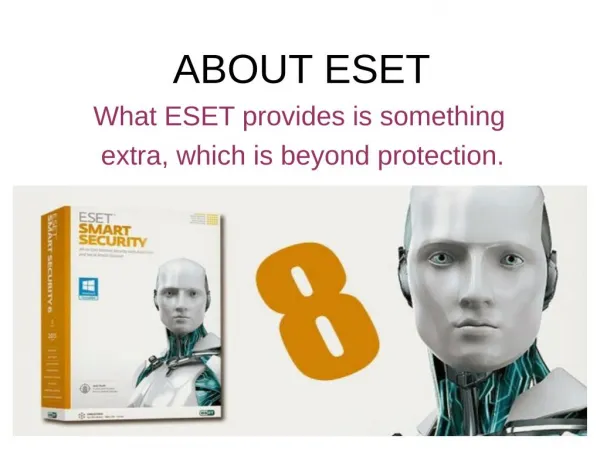
Quick Solution for Eset Smart Security Configuration, See the step-by-step instructions below for configuring your proxy server settings in ESET Smart Antivirus. Reach us for any antivirus related queries

E N D
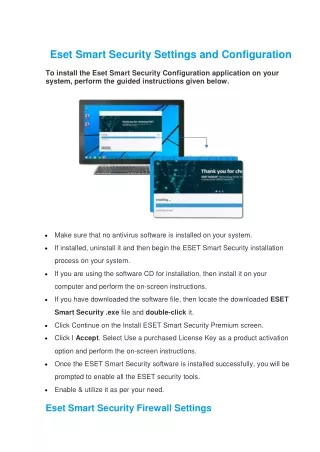
Eset Smart Security Settings and Configuration To install the Eset Smart Security Configuration application on your system, perform the guided instructions given below. Make sure that no antivirus software is installed on your system. If installed, uninstall it and then begin the ESET Smart Security installation process on your system. If you are using the software CD for installation, then install it on your computer and perform the on-screen instructions. If you have downloaded the software file, then locate the downloaded ESET Smart Security .exe file and double-click it. Click Continue on the Install ESET Smart Security Premium screen. Click I Accept. Select Use a purchased License Key as a product activation option and perform the on-screen instructions. Once the ESET Smart Security software is installed successfully, you will be prompted to enable all the ESET security tools. Enable & utilize it as per your need. Eset Smart Security Firewall Settings
To set the Firewall settings using the ESET Smart Security application, follow the guided instructions given below. Double-click on the ESET Smart Security application icon to launch it. On your system keyboard, press the F5 button. Now the Advanced Setup window will appear on the screen. Choose the Personal Firewall option from the Network drop-down menu. Similarly, select the Automatic mode with exceptions option from the Filtering mode drop-down menu. Click Personal Firewall --> Rules & Zones --> Zone & rule editor --> Setup. Tap the New button in the Zone & rule setup dialog box. Set the rules as per your need in the General, Local, and Remote tabs. Finally, click the OK button in the New Rule dialog box to save the firewall settings. Read More