Download
1 / 7
70 likes | 77 Views
Epson Wf m5299 Setup - Learn to Configure Epson Wf m5299 printer, Driver download for windows & Mac, Manual Download, Wireless Setup, Airprint Setup & Troubleshooting Steps

E N D
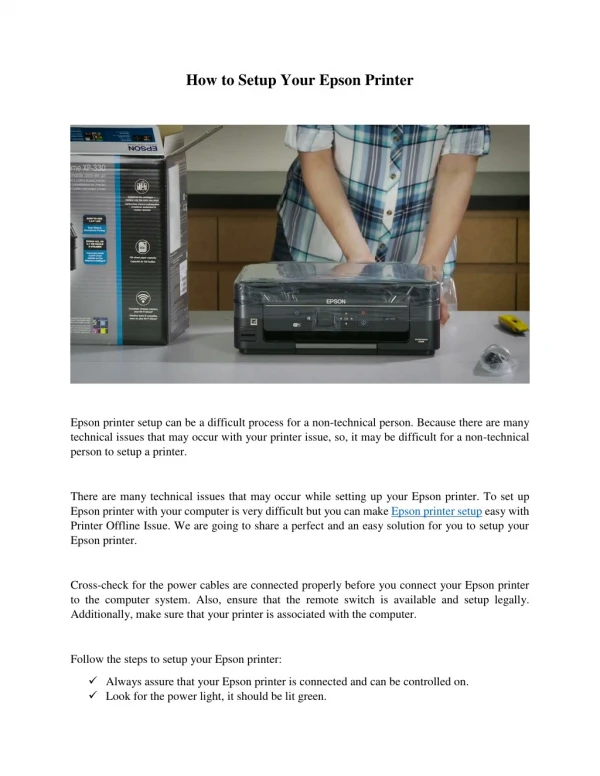
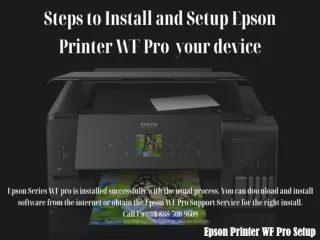
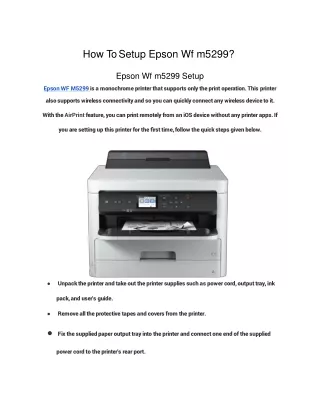
How To Setup Epson Wfm5299? Epson Wf m5299Setup Epson WF M5299 is a monochrome printer that supports only the print operation. Thisprinter also supports wireless connectivity and so you can quickly connect any wireless device to it. With the AirPrint feature, you can print remotely from an iOS device without any printer apps. If you are setting up this printer for the first time, follow the quick steps givenbelow. • Unpack the printer and take out the printer supplies such as power cord, output tray,ink • pack, and user's guide. • Remove all the protective tapes and covers from theprinter. • Fix the supplied paper output tray into the printer and connect one end of the supplied power cord to the printer's rearport.
Next, connect the other end of the power cord to an electrical outlet and turn on theprinter • by pressing the Powerbutton. • Choose your language, date, and time on the LCD panel using the navigationkeys. • Unlock the ink pack tray and open it to remove the packingmaterial. • Pull out the paper tray entirely from the printer and remove the protective parts fromit. • Gently shake the ink pack ten times and remove it from thepackage. • Fix the ink pack into the tray and move the handle to its originalposition. • Load the ink pack tray into the printer and close the ink pack traycover. • Slide it to lock and select OK on the LCD panel to start inkcharging. • Next, pull the paper cassette entirely out from the printer and slide the paper width guides outwards. • Fan a stack of legal plain paper and load it into the papercassette. • Adjust the loaded paper stack with the paper width guides and refix the paper cassette into the printer. • Choose the correct paper settings on the LCD to complete the basic printersetup. • Finally, install the printer software on your computer using the suppliedCD-ROM. • If the CD-ROM isn't supported on your computer, download the printer driver and run the installer to begin the driver installation. • After installing the printer driver, verify the printer functionality. • EPSON WF M5299 DRIVER DOWNLOAD -DESC • You can download the Epson WF M5299 driver by clicking the Driver Download button onthis • page. However, you can also get it directly from the official Epson site. Make sure toidentify
your OS and its version because you will be prompted to select these to download theprinter • driver to your computer. • EPSON WF M5299 DRIVER WINDOWS -STEPS • Before starting, remove any previously installed Epson printer driver on yourWindows • computer. • Visit the official Epson site and enter your printer's model number in the searchfield. • Click on your printer in the search result and expand the Downloadstab. • Choose your Windows OS and its version from the Operating System drop-downmenu. • Select the required printer driver from the displayed list and click the Downloadbutton. • Wait until the download gets completed. • You can access the downloaded file from your computer's Downloadsfolder. • EPSON WF M5299 DRIVER MAC -STEPS • On your Mac, launch the default browser after closing all the runningprograms. • Visit the official Epson site and enter your printer's model number in the searchfield. • Click on your printer model in the search field and expand the Downloadstab. • Choose your macOS version from the Operating System drop-down menu and clickthe • Download button next to the required printerdriver. • After completing the download, double-click the installer file to create a diskimage. • Finally, double-click the disk image to run the driverinstallation.
EPSON WF M5299 MANUAL DOWNLOAD - STEPS • You can download the printer manual by clicking the Manual Download button onthis • page. However, you can also get it directly from the official Epsonsite. • To download the manual from the official site, enter your printer's model number in the search field and hit the Enter key. • Click on your printer's model and expand the Manuals and Warrantytab. • Select the PDF link next to the User'sGuide. • The manual will now open as a PDF in yourbrowser. • Click the Download icon to download and save the manual to yourcomputer. EPSON WF M5299 WIRELESS SETUP -STEPS Using the printer's control panel:
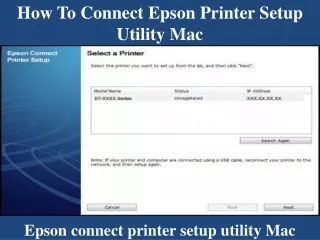
Before you begin, turn on your router, printer, andcomputer. • Make sure to place the printer close to your router to avoid wireless connection issues during thesetup. • Identify the wireless settings such as SSID and network key from your router'slabel. • Navigate to the printer's control panel and press the Homebutton. • Select the Wi-Fi option and choose Router using the navigationkeys. • Press the OK button and select Start Setup. • Choose the Wi-Fi Setup Wizard option using the navigation keys and press the OKbutton. • Once the printer completes searching the nearby networks, choose your SSID from the displayed list. If your network is not listed, enter its SSID manually after selecting the Enter Manuallyoption. • Enter the network key and press the OKbutton. • After entering the wireless settings, confirm them and select the Start Setup option to save them.
To print the network settings report, select the Print Check Reportoption. • Return to the main menu by pressing the Homebutton. • Now, connect your computer to the same wireless network and run the driverinstallation. • Agree to the EULA and choose the Wireless connection option as your connectiontype. • Establish the connection between your printer and the computer by following the on-screen prompts. • To verify the wireless connection, print a test page wirelessly from your computer to the printer. • EPSON WF M5299 AIRPRINT -STEPS • To print remotely from your iOS device on the Epson WF M5299 printer without anyprinter • software/app, use the AirPrintfeature. • Before printing, ensure that your printer and the device are connected to the same wireless network.
Verify that the Paper Setup Auto Display option is enabled to select the paper sizeand • type while loading the paper into the tray. • On your iPhone, open the document or webpage you wish to print and tap the Action icon at the bottom-left corner of the page. • Select the Print option and tap the Select Printer button to choose your printer's name from the displayed list. • Choose the required print settings and tap the Print button to print your document from your iPhone to the printer. • EPSON WF M5299 TROUBLESHOOTING -DESC • When your printer displays an error message, identify what it indicates and execute theright • troubleshooting steps to fix it. The most common printer errors are related to printer connection, paper loading, paper jams, paper feeding, print quality, etc. If you are stuck while troubleshooting your printer issues,click the Call button on this page to contact our technical support team for remote assistance.