Download

1 / 4
40 likes | 58 Views
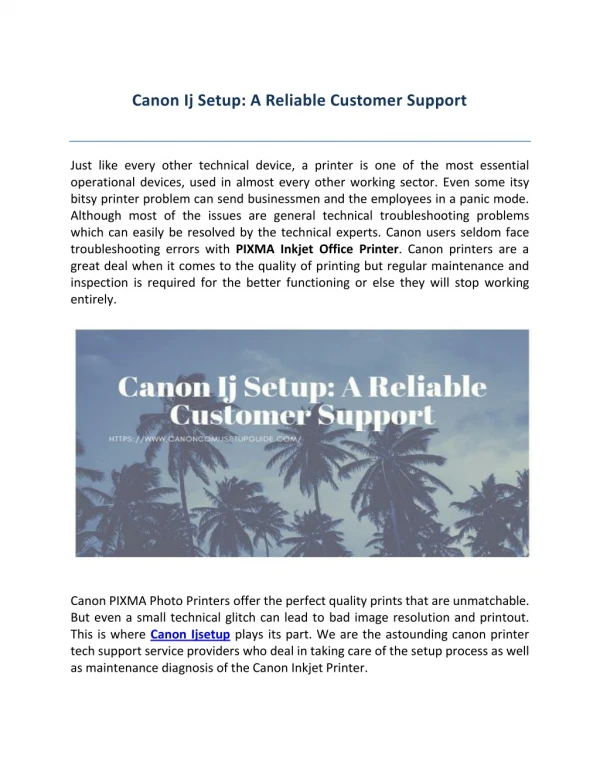
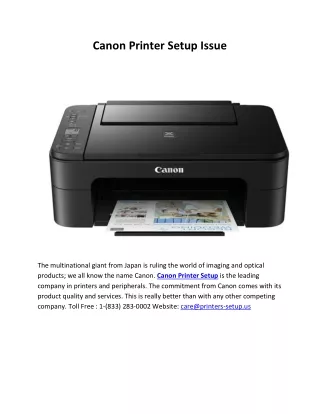
Canon printers are the finest for printing pictures when compared to other brands. They create superior color sheets, which makes printing images with them more affordable. Because the least expensive, entry-level option produces lovely images, the quality of their photo printing.

E N D
Home Blog Canon® Ij.start.canon – Download & Install Canon Printer Wirelessly Canon printer setup Go to ij.start.canon to get the full driver, software & user manual package. And if your requirement is to set up a Canon Printer in different ways, this is the right place. Here, you will need to go through the steps that explain the complete process. How to Setup Wireless Connection Using WPS? The Wi-Fi Protected Setup is a method that allows you to connect to a secure wireless network. You do not need to know your password when using the WPS method. 1. Start by clicking on the Network option. 2. Then, tap on the Wi-Fi button. 3. Next, click on the Settings option. 4. Click the Wi-Fi setup option. 5. Now, you need to click the WPS button. 6. After that, you are required to tap the OK button. 7. Then, press and hold the WPS option on the wireless router. 8. If you are unable to spot the WPS button, get the wireless router manual from ij.start.canon 9. Next, click the OK button on the printer within 2 minutes. 10. If a “Troubleshooting” screen appears, tap it. 11. And if the below screen appears, click the OK option. 12. Now, on the left side of your screen, you need to tap the “Home” icon. 13. After the connection is complete, it will display the screen like below.
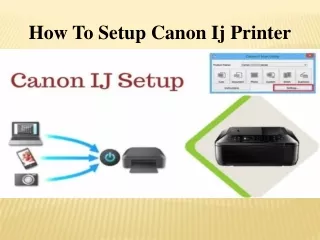
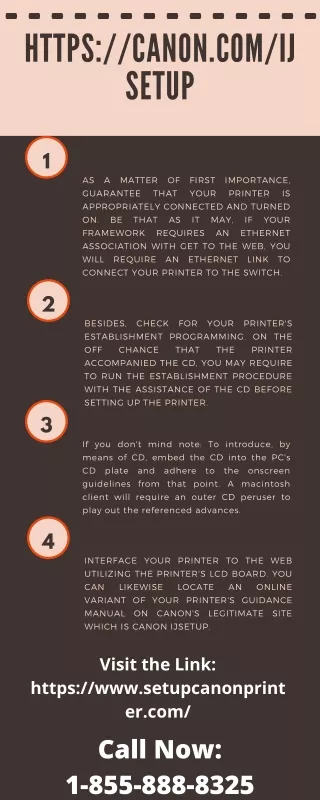
How to Setup a Canon Printer Without the Installation Disk? If you do not acquire an installation CD, there is nothing to worry about. You will find two different methods to use for your Canon printer setup on Windows or Mac. First, download and install the required printer driver and software from ij.start.canon Method 1: Use USB on Windows 1. Start with plugging your printer into a power switch. 2. Then, you need to turn on your Canon printer. 3. Next, connect the printer to your PC via a USB cable. 4. Click the Start button on the screen of your PC. 5. Now, you are required to click the Settings option. 6. After that, search for the Printers & Scanners section. 7. Once the option is launched, click the icon. 8. Once your printer name is displayed on the screen, tap on it. 9. Follow the prompts on your screen and follow them. 10. Complete the Canon printer setup using the USB. Method 2: Use USB on Mac 1. First, you have to make sure that your printer is compatible with Mac. 2. Before getting into the process, find the printer model name and number. 3. Check if your printer is compatible with a Mac device. 4. Then, ensure that the printer is kept near the computer during the connection. 5. Also, keep a USB adapter when required. 6. Now, you need to plug the USB cable into the computer. 7. After that, press the power button and turn on your printer. 8. When prompted, you need to click on the Install button. 9. Follow the instructions prompted on your screen. 10. Complete the USB cable connection process of your Canon printer. How to Setup Canon Printer Without the Installation Disk via Ij.start.canon? Here, you will need a strong internet connection to download the software for the installation procedure. Here is what you need to do. 1. In the first step, click ij.start.canon to visit the official website. 2. Then, go to the search bar and enter the model number and name. 3. Next, verify if your printer and Windows/ Mac device are compatible. 4. Once the printer list appears, click the download link. 5. Download the software and driver from the following page. 6. After completing the download, unzip and extract the setup file. 7. Now, you need to click the setup for installation and wait for a few minutes. 8. The instructions on your screen will display; you must follow them. 9. Once the software download is complete, set up your software. 10. You are now ready to use your Canon printer properly.
How to Setup a Canon Printer on the Computer? In order to set up a Canon Printer to the Computer, you need to complete the two steps mentioned below. For more wireless connection information, go to ij.start.canon and find what you require. Step 1: Install Canon Printer 1. First, plug in the power supply of your Canon printer. 2. Next, on the control panel of your printer, use the arrows. 3. And you need to select the Menu option. 4. Then, you need to tap on the Network Settings button. 5. After that, choose the Wireless LAN and press the OK button. 6. Now, you need to choose your network and type the password. 7. Once these steps are complete, go to step 2. Step 2: Install the Driver 1. Go to ij.start.canon in the first step. 2. Then, type in your product model and choose it from the search bar. 3. Next, scroll down to the Drivers & Downloads section. 4. After that, select your operating system. 5. Now, tap the Select button given next to the driver. 6. Click the Download button once you have selected the driver. 7. Thereafter, you need to open the downloaded file. 8. When the “Continue” option is prompted, tap Yes. 9. Open the setup wizard, and press the Next button. 10. After that, click the Yes button. 11. If your printer is refusing to connect via USB, click USB connection. 12. If you use the Ethernet Connection or Wi-Fi, choose your Network Connection. 13. Then, you are required to click the Next button. 14. Follow the wizard to finalize the entire setup process. How to Setup a Canon Printer With an Updated Printer Driver? When you run into several printer issues, it is best to update the printer driver. It will help you resolve the issues you are facing. Here are steps to manually update your Canon printer driver. 1. On your preferred device, open the browser. 2. Then, click ij.start.canon and visit the official website. 3. On the following website, you need to search for a compatible driver. 4. You need to ensure to find the latest driver version. 5. After that, enter your printer name and model. 6. Once the printer list appears, tap on it. 7. Now, download the latest driver on your device. 8. Complete the driver setup process to use it properly. frequently asked questions
Question: Why is my Canon printer not connecting to Wi-Fi? Answer: The Canon printer is unable to connect to Wi-Fi for different reasons. In order to resolve the issue, try to update the Canon printer driver. If the issue still continues, check the network issues. And if everything fails, you can try to uninstall and reinstall the printer drivers from ij.start.canon Question: How to set up my Canon printer wirelessly? Answer: Setup Canon Printer Wirelessly: 1. Click the Network option. 2. Tap the Wi-Fi button. 3. Then, click the Settings button. 4. Now, tap the Wi-Fi setup. 5. Click the WPS button. 6. After that, click the OK button. 7. Press and hold the WPS button. 8. Click OK on the printer for 2 minutes. 9. Follow the steps on your screen. Question: How to reset my Canon printer? Answer: Reset Your Canon printer: 1. Click “Setup” on your Canon printer. 2. Next, go to the “Device settings” using the arrows 3. Now, tap the “OK” button. 4. Go to Reset Settings and click OK. 5. Find the Reset option and choose OK. 6. Choose the option Yes. Ij.start.canon