Download

1 / 3
0 likes | 8 Views
One of the most important things to get right when designing a new garden shed is the <br>base. Improper installation of a base might cause structural issues, water damage, and <br>lower shed lifetime. Whether you're setting up a big workshop or a little storage unit, <br>this ultimate checklist will help you to guarantee your <br>Garden Shed Base is solid, level, <br>and long-lasting by guiding you through every necessary stage

E N D
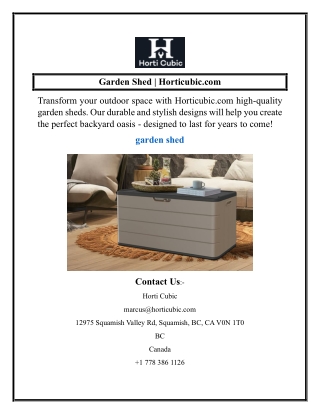
The Ultimate Checklist For Garden Shed Bases One of the most important things to get right when designing a new garden shed is the base. Improper installation of a base might cause structural issues, water damage, and lower shed lifetime. Whether you're setting up a big workshop or a little storage unit, this ultimate checklist will help you to guarantee your Garden Shed Base is solid, level, and long-lasting by guiding you through every necessary stage. Choose The Right Location Choose A Place In Your Garden That Level and well-drained frequently reachable Far from hanging fences or trees Compliant with local planning laws (verify whether permissions are required) Clear And Prepare The Ground Clear all debris, rocks, and plants from the site. With a spade, rake, and spirit level, level the ground. Dig down at least 10 cm to create a stable sub-base for optimal results. Choose Your Base Type You should think on several di?erent kinds of shed bases: Concrete Bases are sturdy and perfect for big sheds. Demands formwork and adequate curing time. Paving Slabs simpler for do-it-yourselfers. Make sure they are level and set on a strong sand and hard core layer. Plastic Grid Base Simple to install and environmentally friendly. Perfect for little sheds or regions with great drainage. Timber Frame Base Raised and ventilated, timber frame base Ideal for uneven ground, but needs weatherproofing treatment.
Install A Weed Membrane Lay a weed control membrane prior to adding any sub-base materials to stop undesirable plant development under your Shed Base. This minimizes maintenance and extends the life of the base. Lay The Sub-Base To make a stable, level surface, combine hardcore (crushed stone) with compacted sharp sand. If one is accessible, utilize a vibrating plate compactor; otherwise, tamp manually using a hefty board. Ensure Proper Drainage Rot or mildew might result from water pooling around the shed. If needed, use gravel or soak away trenches and ensure the region slopes somewhat away from the Review For Level and Squareness With a long spirit level and builder's square, check that your base is totally level and every corners create 90-degree angles. The shed may tilt or the doors may misaligned if the base is uneven. Secure The Base To The Shed
Once the foundation is done, think about anchoring your shed, particularly in windy locations. Depending on your shed and base kind, use anchor plates or fixing bolts. Add Finishing Touches. To prevent mud and enhance drainage, surround your base with gravel or paving. It also lends the region a clean and organized appearance. Inspect Regularly Even after installation, periodically check the base for indications of movement, weed growth, or erosion, and promptly take care of any problems to preserve your shed’s integrity. Conclusion Making a decent garden shed base is work whose benefits will become apparent over time. Having this checklist will help you to build a strong base that will guarantee your shed and all contents stay safe for years to come.