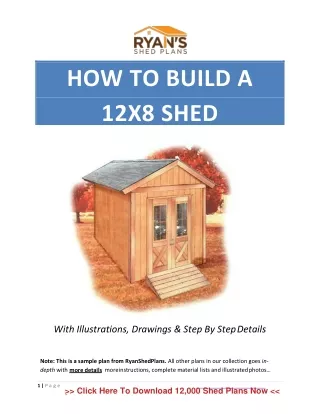
Download

1 / 3
0 likes | 3 Views
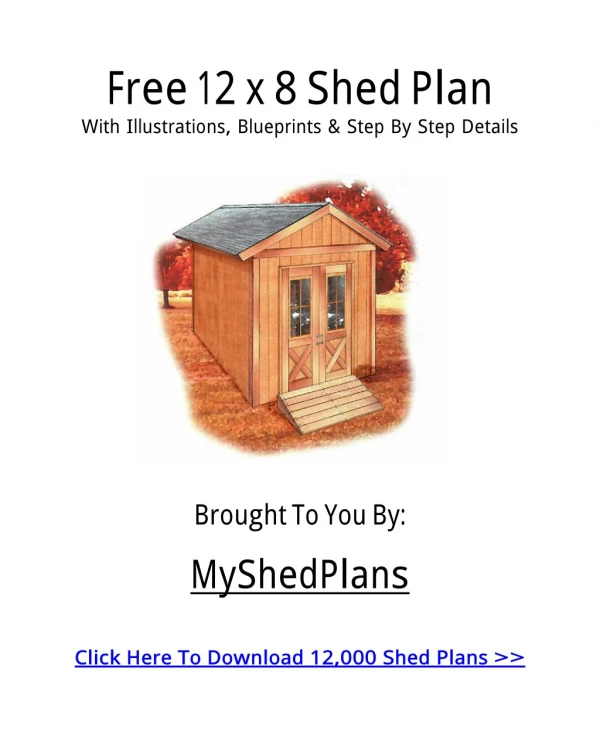
Maintaining structural integrity and reducing damage over time depend on building a shed base adaptable to seasonal ground movement. Flexible foundations guarantee your shed stays level and secure in areas with frost, thaw cycles, or shifting soil. This is how to create a Shed Base flexible for seasonal variations:<br>

E N D
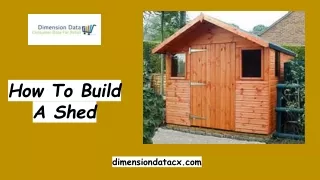
How To Build A Shed Base That Moves With the Seasons Maintaining structural integrity and reducing damage over time depend on building a shed base adaptable to seasonal ground movement. Flexible foundations guarantee your shed stays level and secure in areas with frost, thaw cycles, or shifting soil. This is how to create a Shed Base flexible for seasonal variations: 1. Pick The Proper Location Begin by choosing a rather level, well-drained location. Steer clear of low-lying areas where water gathers since this might cause frost heave or soil erosion. Choose a shaded area, if at all possible, so that hot summer soil drying and fracturing may be reduced. 2. Get Familiar With Your Soil Analyze your soil before construction. While sandy or gravelly soils stay more stable, clay-rich soils undergo great expansion and contraction depending on moisture. You will require a base design that tolerates more movement if your soil is very reactive. 3. Adopt A floating foundation Floating foundations are perfect for regions where ground movement is anticipated. This kind of base rests on top of the soil instead of being firmly fixed into it. Floating bases come in several di?erent forms often used: Concrete Pavers or Slabs: Lay hefty concrete pavers or slabs on a flat, compacted gravel bedding. These help the shed to "float" and enable some soil movement. Gravel Pad With Timber Frame: Using pressure-treated timber, create a timber frame and fill it with compacted gravel. This o?ers leeway for small movements and helps water drain.
Concrete Blocks: Deck piers placed on compacted gravel or concrete blocks provide elevation and permit mobility. To help weight distribution, place blocks at regular intervals under important Shed Bases locations (corners, center). 4. Lay The Groundwork Excavate the area to a depth of 4–6 inches. Add a Geotextile Fabric to prevent weed growth and keep gravel from sinking into the soil. Fill with Crushed Stone or Gravel, and compact it thoroughly. A minimum of 4 inches of gravel ensures good drainage and reduces frost heave risk. 5. Permit Motion Unless mandated by local building regulations, do not fasten the shed firmly to the ground. If anchoring is required, use flexible metal straps or brackets to permit some degree of motion. Unless designed with expansion joints, avoid pouring a solid concrete slab since one could break as the ground moves. 6. Keep The Region Maintain vegetation cut around the shed base to stop root penetration. Slightly grade the ground and maintain gutters or downspouts from discharging close by to guarantee water drains away from the base. 7. Surveillance And Change
Inspect the foundation of your shed seasonally. Over time, minor changes—such as re- leveling blocks or adding gravel—might be needed to preserve stability. Conclusion By limiting structural damage and extending the life of your shed, a well-built floating shed base allows for the natural expansion and contraction of the ground. With good site preparation, materials, and maintenance, your shed can stay level and operational all year long no matter what season.