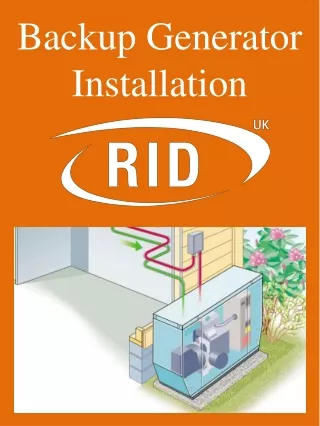
SolarEdge Backup Interface Installation
SolarEdge backup interface provides backup power automatically to home loads in the event of grid interruption. And, it is a scalable solution for supporting higher power and higher capacity. If you want to know how to install SolarEdge backup interface, continue to read this post. Here, we have explained SolarEdge backup interface installation instructions and how can you connect to the inverter, AC loads panel and grid.<br><br>


SolarEdge Backup Interface Installation
E N D
Presentation Transcript
SolarEdge backup interface provides backup power automatically to home loads in the event of grid interruption. And, it is a scalable solution for supporting higher power and higher capacity. If you want to know how to install SolarEdge backup interface, continue to read this post. Here, we have explained SolarEdge backup interface installation instructions and how can you connect to the inverter, AC loads panel and grid.
A Guide on SolarEdge Backup Interface Installation In the packet, you will get the following things: Backup interface, conduit holder. mounting bracket, Allen key, accessories bag that contains two mounting bracket screws, bonding (for connecting the neutral & grounding bar) and one conduit holder screw and installation guide.
Backup Interface Interfaces In this section, you can learn about the SolarEdge backup interface to operate & connect to other system components. Inverter AC inputs - AC cables from up to three inverters. Generator AC input - An AC cable from one external generator. Loads AC output - AC cable to the loads panel. Grid AC input - An AC cable from the grid. Communication input - Communication cables from inverters and external rapid shutdown switch. LEDs - Three LEDs indicate the system performance. ON/ OFF switch - When this switch is ON, enables an automatic transition to backup mode. If it is OFF, enables manual control of the backup interface.
Connecting SolarEdge Backup Interface to the Inverter To connect to the communication cable and 12V cable, Place a conduit of the required diameter into the com 1 conduit entry. Next, connect the required cables to the inverter's connection unit. After that, you have to connect the cables to the solaregde backup interface. Connecting Backup Interface to an External Rapid Shutdown Switch You should install an external shutdown switch as it shuts down the backup interface in emergency conditions. Insert the cable from the shutdown switch through the com 2 conduit. Remove the two-pin connector which is labeled as EXT RSD. Also, remove the short circuit jumper from the 2-pin connector. After that, connect that cable to the 2-pin connector as per instructions given in the manual. Place the 2-pin connector back into its EXT RSD port. Reinstall interface cover by tightening with screws.
Once you have installed SolarEdge backup interface, you need to configure it using the SetApp mobile application. You can check the instructions for configuration in the product manual. If you have any queries regarding SolarEdge backup interface installation, refer to the manual or consult a professional. Thank you