Download
1 / 3
30 likes | 48 Views
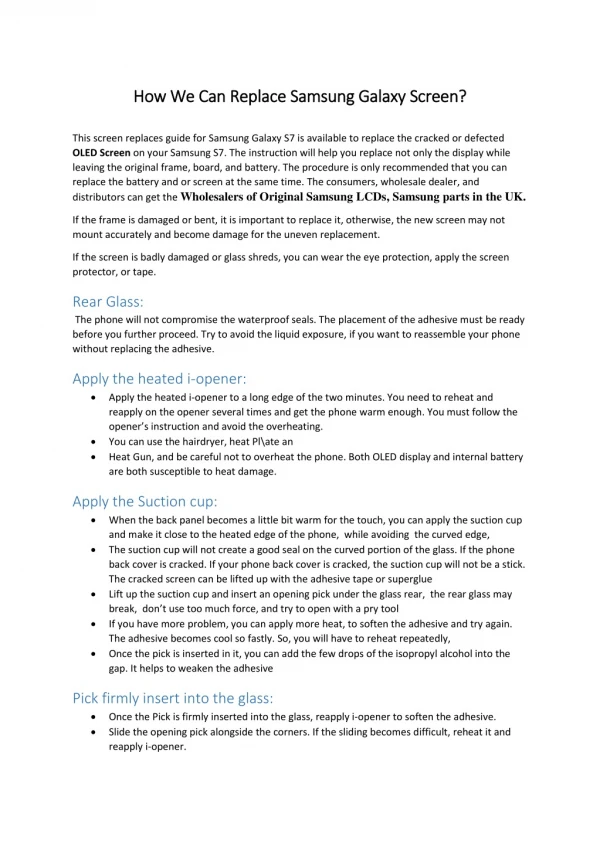
This screen replaces guide for Samsung Galaxy S7 is available to replace the cracked or defected OLED Screen on your Samsung S7. The instruction will help you replace not only the display while leaving the original frame, board, and battery. The procedure is only recommended that you can replace the battery and or screen at the same time. The consumers, wholesale dealer, and distributors can get the Wholesalers of Original Samsung LCDs, Samsung parts in the UK.<br><br>

E N D
H Ho ow w W We e C Ca an n R Re ep pl la ac ce e S Sa am ms su un ng g G Ga al la ax xy y S Sc cr re ee en n? ? This screen replaces guide for Samsung Galaxy S7 is available to replace the cracked or defected OLED Screen on your Samsung S7. The instruction will help you replace not only the display while leaving the original frame, board, and battery. The procedure is only recommended that you can replace the battery and or screen at the same time. The consumers, wholesale dealer, and distributors can get the Wholesalers of Original Samsung LCDs, Samsung parts in the UK. If the frame is damaged or bent, it is important to replace it, otherwise, the new screen may not mount accurately and become damage for the uneven replacement. If the screen is badly damaged or glass shreds, you can wear the eye protection, apply the screen protector, or tape. Rear Glass: The phone will not compromise the waterproof seals. The placement of the adhesive must be ready before you further proceed. Try to avoid the liquid exposure, if you want to reassemble your phone without replacing the adhesive. Apply the heated i-opener: Apply the heated i-opener to a long edge of the two minutes. You need to reheat and reapply on the opener several times and get the phone warm enough. You must follow the opener’s instruction and avoid the overheating. You can use the hairdryer, heat Pl\ate an Heat Gun, and be careful not to overheat the phone. Both OLED display and internal battery are both susceptible to heat damage. Apply the Suction cup: When the back panel becomes a little bit warm for the touch, you can apply the suction cup and make it close to the heated edge of the phone, while avoiding the curved edge, The suction cup will not create a good seal on the curved portion of the glass. If the phone back cover is cracked. If your phone back cover is cracked, the suction cup will not be a stick. The cracked screen can be lifted up with the adhesive tape or superglue Lift up the suction cup and insert an opening pick under the glass rear, the rear glass may break, don’t use too much force, and try to open with a pry tool If you have more problem, you can apply more heat, to soften the adhesive and try again. The adhesive becomes cool so fastly. So, you will have to reheat repeatedly, Once the pick is inserted in it, you can add the few drops of the isopropyl alcohol into the gap. It helps to weaken the adhesive Pick firmly insert into the glass: Once the Pick is firmly inserted into the glass, reapply i-opener to soften the adhesive. Slide the opening pick alongside the corners. If the sliding becomes difficult, reheat it and reapply i-opener.
Slide the pick alongside the phone to make it separate the adhesive, If the sliding becomes the difficulty, you can apply reheat again and apply the I opener. Leave the pick in a phone side places and use a second pick to proceed the next step. You can leave the pick insert. It can help prevent the glue separate from there-adhering. Leave the opening pick in each edge and prevent the adhesive from resealing. You can repeat the heating and cutting procedure repeating three sides of the phone. Lift the glass and remove it from the phone. Reinstall the back cover: Firstly, you can use the tweezers to remove the remaining adhesive from the back cover and the phone chassis, clean the adhesive area with the help of the isopropyl alcohol with a lint- free cloth. You can swipe it in one direction not back and forth, it will help to prepare the surface of the new adhesive. You can turn on the phone and turn the phone and test before you repair, before installing the new adhesive, reseal the phone. You can replace the adhesive comes in a pre-cut sheet and match the exact contour of the back cover. You can also use the double sided tape, but be aware of that, it leaves the gap. After installing the rear cover, you apply the pressure to your phone several times to help the adhesive to make a good bond. You can install the back cover without replacing the adhesive. You can remove the large chunks of the adhesive that might [prevent the back cover setting down. After the installation, you can heat the back cover and put pressure to make it secure’ Assemble the NFC antenna and charging coil: By using the tip of the Spudger put the small notch left side of the antenna assembly, pry the assembly up and take out of the frame. You can remove the Antenna Assembly. Use the flat edge of the spudger to lift the charging coil assembly. Loudspeaker Assembly: By using the flat end of the spudger to pry up and remove the loudspeaker assembly. Battery Connector: By using the Flat end of the spudger disconnect the battery connector. Unplug the display and digitizer connector; Use the flat edge of the Spudger to unplug the display and digitizer connector. Prepare an opener Prepare i-opener and apply the long edge inside the phone for about 2 minutes. You need to reheat and reapply i-Opener several times to get the phone warm The Glue secures the display and back cover, If you need, you can switch on the dryer and heat gun in order to apply to weaken the adhesive.
Carefully lift the display away from the mid-frame, gently pull out the display from the connector through the hole in the mid of the frame. Remove the display. Install a New screen: Before installing a new display, remove all the traces of the old adhesive forms from the frame. You must clean the adhesive area isopropyl alcohol and a lint-free cloth or coffee filter. You can swipe in one direction. It helps to remove the adhesive and prepare the display of the new display, If the frame is bent, or the glue or glue remnants are not removed in a proper way, the mount will not place accurately or may be damaged. You will have to reassemble the device and apply the adhesive to the rear cover and follow this instruction in reverse order. iShine is the mobile wholesaler's dealer in the uk. the company deals in the mobile phone accessories in wholesale price. ishine deals in uk mobile wholesalers, wholesalers of samsung lcds, samsung parts in the uk. the premium quality products are available at reasonable prices.