Download
1 / 2
0 likes | 1 Views
Hitech Air Solution has gained its name as an award-winning company for delivering the best services as promised and fulfilling the expectations of clients.

E N D
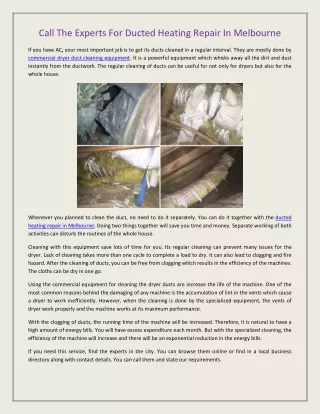
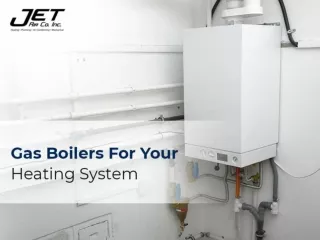
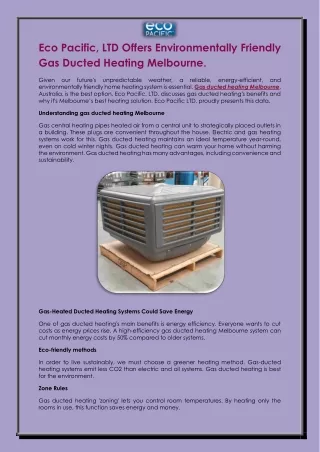
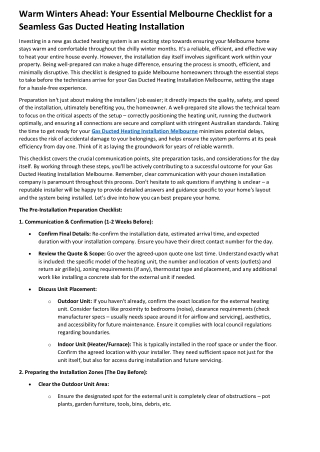
Warm Winters Ahead: Your Essential Melbourne Checklist for a Seamless Gas Ducted Heating Installation Investing in a new gas ducted heating system is an exciting step towards ensuring your Melbourne home stays warm and comfortable throughout the chilly winter months. It's a reliable, efficient, and effective way to heat your entire house evenly. However, the installation day itself involves significant work within your property. Being well-prepared can make a huge difference, ensuring the process is smooth, efficient, and minimally disruptive. This checklist is designed to guide Melbourne homeowners through the essential steps to take before the technicians arrive for your Gas Ducted Heating Installation Melbourne, setting the stage for a hassle-free experience. Preparation isn't just about making the installers' job easier; it directly impacts the quality, safety, and speed of the installation, ultimately benefiting you, the homeowner. A well-prepared site allows the technical team to focus on the critical aspects of the setup – correctly positioning the heating unit, running the ductwork optimally, and ensuring all connections are secure and compliant with stringent Australian standards. Taking the time to get ready for your Gas Ducted Heating Installation Melbourne minimizes potential delays, reduces the risk of accidental damage to your belongings, and helps ensure the system performs at its peak efficiency from day one. Think of it as laying the groundwork for years of reliable warmth. This checklist covers the crucial communication points, site preparation tasks, and considerations for the day itself. By working through these steps, you'll be actively contributing to a successful outcome for your Gas Ducted Heating Installation Melbourne. Remember, clear communication with your chosen installation company is paramount throughout this process. Don't hesitate to ask questions if anything is unclear – a reputable installer will be happy to provide detailed answers and guidance specific to your home's layout and the system being installed. Let's dive into how you can best prepare your home. The Pre-Installation Preparation Checklist: 1. Communication & Confirmation (1-2 Weeks Before): Confirm Final Details: Re-confirm the installation date, estimated arrival time, and expected duration with your installation company. Ensure you have their direct contact number for the day. Review the Quote & Scope: Go over the agreed-upon quote one last time. Understand exactly what is included: the specific model of the heating unit, the number and location of vents (outlets) and return air grille(s), zoning requirements (if any), thermostat type and placement, and any additional work like installing a concrete slab for the external unit if needed. Discuss Unit Placement: oOutdoor Unit: If you haven't already, confirm the exact location for the external heating unit. Consider factors like proximity to bedrooms (noise), clearance requirements (check manufacturer specs – usually needs space around it for airflow and servicing), aesthetics, and accessibility for future maintenance. Ensure it complies with local council regulations regarding boundaries. oIndoor Unit (Heater/Furnace): This is typically installed in the roof space or under the floor. Confirm the agreed location with your installer. They need sufficient space not just for the unit itself, but also for access during installation and future servicing. 2. Preparing the Installation Zones (The Day Before): Clear the Outdoor Unit Area: oEnsure the designated spot for the external unit is completely clear of obstructions – pot plants, garden furniture, tools, bins, debris, etc.
oTrim back any overhanging branches or encroaching shrubs. oIf a concrete slab needs to be laid by the installers, ensure the ground is relatively level and accessible. 3. Preparing Your Home Environment (The Day Before / Morning Of): Protect Vulnerable Items: While professional installers will use drop sheets, consider adding extra protection for valuable or delicate furniture, electronics, and flooring near the primary work zones (especially below ceiling vent locations and near access points). Cover items with old sheets or plastic drop cloths. Manage Pets: Installation can be noisy and involve unfamiliar people moving around your home. For their safety and to prevent them from getting underfoot, arrange to keep pets secured in a separate room, backyard area, or perhaps arrange for them to stay with a friend or family member for the day. 4. During the Installation Day: Be Available (If Possible): While you don't need to hover, being reachable by phone or present at the start and end of the installation is helpful. Installers may occasionally have questions or need decisions confirmed (e.g., minor adjustments to vent placement). Allow Access: Ensure installers have access to all necessary areas, including potentially needing access to power boards or gas meters. Ask Questions: Don't hesitate to ask clarifying questions as the work progresses, but try to batch them to avoid constant interruptions unless it's urgent. 5. Post-Installation Walkthrough: Inspect the Work: Once the installation is complete, the lead installer should walk you through the system. Check the placement of the indoor and outdoor units, the vents, and the thermostat. Ensure work areas are left reasonably tidy. Understand Operation: Have the installer demonstrate how to use the thermostat and any zoning controls. Understand how to switch between heating modes, set temperatures, and program schedules if applicable. Preparing for your gas ducted heating installation doesn't need to be daunting. By following this checklist, you can significantly contribute to a smooth, efficient, and successful installation process in your Melbourne home. Proper preparation ensures the safety of your property and family, helps the technicians work effectively, and gets your fantastic new heating system up and running with minimal fuss, ready to combat those Melbourne chills. Investing in a quality system and ensuring it's installed correctly is paramount for long-term performance and peace of mind. For expert advice, professional installation, and reliable service for your gas ducted heating needs in Melbourne, consider contacting Hitech Air Solution. Their experienced team understands the nuances of Melbourne homes and is committed to providing comfortable, efficient heating solutions tailored to your specific requirements, ensuring your installation journey is seamless from preparation to cosy completion. Stay warm!