Download
1 / 3
0 likes | 18 Views
This guide provides step-by-step instructions on how to repair common leather issues such as scratches, cracks, and tears. It covers essential tools, techniques, and tips for maintaining and restoring leather items. From simple fixes to more complex repairs, this guide empowers you to breathe new life into your beloved leather goods.

E N D
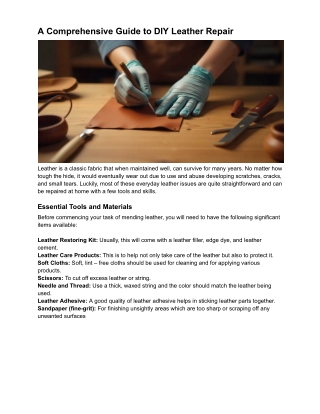
A Comprehensive Guide to DIY Leather Repair Leather is a classic fabric that when maintained well, can survive for many years. No matter how tough the hide, it would eventually wear out due to use and abuse developing scratches, cracks, and small tears. Luckily, most of these everyday leather issues are quite straightforward and can be repaired at home with a few tools and skills. Essential Tools and Materials Before commencing your task of mending leather, you will need to have the following significant items available: Leather Restoring Kit: Usually, this will come with a leather filler, edge dye, and leather cement. Leather Care Products: This is to help not only take care of the leather but also to protect it. Soft Cloths: Soft, lint – free cloths should be used for cleaning and for applying various products. Scissors: To cut off excess leather or string. Needle and Thread: Use a thick, waxed string and the color should match the leather being used. Leather Adhesive: A good quality of leather adhesive helps in sticking leather parts together. Sandpaper (fine-grit): For finishing unsightly areas which are too sharp or scraping off any unwanted surfaces
Common Leather Problems and Their Solutions 1. Scratches Superficial Scratches: Small scratches on leather apparel usually do not require much treatment, a decent leather conditioner may do the trick to hide the scratches. Patch the leather conditioner on a clean dry cloth and rub it onto the surface of the leather. Medium or Deep Scratch: In cases of medium to deep scratches, we can use a leather filler. Fill the scratch in with a filler, allow for drying, and remove any excess material with a soft cloth. 2. Cracks Narrow Cracks: Small narrow cracks can be repaired using a leather repair kit. Stan ch kit’s instructions. Prepare the leather for repair and insert filler into the crack. Wide Cracks: Bigger cracks require professional assistance in most cases. Nevertheless, in the case of small cracks, you may apply strong adhesives for leather to the edges and try to stick them together. 3. Small Tear Take a Clean Up: Before a repair is carried out on the tear, it is necessary to wipe the edges clean with a moist cloth in order to remove any dirt present. Put the Glue: Take a good leather gum and stick the edges of the tear together. Replicate the Rip: If you want to strengthen the repair, you can do that by stitching its edges with a needle and a thread that is the same color as the leather. 4. Color Fading Coloring agent for leather: In order to bring back a shade which has worn off consider using leather colored matching the original shade. Make sure to apply the colorant in small amounts on the area that is least visible to check if the result is satisfactory. Leather Refinishing: Faded areas of leather can be rejuvenated with good leather polish. Apply and polish with a soft cloth the wax on the surface in question. General Tips for Leather Repair Conduct a Small Test Area: Prior to any application of any such product or method, small test areas on the leather should be tried out to allow for the assessment of any damage that may occur to the surface material. Regular Maintenance: Cleaning and conditioning on a regular basis can help minimize the risk of future damage and keep the leather in good condition.
Maintain Safe Storage: Keep your leather goods in a place that is not too warm or too humid, away from direct sunlight. Discipline in Exposure to Water: Although a certain level of moisture is needed for the leather to remain pliable, overexposure to water should be avoided since it may encourage the growth of fungi in the form of mold or mildew. Seek Professional Assistance for Repair Work: For intricate restoration works or high-value leather items, it would be prudent to seek the services of leather restoration specialist. With these methods and strategies in practice, the durability of leather goods will definitely improve and there will be convenience in their use. .Simply put, patience and accuracy are very important when one is treating leather.