Download
1 / 2
20 likes | 37 Views
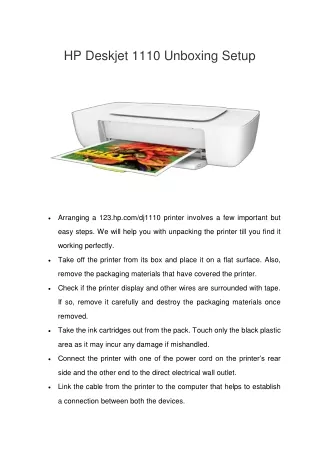
u2022tArranging a 123.hp.com/dj1110 printer involves a few important but easy steps. We will help you with unpacking the printer till you find it working perfectly.<br>Take off the printer from its box and place it on a flat surface. Also, remove the packaging materials that have covered the printer.<br>

E N D
HP Deskjet 1110 Unboxing Setup Arranging a 123.hp.com/dj1110 printer involves a few important but easy steps. We will help you with unpacking the printer till you find it working perfectly. Take off the printer from its box and place it on a flat surface. Also, remove the packaging materials that have covered the printer. Check if the printer display and other wires are surrounded with tape. If so, remove it carefully and destroy the packaging materials once removed. Take the ink cartridges out from the pack. Touch only the black plastic area as it may incur any damage if mishandled. Connect the printer with one of the power cord on the printer’s rear side and the other end to the direct electrical wall outlet. Link the cable from the printer to the computer that helps to establish a connection between both the devices.
After which comes the ink cartridge installation. Do not power on the printer until the cartridges are installed in their respective slot. Press the left slot down and then right to push the color ink cartridge, similarly, the right slot to insert the black ink cartridge slowly and ensure it is firmly fixed. With the help of the installation CD provided in the printer box, install the printer driver on your computer for the printer to start functioning. Later, load plain paper into the printer’s input tray. Now, turn on the printer with the Power button and the ink cartridges get aligned. The printer will print an alignment page by itself after the alignment process gets completed. Add your respective printer on the computer’s control panel and it is ready to print now. Read More.