CANON COLOR IMAGECLASS MF741CDW SETUP
40 likes | 54 Views
Perform simple steps for Canon Mf741cdw setup and to connect printer wireless. Download Canon Mf741cdw driver, also avail instant troubleshooting solutions.

CANON COLOR IMAGECLASS MF741CDW SETUP
E N D
Presentation Transcript
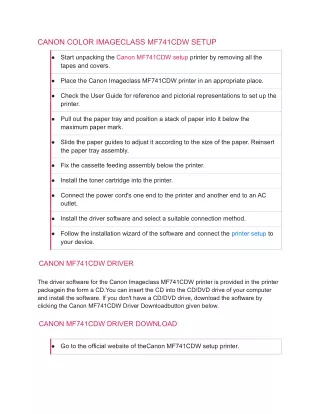
CANON COLOR IMAGECLASS MF741CDW SETUP ● Start unpacking the Canon MF741CDW setup printer by removing all the tapes and covers. ● Place the Canon Imageclass MF741CDW printer in an appropriate place. ● Check the User Guide for reference and pictorial representations to set up the printer. ● Pull out the paper tray and position a stack of paper into it below the maximum paper mark. ● Slide the paper guides to adjust it according to the size of the paper. Reinsert the paper tray assembly. ● Fix the cassette feeding assembly below the printer. ● Install the toner cartridge into the printer. ● Connect the power cord's one end to the printer and another end to an AC outlet. ● Install the driver software and select a suitable connection method. ● Follow the installation wizard of the software and connect the printer setup to your device. CANON MF741CDW DRIVER The driver software for the Canon Imageclass MF741CDW printer is provided in the printer packagein the form a CD.You can insert the CD into the CD/DVD drive of your computer and install the software. If you don't have a CD/DVD drive, download the software by clicking the Canon MF741CDW Driver Downloadbutton given below. CANON MF741CDW DRIVER DOWNLOAD ● Go to the official website of theCanon MF741CDW setup printer.
● Click the Menu icon and enter your printer model name or search by product range. ● To search by product, select Printing and then click Laser Printer. ● Select Imageclass and locate your printer. ● Click the Drivers & Downloads ● Choose your Operating system and select your language. ● Choose a driver software and click Download. ● Open the installation file and follow the prompted instructions to install the software. CANON COLOR IMAGECLASS MF741CDW MANUAL The manual for the Canon Color Imageclass MF741CDW printer has all the useful instructions to Canon MF741CDW setup and install the printer. Go through the manual thoroughly and install the printer easily by following the step-by-step instructions. All the manuals for the printer can be downloaded from the printer's official website. Click the Manual download button below to reach out to the printer's manual page. Select the required manual and view the PDF to download the file. CANON MF741CDW WIRELESS SETUP ● Set up your wireless router,and connect your computer to your network. ● Turn ON your printer. In case the printer is in the sleep mode, press the Home button to wake the printer for Canon MF741CDW wireless setup. ● Select Menu and go to Preferences. Tap on Network and enter the default user ID as 7654321 and password as 7654321 and select Login. ● Select Wireless LAN Settings and enable WLAN. Tap OK. ● From the Wireless LAN settings, select SSID Settings and tap Select Access Point.
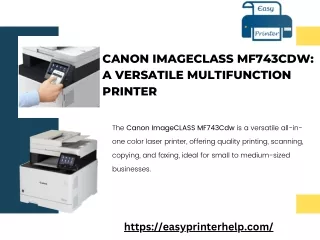
● Select your network name from the shown networks and select Next. ● Enter the Network password. To confirm your password, select Yes for Canon MF741CDW wireless setup. ● Press the Home menu on the Canon MF741CDW setup printer's control panel. ● Now, install the Canon MF741CDW driver software from the installation CD/DVD that came in the pack. ● Select Network Connection as the Connection type. ● Connect your printer and follow the prompts to complete the Canon MF741CDW wireless setup. CANON IMAGECLASS MF741CDW TROUBLESHOOTING Some common printer errors occurring on the Canon Imageclass MF7421CDW and their solutions. 1. PRINTER DOESN'T SCAN: ● This Canon MF741CDW troubleshooting issue may occur due to connection issues. ● Check whether the printer is configured correctly. ● For wired connection, try connecting the printer to your computer/laptop directly, without using any hub. ● Turn ON the remote scanner function on the printer. 2. PRINT DENSITY LOW: ● Select thePrintoption on the software application. ● Select your Canon MF741CDW setup printer. Go to Preferences or Printer Properties. ● Check the Quality sheet from the print settings. ● Go to Advanced Settings and select List of Settings. Then,click Toner Density Adjust Details.
● Now,adjust the density by moving the sliders in the window. Then,clickOK. 3. CANNOT FIND PRINTER CONNECTED VIA WSD PORT ● Check the settings in the printer and update the Canon MF741CDW driver software. ● On your Windows computer, go to Settings and select Network & Internet. ● Navigate to Status and then click Change Connection properties. Then, select Network Profile and change to Private.