Download
1 / 8
80 likes | 238 Views
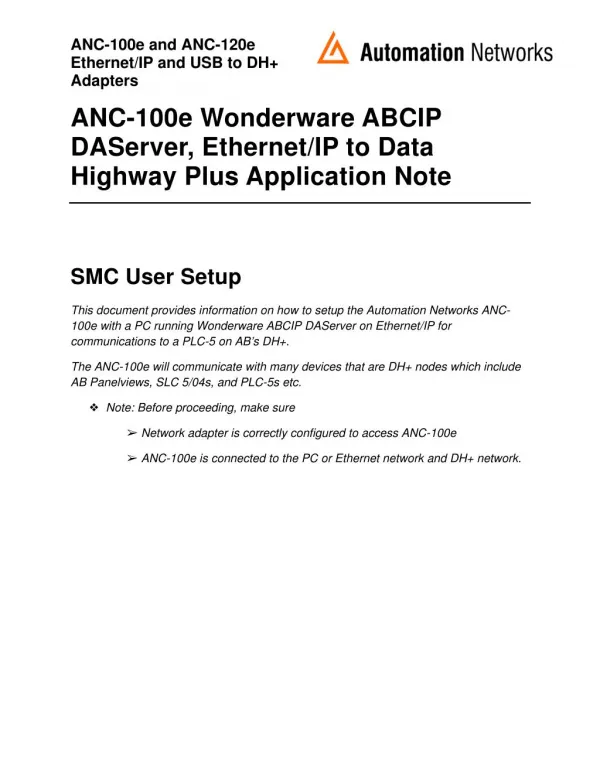
SMC User Setup<br>This document provides information on how to setup the Automation Networks ANC-<br>100e with a PC running Wonderware ABCIP DAServer on Ethernet/IP for<br>communications to a PLC-5 on AB’s DH .

E N D
ANC-100e and ANC-120e Ethernet/IP and USB to DH+ Adapters ANC-100e Wonderware ABCIP DAServer, Ethernet/IP to Data Highway Plus Application Note SMC User Setup This document provides information on how to setup the Automation Networks ANC- 100e with a PC running Wonderware ABCIP DAServer on Ethernet/IP for communications to a PLC-5 on AB’s DH+. The ANC-100e will communicate with many devices that are DH+ nodes which include AB Panelviews, SLC 5/04s, and PLC-5s etc. ❖Note: Before proceeding, make sure ➢Network adapter is correctly configured to access ANC-100e ➢ANC-100e is connected to the PC or Ethernet network and DH+ network.
ANC-120e and ANC-100e USB and Ethernet to DH+ Adapters 2 1. Open System Management Console 2. Select DASABCIP 3. Right click the “Configuration” and select “add PORT_CIP Object” 4. Right click the “New_PORT_CIP_000” and select “add ENB_CLX Object”
ANC-120e and ANC-100e USB and Ethernet to DH+ Adapters 3 5. Entry the ANC 100e IP address in the Host Name Box. Default IP address is 192.16.0.230 6. Right click the “New_ENB_CLX_Object” and select “Add BACKPLANE_CLX Object”
ANC-120e and ANC-100e USB and Ethernet to DH+ Adapters 4 7. Right click the “New_BACKPLANE_CLX Object” and select “Add DHRIO_CLX Object”
ANC-120e and ANC-100e USB and Ethernet to DH+ Adapters 5 8. The Slot Number can be found in RSLINX 9. Right click the “New_ DHRIO_CLX Object” and select “Add PORT_DHP Object”
ANC-120e and ANC-100e USB and Ethernet to DH+ Adapters 6 10. The Channel Number, DH Plus Node Address and Link ID can be found in RSLINX 11. Right click the “New_ DHRIO_CLX Object” and select “Add SLC500_DHP Object” or “Add PLC5_DHP Object”
ANC-120e and ANC-100e USB and Ethernet to DH+ Adapters 7 12. Entry the DH+ node address of the PLC5 or SLC500
ANC-120e and ANC-100e USB and Ethernet to DH+ Adapters 8 13. Create one Device Group 14. Right click the “Archestra.DASABCIP.4” and select “Activate Server”