Download

1 / 8
0 likes | 5 Views
Looking to upgrade your garage with a durable, professional-looking floor? Knowing how to epoxy a garage floor will help you through each step of the process, from preparation to application. Discover the benefits of epoxy floors, including their long-lasting quality and sleek appearance. Donu2019t miss out. Explore this informative presentation today and turn your garage into a standout space with epoxy flooring! Learn more - https://armorgarage.com/blog/how-to-epoxy-a-garage-floor/

E N D
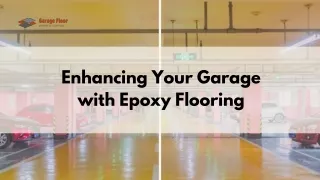
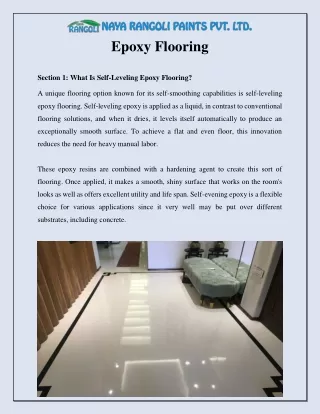
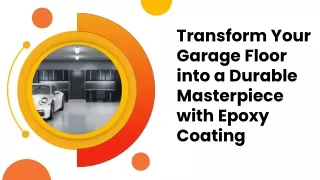
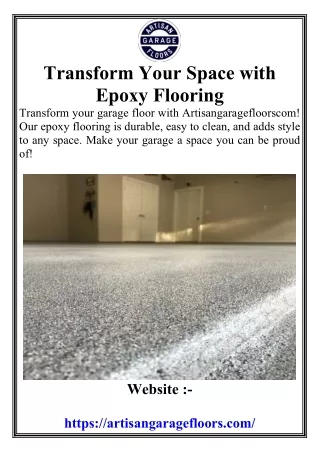
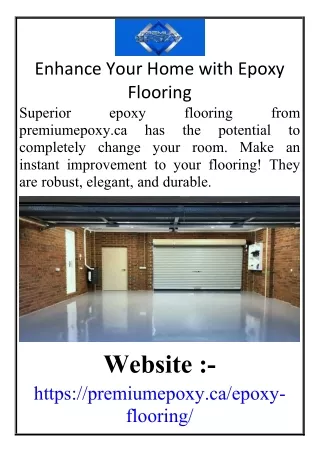
Epoxy garage floor coatings have become synonymous with durability, style, and long-term value. Whether protecting or enhancing the aesthetics of your garage, epoxy flooring offers an ideal solution. This guide outlines the whole process and highlights the importance of proper installation.
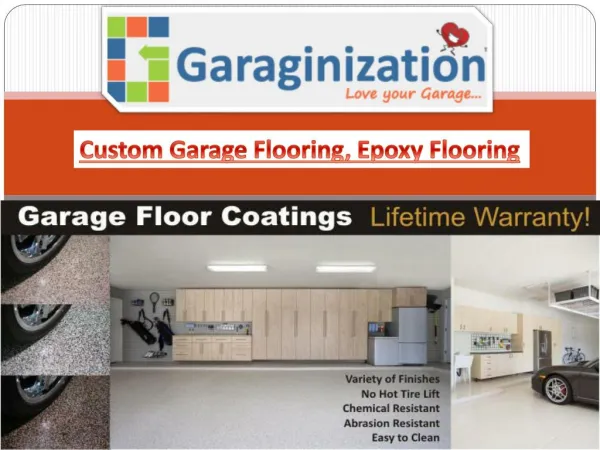
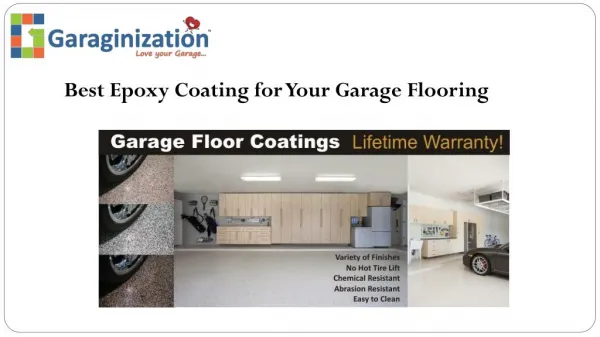
Why Epoxy is Ideal for Garage Floors Garage floors face daily wear and tear, from heavy vehicles, hot abrasive tires, and vehicle fluid spills. Epoxy coatings provide a tough, sleek layer that protects and beautifies. Unlike standard floor paint, epoxy resists cracking, staining, and abrasion for decades when applied properly.
The ArmorGarage Process Behind Epoxy Garage Floors 1 Step 1: Proper Preparation is Key Repairing damage such as cracks and divots, and acid etching or grinding the surface to open the pores of your slab ensures proper adhesion and a smooth finish. This step prevents common failures like peeling, while repairing defects is important because the high-gloss epoxy will magnify any defects. The use of color flakes is very helpful in hiding a lot of blemishes. Step 2: Applying the Epoxy Primer ArmorGarage epoxies are self-priming, but applying an epoxy primer also seals the surface and helps extend the base coat coverage, increases adhesion, and adds another layer of protection. Step 3: Mixing and Applying the Epoxy Base Coat Measure out the Part As & Bs in the stated ratios and mix well to ensure the hardener has combined with all the Part A. Do not mix all of an ArmorGarage epoxy at once. Our epoxy is pure military grade 100% solids, and unlike fake 100% solids or water-based epoxies, our epoxy sets up faster the more you mix. We recommend one gallon of combined Part A & B per person, rolling, and never leave more than a gallon in a pail at any one time. If mixing more than a gallon at a time, split it into separate pails after mixing and pour directly onto the floor to slow the curing process. Doing this gives you about 30 minutes of work time, depending on the temperature, which is more than enough time to apply the epoxy.
1 Step 4: Adding Decorative Flakes or Finishes (Optional) To enhance visual appeal, flakes or metallics if using our Mewtallic Epoxy Floor Kit may be added to the epoxy base coat. Step 5: Sealing with a Clear Coat The final clear layer called the topcoat protects the floor from abrasion wear, scratches, moisture, and UV exposure, while offering a high-gloss finish. Our topcoats are the best in the business offering the best abrasion resistance and glossiness. Our topcoats routinely go 15 years and more before needing a refresher coat. While the epoxy layer lasts indefinitely. Step 6: Allowing Proper Curing Time Don’t be in a rush, allow the floor a couple of days before heavy traffic is put on it. Once the floor is dry to the touch you can put stuff on it and walk on it but keep the heavy traffic off it for 48 hours if possible.
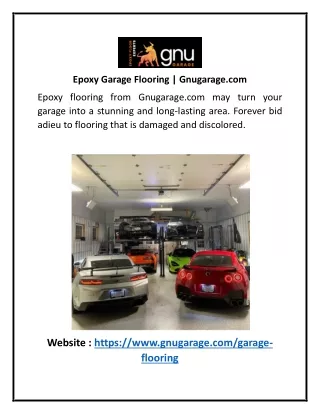
The Benefits of an ArmorGarage Epoxy Garage Floor Unmatched Durability: Withstands traffic, chemicals, and impacts. Enhanced Aesthetics: Wide choice of textures and finishes. Superior Adhesion: Hot Tire lifting proof, waterproof, mold & mildew proof. Lower Maintenance: Resists stains, scratches, dulling and simplifies cleaning with a Teflon like surface. Cost Efficiency: Long-lasting meaning you only have to do your floor once!
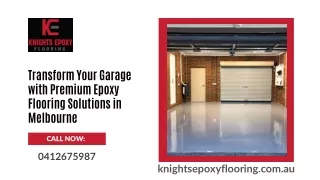
Discover the Ultimate Garage Transformation Armor Garage manufactures and sells professional epoxy garage floor solutions with exceptional quality and long lasting results, backed by years of experience and expertise. We ensure every project ends up with the highest level of performance and style. If you're seeking a premium epoxy coating for your garage floor, Armor Garage is your trusted partner for service and results you can count on. Transform your space today—contact us and discover how we can elevate your garage!
Reach Us At ArmorGarage LLC Main Office: 19495 Biscayne Blvd, Aventura FL 33180 Share.google/D86IBh3lZNYPm7AbD 866-532-3979 Pinterest.com/armorgarage/ Info@armorgarage.com Instagram.com/armorgarage/ Armorgarage.com Facebook.com/armorgarageinc/ Armorgarage.com/quote-request • Feel smooth but not slippery when wet • Show no signs of peeling at edges or high-traffic areas • Last 15-20 years with minimal maintenance