Download
1 / 1
10 likes | 20 Views
Initiate the printer driver installed on your Mac computer and follow the on-screen instructions to complete the Epson XP-2100 setup.

E N D
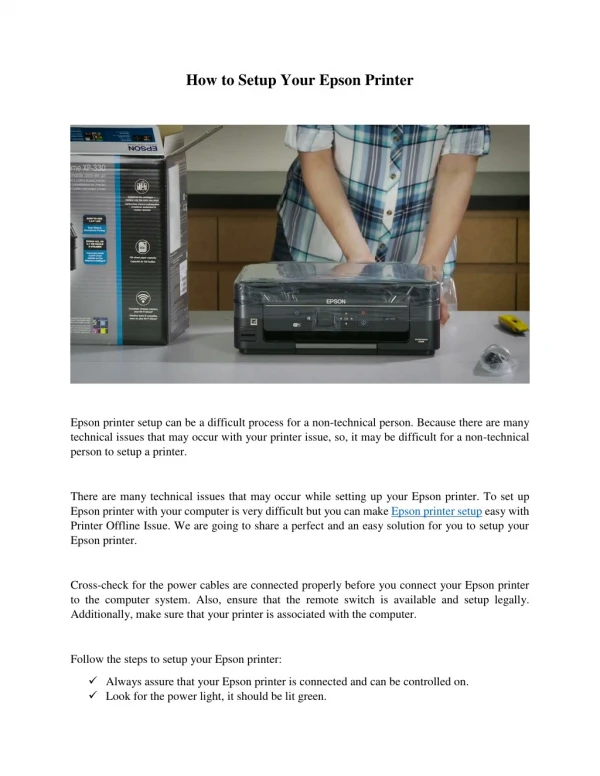
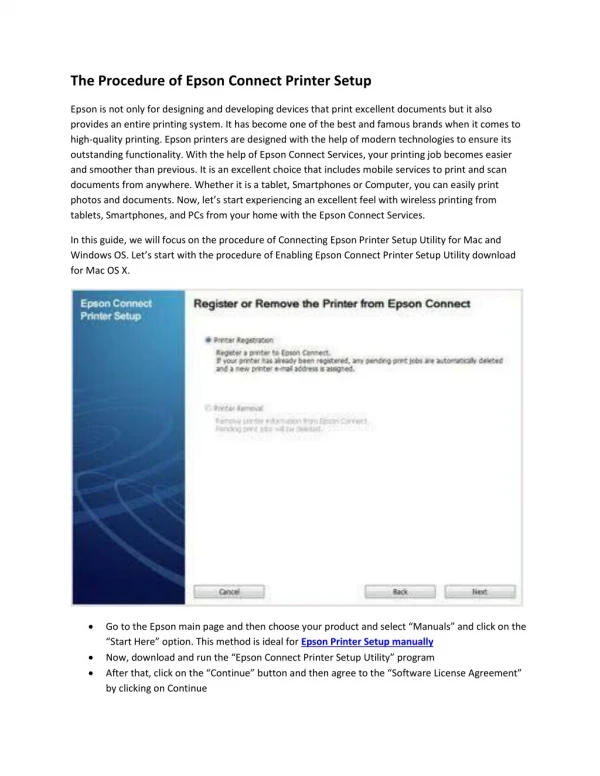
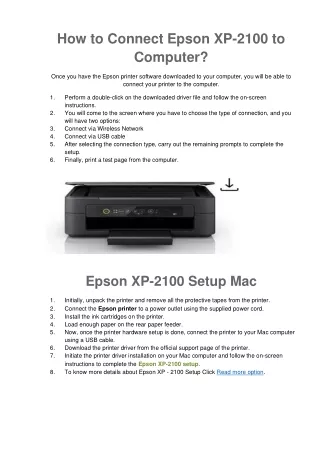
How to Connect Epson XP-2100 to Computer? Once you have the Epson printer software downloaded to your computer, you will be able to connect your printer to the computer. 1. Perform a double-click on the downloaded driver file and follow the on-screen instructions. You will come to the screen where you have to choose the type of connection, and you will have two options: Connect via Wireless Network Connect via USB cable After selecting the connection type, carry out the remaining prompts to complete the setup. Finally, print a test page from the computer. 2. 3. 4. 5. 6. Epson XP-2100 Setup Mac 1. 2. 3. 4. 5. Initially, unpack the printer and remove all the protective tapes from the printer. Connect theEpson printerto a power outlet using the supplied power cord. Install the ink cartridges on the printer. Load enough paper on the rear paper feeder. Now, once the printer hardware setup is done, connect the printer to your Mac computer using a USB cable. Download the printer driver from the official support page of the printer. Initiate the printer driver installation on your Mac computer and follow the on-screen instructions to complete theEpson XP-2100 setup. To know more details about Epson XP - 2100 Setup Click Read more option. 6. 7. 8.