Download
1 / 1
0 likes | 11 Views
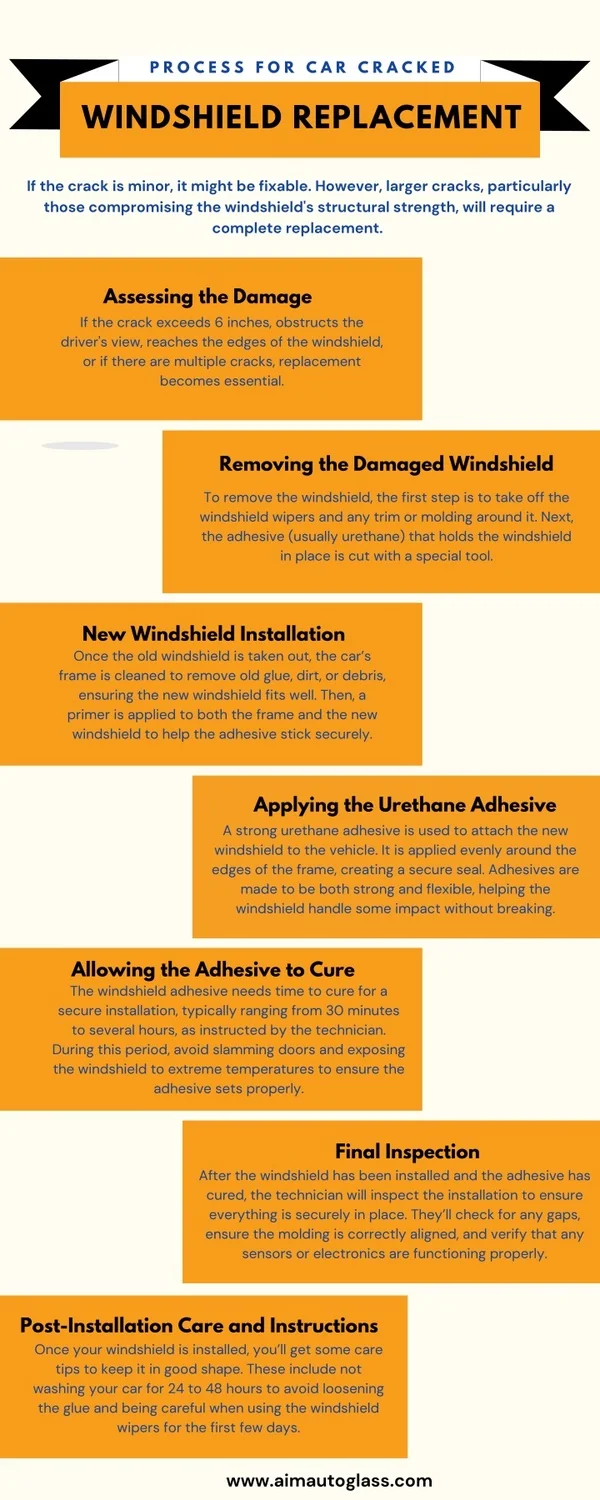
If the crack in your windshield is small, a repair is typically sufficient; however, a larger crack will require a complete windshield replacement. Below is a step-by-step description of the windshield replacement process.<br><br>> Assessing the Damage<br>> Removing the Damaged Windshield<br>> New Windshield Installation<br>> Applying the Urethane Adhesive<br>> Allowing the Adhesive to Cure<br>> Final Inspection<br>> Post-Installation Care and Instructions<br><br>To replace a cracked windshield, follow these steps and enlist the help of a qualified technician to guide you through the process.

E N D
P R O C E S S F O R C A R C R A C K E D WINDSHIELD REPLACEMENT If the crack is minor, it might be fixable. However, larger cracks, particularly those compromising the windshield's structural strength, will require a complete replacement. Assessing the Damage If the crack exceeds 6 inches, obstructs the driver's view, reaches the edges of the windshield, or if there are multiple cracks, replacement becomes essential. Removing the Damaged Windshield To remove the windshield, the first step is to take off the windshield wipers and any trim or molding around it. Next, the adhesive (usually urethane) that holds the windshield in place is cut with a special tool. New Windshield Installation Once the old windshield is taken out, the car’s frame is cleaned to remove old glue, dirt, or debris, ensuring the new windshield fits well. Then, a primer is applied to both the frame and the new windshield to help the adhesive stick securely. Applying the Urethane Adhesive A strong urethane adhesive is used to attach the new windshield to the vehicle. It is applied evenly around the edges of the frame, creating a secure seal. Adhesives are made to be both strong and flexible, helping the windshield handle some impact without breaking. Allowing the Adhesive to Cure The windshield adhesive needs time to cure for a secure installation, typically ranging from 30 minutes to several hours, as instructed by the technician. During this period, avoid slamming doors and exposing the windshield to extreme temperatures to ensure the adhesive sets properly. Final Inspection After the windshield has been installed and the adhesive has cured, the technician will inspect the installation to ensure everything is securely in place. They’ll check for any gaps, ensure the molding is correctly aligned, and verify that any sensors or electronics are functioning properly. Post-Installation Care and Instructions Once your windshield is installed, you’ll get some care tips to keep it in good shape. These include not washing your car for 24 to 48 hours to avoid loosening the glue and being careful when using the windshield wipers for the first few days. www.aimautoglass.com