Download
1 / 3
0 likes | 26 Views
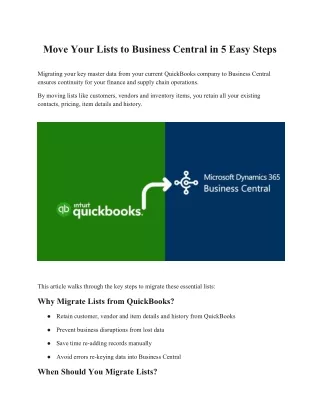
Migrating your key master data from your current QuickBooks company to Business Central ensures continuity for your finance and supply chain operations.<br><br>By moving lists like customers, vendors, and inventory items, you retain all your existing contacts, pricing, item details, and history.

E N D
Move Your Lists to Business Central in 5 Easy Steps Migrating your key master data from your current QuickBooks company to Business Central ensures continuity for your finance and supply chain operations. By moving lists like customers, vendors and inventory items, you retain all your existing contacts, pricing, item details and history. This article walks through the key steps to migrate these essential lists: Why Migrate Lists from QuickBooks? ●Retain customer, vendor and item details and history from QuickBooks ●Prevent business disruptions from lost data ●Save time re-adding records manually ●Avoid errors re-keying data into Business Central When Should You Migrate Lists?
Migrate master data early in your Business Central project during the preparation phase before going live. ●Migrate lists before setting up other processes in Business Central ●Before entering new transactions like sales orders or purchase invoices ●During a quiet business period to minimize transactional gaps Step 1: Export Lists from QuickBooks First, export the lists from your QuickBooks company file. This extracts your data into a readable format for importing. ●Export customers, vendors and item lists separately ●Save files as Excel, CSV or IIF formats Copy code QuickBooks: File > Utilities > Export > Lists to IIF Files Document any custom field mappings between QuickBooks and Business Central. Step 2: Import into Business Central Import each list directly into Business Central using the dedicated data migration tools. ●Use the RapidStart Services import wizards ●Check for errors or data format issues after import ●Review number sequences to avoid duplication Step 3: Map Imported Lists Carefully map and link the imported list data with your new Business Central setup: ●Map customers, vendors and items to relevant fields ●Link records to correct posting groups ●Assign appropriate VAT posting groups
Step 4: Validate Migrated Data Thoroughly test and validate the imported data before relying on it for transactions: ●Spot check names, addresses and balances ●Ensure links between customer-vendor-item triads ●Review transactions histories where applicable Correct any errors before go-live. Step 5: Clean Up Old Data Once satisfied with the migrated list data, clean up the old records: ●Delete duplicated QuickBooks lists post-cutover ●Archive old company file as a backup ●Consider password protecting archived file And there you have it! By following this simple 5-step approach you can successfully do your master data from Quickbooks migration to Business Central and ensure continuity for your business.