Download

1 / 3
0 likes | 17 Views
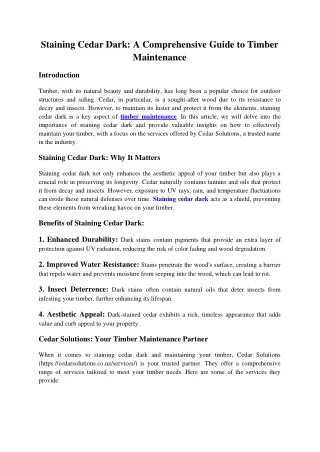
Timber floors exude timeless elegance and add warmth to any space. Whether you're renovating your home or embarking on a new construction project,

E N D
Timber floors exude timeless elegance and add warmth to any space. Whether you're renovating your home or embarking on a new construction project, installing timber flooring can significantly enhance the aesthetic appeal and value of your property. However, proper installation is crucial to ensure longevity and optimal performance. In this comprehensive guide, we'll take you through the step-by-step process of timber floor installation, equipping you with the knowledge and confidence to achieve professional results. Step 1: Preparation Before diving into the installation process, thorough preparation is essential. Start by acclimating the timber planks to the environment in which they will be installed. This typically involves storing the planks in the room where they will be laid for a few days to allow them to adjust to the temperature and humidity levels. Next, ensure that the subfloor is clean, level, and dry. Remove any existing flooring material and address any imperfections in the subfloor, such as bumps or dips, using a self-leveling compound if necessary. A smooth and even surface will provide the ideal foundation for the timber floor. Step 2: Underlayment Installation
Installing an underlayment is often recommended to provide added cushioning, noise reduction, and moisture protection. Depending on the type of timber flooring you've chosen, the underlayment material may vary. Follow the manufacturer's instructions to lay the underlayment evenly across the entire subfloor, overlapping seams and securing it in place with adhesive or tape. Step 3: Layout Planning Before installing the timber planks, carefully plan the layout to ensure a visually pleasing result. Start by determining the direction in which you want the planks to run, considering factors such as the shape and size of the room, natural light sources, and the location of doorways. Dry lay several rows of planks to visualize the pattern and make any necessary adjustments. Step 4: Installation With the layout planned, it's time to begin installing the timber flooring. Depending on the type of timber flooring you've selected—whether it's solid hardwood, engineered wood, or laminate—the installation method may vary. Follow the manufacturer's guidelines and use the appropriate tools and techniques.
For tongue-and-groove hardwood or engineered wood planks, start by laying the first row along the longest wall, with the tongue side facing the wall. Use a spacer to maintain the expansion gap between the planks and the wall, typically around 1/4 inch. Secure the planks in place by nailing or gluing them to the subfloor, ensuring each plank is snugly fitted against the previous one. Continue installing subsequent rows, interlocking the tongue and groove edges and staggering the end joints for a seamless finish. Use a tapping block and rubber mallet to gently tap the planks into place, ensuring they are level and tightly joined. For laminate flooring, follow a similar process, but instead of nailing or gluing the planks, simply click them together using the locking mechanism provided by the manufacturer. Step 5: Finishing Touches Once all the planks are installed, remove the spacers and install baseboards or quarter round molding to cover the expansion gap around the perimeter of the room. Use a saw to trim the planks as needed to fit around door jambs and other obstacles. Finally, give your newly installed timber floor a thorough cleaning to remove any dust or debris. Depending on the type of finish, you may also apply a coat of sealant or polish to enhance its durability and shine. By following these step-by-step instructions, you can achieve a flawless timber floor installation that enhances the beauty and value of your space for years to come. Enjoy the timeless elegance and warmth of your new timber floors!