Download
1 / 4
40 likes | 83 Views
In this file included guideline about photography, from where people will be know about product photography.<br>Visit here: https://ukclippingpath.com/

E N D
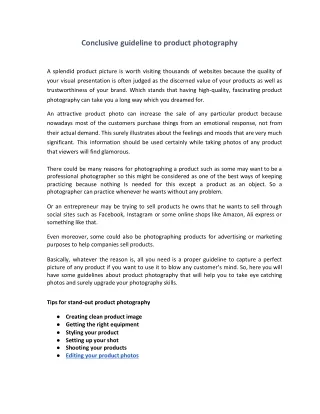
Conclusive guideline to product photography A splendid product picture is worth visiting thousands of websites because the quality of your visual presentation is often judged as the discerned value of your products as well as trustworthiness of your brand. Which stands that having high-quality, fascinating product photography can take you a long way which you dreamed for. An attractive product photo can increase the sale of any particular product because nowadays most of the customers purchase things from an emotional response, not from their actual demand. This surely illustrates about the feelings and moods that are very much significant. This information should be used certainly while taking photos of any product that viewers will find glamorous. There could be many reasons for photographing a product such as some may want to be a professional photographer so this might be considered as one of the best ways of keeping practicing because nothing Is needed for this except a product as an object. So a photographer can practice whenever he wants without any problem. Or an entrepreneur may be trying to sell products he owns that he wants to sell through social sites such as Facebook, Instagram or some online shops like Amazon, Ali express or something like that. Even moreover, some could also be photographing products for advertising or marketing purposes to help companies sell products. Basically, whatever the reason is, all you need is a proper guideline to capture a perfect picture of any product if you want to use it to blow any customer’s mind. So, here you will have some guidelines about product photography that will help you to take eye catching photos and surely upgrade your photography skills. Tips for stand-out product photography ● Creating clean product image ● Getting the right equipment ● Styling your product ● Setting up your shot ● Shooting your products ● Editing your product photos
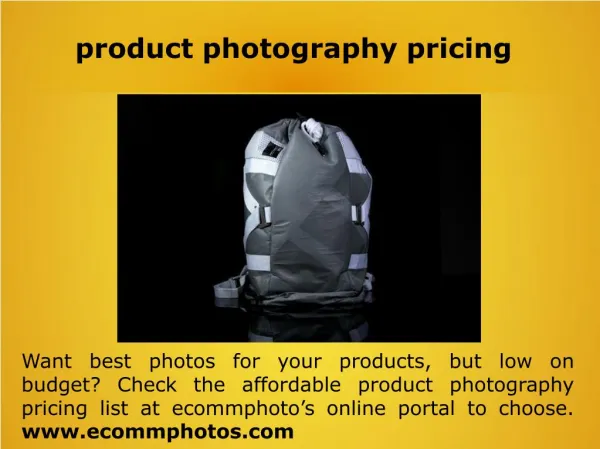
Creating clean product image One major part of creating a product photograph is a clean product image. Without a clean image it will be difficult to highlight that product to the customers. A nice shaped clean image clarifies the object properly that helps the consumers to fix what exactly they are looking for during their online shopping. Before hitting the shots for products, make sure the customers priority about what types of product they are looking for or are there any specific types of product they want to get? Or, does the levels are perfect enough to make the product visible? Only a perfectly well planned shoot can answer these questions. So make these okay before to sit for the shoot. Getting the right equipment You have to be well equipped before starting the shoot. There is no end of equipment, but you should have at least some basic tools such as: ● A Camera ● A tripod ● A white background ● White bounce cards made of foam board ● A table ● Tape ● The right room A camera is the main thing that is so vital for photography though it does not need to be crazy enough. A simple camera, or sometimes a mobile with a high resolution is so ample for product photography. If a tripod could fix with the camera, it will help you to get a good quality picture by saving from any kinds of wobbling. Including that a white background will make your hard work less by saving time from editing. All you have to do it on a table if you want to get your desired output because without ensuring a straight floor it will never be possible to take an eye catching photo, but before doing all of these you have to ensure a right room if you want to get evaluated on your product to your customers.
Styling your product It is the photographer’s responsibility to bring out the best possible look of any product. To do so, he has to carry all his safety kits for his camera. Deymonaz says, “I always have my cleaning kit with some glass cleaner, scissors, and Goof Off to remove labels, fingerprints, and dust. I make the product look as beautiful as possible in camera, which saves me a lot of time in post-production.” So it should be kept in mind. Setting up your shot After setting up the camera and the product in front of a white background then you need to make sure the brightness to make the object more attractive using a softbox product photography lighting. These creates a keen light that deducts the unwanted shadows. Since you want your customers to read the details about the labels, so a straightforward light setup should be used instead of the existing room light. Even it will never be a wise decision to shoot under a natural light as it could change any time, but in case, if you ever need natural light for any purpose, you should arrange an artificial lighting system besides that as a backup for any unwanted situation. Shooting your products For some subjects, taking single exposures may not always be effective because you might have to provide details from different angles or sometimes consumers expect details from all different parts of their chosen product as they are unable to observe that physically. “I’ll take anywhere from three to ten different captures and composite them into one shot,” notes Deymonaz. Make sure you have strobes, reflectors or other necessary stuffs besides you at any time you have to change your angle for your product and most importantly for your small subjects, you may also need to use focus stacking to ascertain every part of the subject that you want to focus. Editing your product photos It is said that editing is the ornament of a picture. No product photography is considered as perfect without a proper editing. Even sometimes the acceptability of a photo to the customers depends on how accurately the photo is edited. In terms of editing, every photographer has their own choice and this is where they can show their creativity most.
“I always start editing by first adjusting any brightness and exposure issues,” says Aagesen. “I’ll then adjust the white balance, make sure the colors are just right, and then I’ll edit the contrast, highlights, and shadows.” And these are the possible guidelines that you need to follow for a product photography without having a bunch of gears. So, keep practicing yourself as much as you can.