Download
1 / 6
60 likes | 68 Views
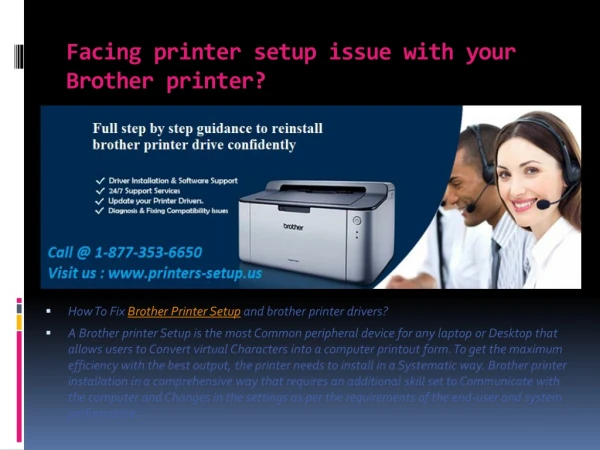
The unboxing Brother HL 4150CDN setup is given here to configure your printer and driver settings easily. And solve the issues using our troubleshooting steps.<br>

E N D
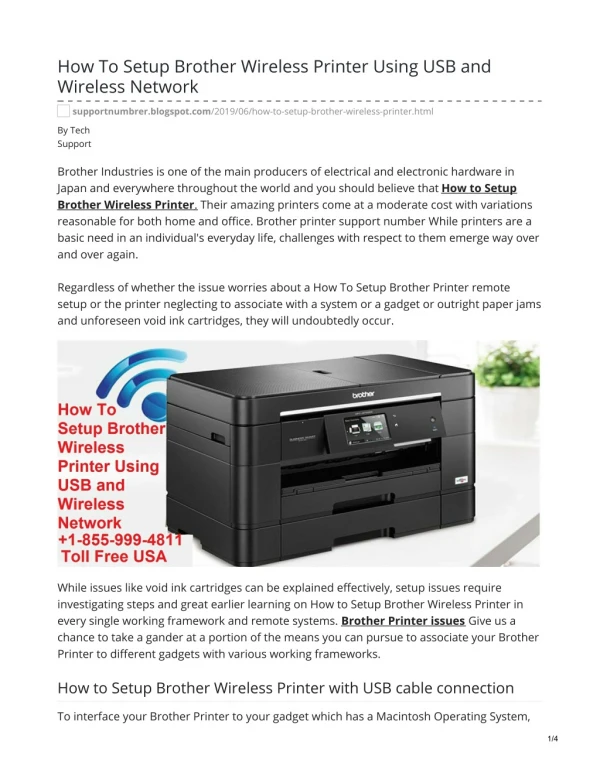
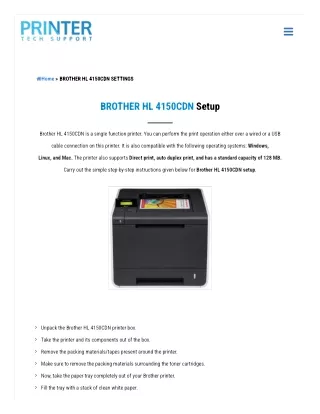
» BROTHER HL 4150CDN SETTINGS Home BROTHER HL 4150CDN Setup Brother HL 4150CDN is a single function printer. You can perform the print operation either over a wired or a USB cable connection on this printer. It is also compatible with the following operating systems: Windows, Linux, and Mac. The printer also supports Direct print, auto duplex print, and has a standard capacity of 128 MB. Carry out the simple step-by-step instructions given below for Brother HL 4150CDN setup. Unpack the Brother HL 4150CDN printer box. Take the printer and its components out of the box. Remove the packing materials/tapes present around the printer. Make sure to remove the packing materials surrounding the toner cartridges. Now, take the paper tray completely out of your Brother printer. Fill the tray with a stack of clean white paper.
Adjust the paper guides correctly and place the tray back into the printer. Connect your Brother printer to an AC power outlet and print a test page. Printing a test page: When the printer turns ON and displays Ready, press the Go button on its control panel. Now, your Brother printer will start printing a test page. Check the print output to make sure that the configuration is done correctly. Now, set the basic printer settings such as language and the other preferences as per your needs. Once you complete the printer’s physical setup process, begin the software installation. USB: If your connection type is USB, then make sure that the USB cable is not connected between the printer and your computer. Open the Brother HL 4150CDN printer driver file on your computer. Follow the on-screen instructions. When prompted, select the USB option as the connectivity type and connect the printer to your computer. Complete the printer setup process by following the on-screen instructions. Wired: Connect your Brother printer to the router using an Ethernet cable. Using another Ethernet cable, connect the computer to the same network that your printer is connected to. Now, open the Brother HL 4150CDN printer driver on your computer. Choose the Wired option when prompted. Finish the printer driver installation by following the on-screen instructions. Finally finish the Brother HL 4150CDN setup, try a test print. BROTHER HL 4150CDN DRIVER DOWNLOAD – STEPS OLocate and click the Driver Download button provided on this web page. OAs soon as you click it, the Brother HL 4150CDN printer driver(s) available for your current OS type will be downloaded. BROTHER HL 4150CDN MANUAL DOWNLOAD – STEPS Locate and click the Manual Download button provided on this screen. The Brother HL 4150CDN printer’s user guide will be downloaded on your computer. BROTHER HL 4150CDN DRIVER MAC – STEPS Visit the Brother printer’s official site. Search and select your printer model.
On your printer’s support page, click the Downloads tab. From the drop-down menu, select the Mac operating system. Choose the printer driver that you wish to install on your computer. Click Download. Now, the selected Brother HL 4150CDN printer driver file will be saved to your computer for Brother HL 4150CDN setup. BROTHER HL 4150CDN WIRELESS SETUP – STEPS The Brother HL 4150CDN printer doesn’t support Wi-Fi connectivity. You can prefer wired or USB to connection for your printer. To connect the Brother printer to your network over a USB cable connection, follow the below instructions. First, disconnect the Brother printer from your computer if it is connected. Now, open the Brother HL 4150CDN printer driver on your computer. Click Install Printer Driver > Yes. When prompted, select the USB connection option and connect your Brother printer to the computer using the USB cable. Complete the Brother printer driver installation by following the on-screen instructions. Once the Canon printer driver installation process has been completed, try a test print using the Brother HL 4150CDN wireless setup. BROTHER HL-4150CDN TONER RESET – STEPS Usually, after installing a new toner cartridge, the printer will automatically reset its toner level. If the printer fails to do it, then you need to manually reset the toner level. To do so, perform the following instructions. First, make sure to keep your Brother printer’s front cover open while accessing the toner cartridge. Now, press and hold the following buttons: Cancel and Secure Print. Release both the buttons once the Toner menu displays on your printer display. Now, select the toner cartridge that you wish to reset by pressing either + or -. After selecting the toner, press the OK button on your printer’s control panel. Once the toner has been reset, close the front cover of your Brother HL 4150CDN setup.
BROTHER HL 4150CDN TROUBLESHOOTING – STEPS Generally, when your Brother printer encounters an issue or problem, it is informed to you by means of an error code or message. By identifying the error message displayed on the screen, you can resolve the Brother printer issues easily and quickly. For example, Cartridge error is displayed on your printer screen; then, it means the toner cartridge is not installed properly. To clear this error message, reinsert the toner cartridge properly. Paper jam, printer offline, fuser error, and printer not printing are some of the common issues encountered by the Brother printer user it can be solved using Brother HL 4150CDN troubleshooting setup. Paper Jam: Usually, a paper can jam in the following locations of your printer: Tray 1, Tray 2, fuser unit, back cover, and inside the machine. As soon the error paper jam is displayed on the screen, restart your printer because this error may also occur due to a problem with the fuser unit. If the restart process doesn’t clear the paper jam, then identify the jam location and remove the jammed paper from your printer. Printer Offline: Initially, make sure that your Brother printer is turned ON. Make sure your Brother printer and the computer are connected. Similarly, check if you have selected the correct Brother printer type while performing the print operation. Fuser error: This error indicates that your printer’s fuser unit temperature doesn’t reach the expected range. To clear this error, turn off your Brother printer and turn it ON after waiting for 15 minutes. Printer not printing: Ensure that your Brother printer and the computer are connected to the same network.
Make sure that your printer’s front cover is closed. Check if the paper tray contains enough paper to perform the print operation. Make sure that you have installed the Brother HL 4150CDN printer driver correctly on your computer. If you need remote assistance in resolving the above-mentioned issues or any other printer problems, and get Brother HL 4150CDN setup, contact us. Disclaimer: Airprint.us offers technical support for all printer brands/models. We function independently and are NOT associated with any printer manufacturer. All information on the site is only for reference purposes, and we disclaim any damage or loss incurred by using the site. For warranty/services/ hardware for your products, contact the manufacturer. Go through the Privacy & Policy, Terms & Conditions of the site before using it. Top HP Printer Models HP Envy Printers HP Officejet Printers HP OJPRO Printers HP Deskjet Printers HP Laserjet Printers
Quick HP Printer Assistant HP Laserjet Pro Printers Sprocket Printer AMP Printers HP Pagewide Printers HP Photosmart Printers Copyright © 2020-2021 airprint.us | All rights are reserved. About us Privacy Policy Contact Us Refund Policy Terms and Conditions Disclaimer Sitemap