1 / 3
30 likes | 42 Views
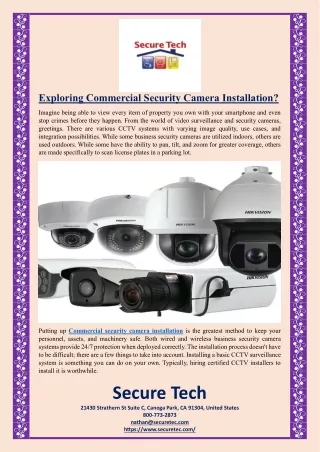
We are authorised resellers for Hikvision, Dahua, TP-Link, Swann, HiLook - as authorised resellers products you get are genuine and backed with a manufacturer warranty.

E N D
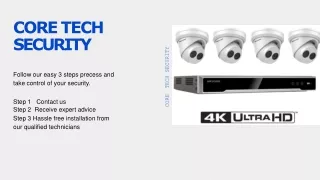
Guide to DIY Security Camera Installation For those not familiar with technology, installing a security camera in your house may seem daunting. You might be tempted to hire a professional to assist you, but this could be costly! Installing a camera in your home is easy! These steps will help you understand the basics and clear up any confusion. It is important to note that different types of CCTVs, such as bullet, Dome and IP camera are installed in different ways. These steps can be used for all types of CCTV installation. Important to remember that if your IP address is powered over Ethernet (power over Ethernet), then you don't need to provide power to your cameras. For those with analogue or HD-SDO systems, you will need to ensure that all cameras have power. Phase 1: Preparation 1) Determine the type of camera that you will use The process of installing video surveillance cameras and systems varies. Wired or wireless security camera - which one should you choose? It all depends on your security needs. It all depends on your security needs. Do your research and make sure you are aware of the features that are available. For greater flexibility and ease of installation, you can get WiFi security cameras, particularly battery-powered cameras. However, wired PoE IP camera will provide stable network signals. 2) Choose the best place to mount your camera Knowing where your home security cameras should help you maximize your camera's effectiveness. Find out how much angle coverage the camera can cover. Security experts recommend the following locations and positions: front door, backdoor and off-street windows. 3) Prepare all the necessary tools and materials for a smooth installation Tools required for installation are generally screws, anchors and cables. You will be able to install your system quickly and easily. You will usually find the necessary screws in your camera box if you purchase an all-in-one surveillance camera (system Vstarcam highly recommend). Phase 2: Installation
1) Look for places that offer a great view and stable power sources. This is an important step towards self-installation of home surveillance systems. When deciding where to put the camera, pay attention to these details: •To ensure a better view, mount your camera high. To save money, cover as many entries possible with as few cameras as possible. •The security camera should be placed in an area that is not easily accessible by thieves and home intruders, as well as children. •Do not point your camera at a light source. The slight underexposure of images and videos captured if the camera is pointed towards the source will result. •Place cameras close to a power source. Power supply is essential for wireless video cameras. •The required mounting bracket should be placed under the eave. This protects outdoor security cameras against severe and changing weather. •It is best to not install a security camera under windows. Otherwise, IR reflections could cause overexposed images or videos (click here for more information). •Do not install security cameras on neighbor's properties, bathrooms, or other places where there is a reasonable expectation that privacy will be maintained. 2) Mounting the camera Make holes for your camera to be mounted on the ceiling, wall or other locations you have chosen. Then point your camera at the correct angle and position. When positioning your security camera, ensure it is able to detect motion. 3) Arrange the cables and wires The most difficult part of CCTV installation seems to be running security camera wires. Plan the route of the security camera wires in the preparation phase. This is especially important if you intend to install multiple cameras, such as in hallways, basements, garages, ceiling soffits, and under the eave. If you're installing the camera cables in a house with two or more stories, drill holes. Place all the camera cables ends on the holes that you've drilled. You can hide the wires and keep them from fraying. You can also pick a place where you want all your cables placed. Each cable wire also contains two wires and their connectors. One wire is for good power supply. The other wire is for the video recorder. You have two options for power supply: you can use one power source or each wire on its own socket. After the wires for view record have been connected to DVR/NVR Recorder, they will be connected to your monitor. Here you will see all images that were captured by the cameras. 4) Connect the cameras to activate them
Next, connect your home's CCTV system and verify that it is able to get power. Visit: https://cctvwise.com/