Download

1 / 6
60 likes | 69 Views
QuickBooks Pro provides options to install a multiuser mode for a single person to use on two computers or for multiple users. Each separate user must have a valid license to use the QuickBooks software.<br>

E N D
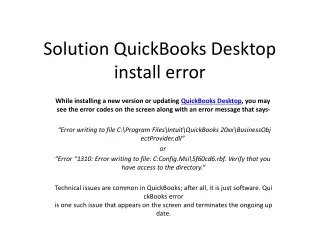
How to Install QuickBooks Desktop Pro for Multi-User Setup Wizxpert.com
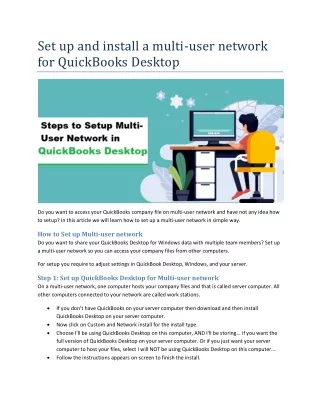
How to Install Multi User QuickBooks on a Server First, you have to install the Quickbooks Pro multi user software on your computer. And follow the installation instructions below to setup Quickbooks multi user mode. • Firstly, you need to close all the running application on your system. • Then, insert the QuickBooks CD into the drive and start the program. • After that, select yes to all when asked to overwrite existing files. Click next and agree to the agreement and then next again.
Click on custom and networks then choose the one that doesn’t require a licence but allows you install the company files through which you can share your company’s files over the network. • Click on more than one user and choose install database server only. Follow the installation instructions and select the option that allow access other computers to open files on this computer. Then click on next. • After that, click on install button then choose the finished option to launch the QuickBooks. • Then, choose the scan folders and click on add folder. Now, proceed to select the location where the company’s file is stored. • In the end, choose scan and close when the scanning process is complete.
How to Configure QuickBooks Database Server Access If you have successfully installed the QuickBooks, then do is configure the database server access. The steps for that are given below. • Enter the QuickBooks, click on files and then on the utilities menu. • On the computer, you want to use for the administrator access, click on the file and then utilities. From the option displayed, select "host multi-user access". • Click on the company’s menu and select users and passwords.
Add the username and password then proceed to choose the access option for the user. Here, you also need to set up the deleting and changing transaction options for the user. Then click on finish. • After that, proceed to the various computer connected to the network, open the QuickBooks and select file and then select “open or restore” company. • Choose the open a company file and click on next. • Search the network location where your QuickBooks database server management file was stored and click on it to open. • In the end, input the username and password for each computer and log in.