Download
1 / 2
20 likes | 34 Views
In some cases, useru2019s encounter Window 10 keeps refreshing. To fix this issue, you should install Webroot antivirus as it scans your device and do not interfere in systemu2019s working.<br><br>https://www.webroot-safe.com/blog/how-to/webroot-stops-window-10-from-refreshing/

E N D
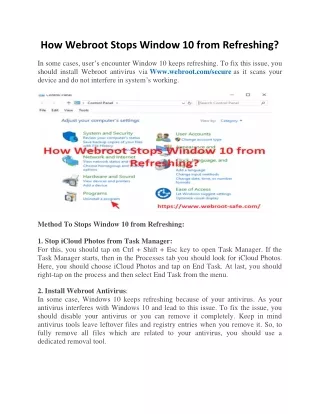
How Webroot Stops Window 10 from Refreshing? In some cases, user’s encounter Window 10 keeps refreshing. To fix this issue, you should install Webroot antivirus via Www.webroot.com/secure as it scans your device and do not interfere in system’s working. Method To Stops Window 10 from Refreshing: 1. Stop iCloud Photos from Task Manager: For this, you should tap on Ctrl + Shift + Esc key to open Task Manager. If the Task Manager starts, then in the Processes tab you should look for iCloud Photos. Here, you should choose iCloud Photos and tap on End Task. At last, you should right-tap on the process and then select End Task from the menu. 2. Install Webroot Antivirus: In some case, Windows 10 keeps refreshing because of your antivirus. As your antivirus interferes with Windows 10 and lead to this issue. To fix the issue, you should disable your antivirus or you can remove it completely. Keep in mind antivirus tools leave leftover files and registry entries when you remove it. So, to fully remove all files which are related to your antivirus, you should use a dedicated removal tool.
It via webroot.com/secure, as this antivirus will not interfere in your device working. 3. Turn on Wi-Fi and Shut down your PC: Sometimes, Windows 10 keeps refreshing because of your Wi-Fi. To fix this problem, you should turn off your Wi-Fi and shut down your PC. When you turn on your PC, then the issue will be resolved. At this point, you should turn on your Wi-Fi and then check if the problem appears or not. is advised you should install Webroot antivirus software 4. Disable OneDrive: To disable, you should press Windows Key + R together and then enter gpedit.msc and press Enter key. Now, Group Policy Editor will begin. Then in the left pane, you should go to Computer Configuration and tap on Administrative Templates and visit to Windows Components and hit on OneDrive. Now in the right side, you should double tap on Prevent the usage of OneDrive for file storage. At last, you should choose Enabled and then hit on Apply and OK to save changes. In case, you cannot use Group Policy Editor in your PC, you should disable OneDrive from Registry Editor. For this, you should tap on Win Key + R together and then enter regedit and hit on Enter key. It is advised you should create a backup. Then in the left pane, you should go to HKEY_LOCAL_MACHINESOFTWAREPoliciesMicrosoftWindows After this, create a OneDrive key available, if it is not there then you should create it. When you go to the OneDrive key, then in the right side you should select New and tap on DWORD (32-bit) Value. At this point, you should enter DisableFileSyncNGSC just the name of the new DWORD. Here, you should double click DisableFileSyncNGSC DWORD just to open properties. Just set Value data to 1 and then tap on OK to save changes. At last, close Registry Editor and then restart your PC. For to Www.webroot.com/secure. more information about Webroot, you should go