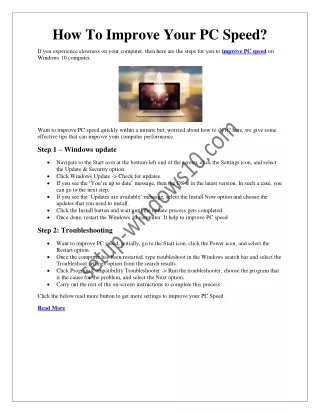
Fix Slow LAN Speed Issues on Window 10 PC
20 likes | 32 Views
Slow internet speeds is a real pain especially when streaming or downloading content. This guide will show you how to fix common issues that cause the slow LAN speeds. Check out our Network Fix page if you need additional articles on troubleshooting network issues. https://morioh.com/p/71f8c54e02ca

Fix Slow LAN Speed Issues on Window 10 PC
E N D
Presentation Transcript
What is the Method to Fix Slow LAN Speed Issues on Window 10 PC? In some cases, user’s complaints Slow LAN Speed issues on Window 10 PC while downloading and streaming content. In this blog, you will read the method to fix Slow LAN Speed issues on Window 10 PC. For more help associated with Window 10 PC, you should navigate to the site of MS Office via www.office.com/setup. Method to Fix Slow LAN Speed Issues on Window 10 PC: 1. Install Latest OS and Driver Updates: In some cases, your LAN speed becomes slow if in case, your drivers or system are outdated. In order to fix this issue, you should download the latest updates. Because, system updates generally fixes the hardware and software issues, that is why it is necessary that you keep your PC updated. Normally, Windows downloads and installs the updates automatically but sometimes problem occur with Windows Update. So to fix this issue you should check for updates manually by pressing the Windows Key + I altogether just to open the Settings app. If the Settings app opens up on your screen, then you should visit to Update & Security section and then tap on Check for updates button. 2. Disable or uninstall your VPN: For this, you should open the Settings app and then go to Network & Internet section. After this, you should choose Proxy which is in the left side of the screen. At last in the right side, you should disable all options. 3. Check your Hardware: It is advised you should unplug your modem timely as it affects your performance. You should also use a different port because may be which you are presently using is broken. Keep in mind not all network cables are equally created and some cables slow down your internet connection.
4. Disable Windows Auto-Tuning Feature: First of all, you should press Windows Key + X just to open Win + X menu. After this, you should choose Command Prompt as Admin or Powershell as Admin from the menu. Now, you have to launch Command Prompt by writing cmd in the search box. Here, you have to type the command: netsh interface tcp show global At this point, you should look for the Receive Window Auto-Tuning Level feature and then disable it. In order to disable it, you should write the command netsh int tcp set global autotuninglevel=disabled At last, you should initiate a test and then check if this solved the issue. 5. Disable Large Send Offload (LSO): The user should press Windows Key + X together and then select Device Manager from the list. After this, you should double-tap on your Network Card and then tap on the Advanced tab. Here, you should choose Large Send Offload V2 (IPv4) and then just set the value to Disabled. Keep in mind, you have to do the same procedure for Large Send Offload V2 (IPv6) and then tap on OK button. 6. Change your DNS Settings: To change your DNS settings, you should type Network and Sharing Center and then choose the first result. Now, you should visit to Change adapter settings and then right-tap on the Ethernet network interface and then choose Properties. Here, you should choose Internet Protocol Version 4 (TCP/IPv4) and then visit to Properties. At last, you need to choose the option “Use the following DNS server addresses” and then write your preferred and alternate DNS addresses. With this method, you can fix the issue if Slow LAN Speed Issues on Window 10 PC. If the customer needs help for solving problem, then visit to the Microsoft Account official website via www.office.com/myaccount.