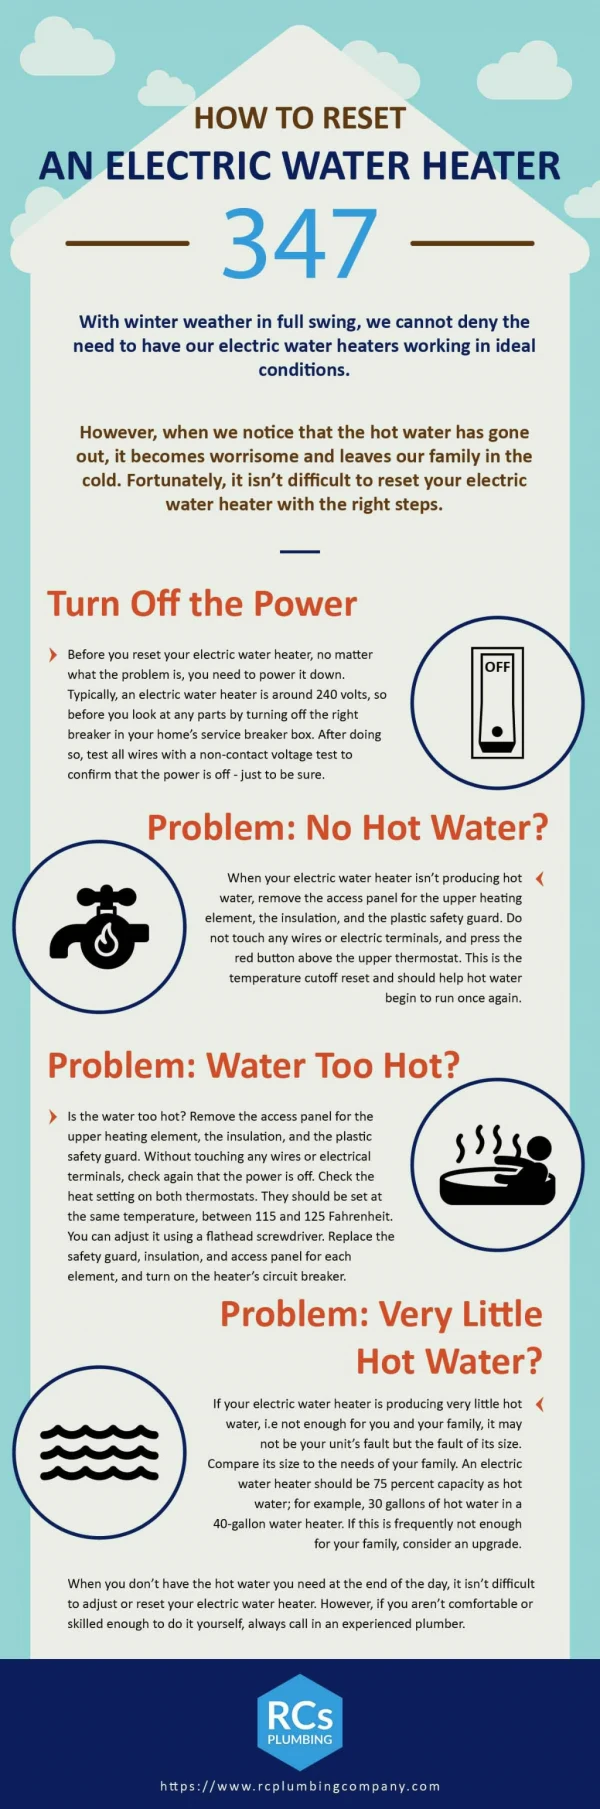
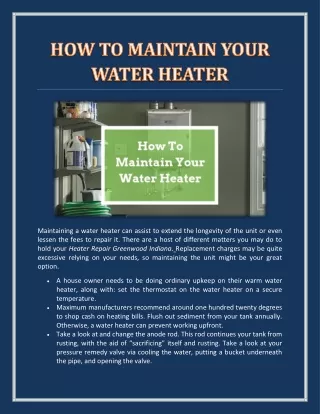
Download
1 / 2
20 likes | 26 Views
In this article, you can learn how to install a water heater

E N D
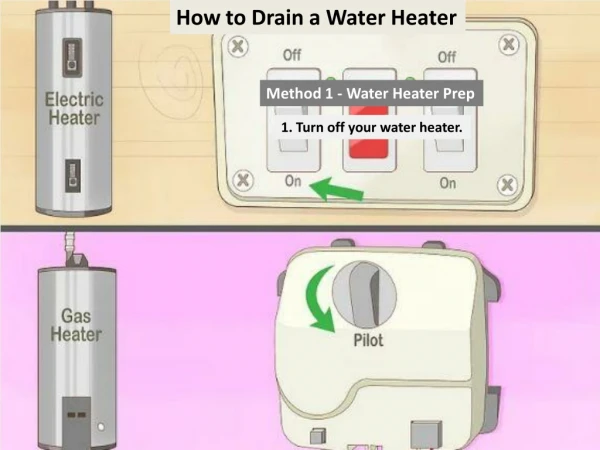
How to install water heater Let me guess you went downstairs to check the laundry or buy a tool and there he was. There is a large puddle all over your basement and it comes from under the geyser. This is the obvious and most common sign that you need a new kettle installation. If you have experience with Do It Yourself projects around the house, installing a new kettle shouldn't be a problem for you. Follow the steps in this article and you'll set up your new kettle in a matter of hours. Installing a kettle will save you up to $ 300 or $ 400, depending on where you live. If you are not very DIY anymore, you can still set up your own water tank, but it may take a little longer than a few hours. But if you like a challenge and aren't afraid of doing repairs in your home, you will be able to install the heater yourself. Tools and Materials need to install Water Heater: 1)Water Heater - If you have 40 gallons and want to increase to 50 gallons, install your extraction, now is the time to do it. If you have a 50-gallon amount, I DO NOT recommend switching to anything less than you have. 2)¾ Fittings - You will need 2 ¾ connections and possibly a few bends. Check what kind of pipe you have for your water heater. It can be copper, CPVC, PEX or galvanized. I recommend getting the Shark Bite ¾ fittings because they are very easy to install with PEX, CPVC and copper pipes. When you have galvanized pipe, you may need to buy a conversion fitting and adapt it to one of the other pipes for easier installation. 3)Black Pipe Fittings - You may need a few ½ black pipe fittings and elbows to lengthen or shorten the gas line that connects to the heater. I installed the last gas line. 4)2 - ¾ dielectrics. Always replace dielectrics when installing a new kettle. Make sure you get the proper dielectrics for the pipe material in your home. 5)T&P Valve usually comes with new heaters. 6)Torch, Flux, Solder, sandpaper 7)Channel Locks or offset pliers 8)Pipe wrench 9)Pipe Thread solution or Teflon tape 10)Garden hose. Water Heater Let's start now that we have all our ingredients. First, turn off the main water supply to the home. Close the gas valve on the gas line to the next kettle. Now connect the garden hose to the base of the kettle and run the hose to the nearby floor drain. Open the valve (this looks like an outer hose apron) and let the heater begin to drain. In the meantime, go all over your house and turn on all the taps. Make sure to leave the taps turned on and the hot and cold water turned on. This will ensure that all water will drain from the heater much faster. While the water drains from the old heater, take the new kettle out of the box. First, glue the two shafts protruding from the top of the heater to the pipe. Screw in new dielectrics after doping. Then, if your heater came with a T&P valve, open its box and glue these threads with the pipe. Screw the T&P valve to the side of the heater, where it goes there will be a hole with threads on it. You may need to use your pipe wrench to open the last turn with the valve facing down. Now you have the heater ready and ready to go. When the purging of the old heater is complete, disconnect the gas pipe at the union assembly. This is the connection with a hexagonal middle. Once the fitting is disconnected, separate the rest of the pipe ONLY at the heater you are replacing. Now we will separate the water pipes. Use your channel locks to disconnect the dielectric. They will disconnect, just like gas pipe fittings. Cut out any old dielectric from copper or other pipes you may have.
Once all pipes have been removed from the kettle and it looks like there's no water left in the tank, start pulling the old kettle out of the way. Make sure you leave enough space to accommodate the new heater. If you have a small space, you may need to remove the old kettle to make room for the new kettle. Align the new water heater with the pipes connecting the old heater. If you find that you need to change some water pipe, leave the pipe with the cold water valve straight pipe and reconfigure the hot side. Connect the water pipes to the new heater using shark bite fittings or any fittings you decide on. If you have copper pipe you may need to solder the new dielectrics to the water pipe. When you solder the dielectrics, I recommend finding out how many pipes you need from the dielectric to the coupling and then cut the length and solder it to the ground. This will provide an easier soldering job. You will also want to remove the flakes from dielectrics to avoid burning them. The water pipe is now connected. After everything has cooled down. If you need to do any soldering. Replace the washers in the dielectrics and tighten. Turn on the main water supply. While the kettle is filling, leave the taps open so you can purge all air from the system. Now you will know what you need for the gas pipe. Connect the gas pipe to the heater. If you're lucky, the gas pipe from the old heater will line up with the new heater. If not, reconfigure as needed. You can buy gas pipes in all ranges and sizes. After all the air in the system is evacuated, close the taps. Now the kettle is filled, you need to light it. Most of the new heaters have a manual lighting system. This works just like a barbecue grill does. When you press the pilot button and click the clicker, the pilot light turns on. After about 30 seconds, turn the heater to the desired setting and your water tank will start heating the water. You should have hot water in about 30 to 40 minutes depending on the size of the tank. You can get our best water heater maintenance services