Download
1 / 31
350 likes | 634 Views
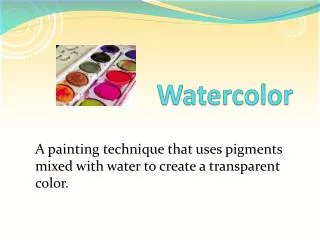
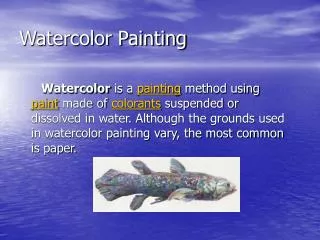
Painting Architectural Portraits In Watercolor. You could paint a castle. Or a castle on a hill. Or the view of your house from across the street. Have you seen a barn lately?. Do you have photos from your vacations Like this?. Or this?.

E N D
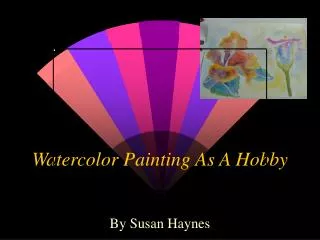
Painting Architectural Portraits In Watercolor
You could paint a castle
Do you have photos from your vacations Like this?
Maybe you have a favorite vacation spot, like a cabin in the woods
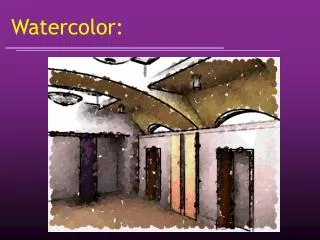
Have you seen any churches around here?
Yong Chen "Painting is my life-long passion. Painting is a means for me to express the emotions I find in the relationships of people and nature." http://www.yongchen.com/about.htm http://www.yongchen.com/paintinggallery1.htm
The first step in the process was to visit the house. After I learn the stories of what has happened there, the house becomes a home — a home with memories, a home that each family member wants to remember through the painting I am about to create. This first step is very important. It helps me to establish the emotional connection with my subject. Now is the time to choose the angle and composition for the painting. Next, I made several sketches of the location. See the top sketch for the composition I selected as the basis for the painting. I then took digital photos to capture the details for reference later as I work in my studio.
Using the sketch and the digital photos, I made a detailed pencil drawing. After I had finished with the drawing, I mixed paint colors and made small paint samples on another sheet of paper to determine the colors I wanted to use for the portrait.
I used a big flat brush to wet the upper portion of the paper (behind the house) with pure water, for the sky and the tree area on the left. While the area was still wet, I took a round Chinese brush, dipped some blue mixed with water and brushed the paint into the sky area. I then applied yellow for the tree. Notice that I did not cover the entire area with yellow, but left some spots untouched. These are the spaces where the sky will show through. Starting with the Sky
When the sky area was dry, I started painting the front of the house. First, I applied some yellow color to the left side of the house, and continuously washed the rest of the wall with a mixture of blue and burnt sienna. For the other side of the house next to the red maple tree, I started from the left upper corner with yellow and added more and more red towards the lower right corner of the wall. First Wash on the House
Before I moved my attention away from the house, I touched the popup at the roof. Then I used a mixture of Burnt Sienna and Red, washed into the area right under the yellow tree on the left, and then I mixed Yellow with Blue for the grass area. I then worked into the bushes around the house and the driveway. Notice, I laid one color next another, so that they would naturally merge into each other. Sometimes I picked different colors in the bottom and the tip of my brush before I laid my brush to the paper, to create a special effect. Continue to the Ground
The next as the following: 1) Introduced the first layer of color to the green trees and red maple tree behind and to the right of the house. 2) Painted the window-sidings on the front of the house and the reflection in the window glasses on the right side of the wall. 3) Used mixture of Blue and Burnt Sienna to paint into the shadows on the driveway, and used mixture of Blue, Yellow and a bit Red for the area on the left under the yellow trees. Then I created the shadow on the rooftop. 4) Added shape and details to the bushes. 5) Glazed thin layer of color to create the details to the ground, driveway, trees, and then the house front door and siding. Color and Value
Melinda Hall Growing up in St. Louis, Missouri and having both parents as artists, I started drawing and painting at a very young age. In fact, my favorite subject was houses. I would spend hours on my hands and knees filling up a giant piece of paper with neighborhoods and houses of all different styles. I got my ideas as we drove in the car and I often drew what I saw out the window. To see a slide show of her architectural watercolors click on the URL below. http://www.thewatercolorhouse.com/index.html
Assignment: Select a photo of a building of your choice and use it as a reference to do a watercolor painting on 11” x 15” watercolor paper that has been stretched. Grading Criteria: Well drawn Painted well Good use of value Good use of color and light Shows quality amount of time spent (should take 15 or more total hours inside and outside of class) Has the WOW factor! Remember- “If at first you don’t succeed, turn the paper over and try again”