Download
1 / 14
140 likes | 225 Views
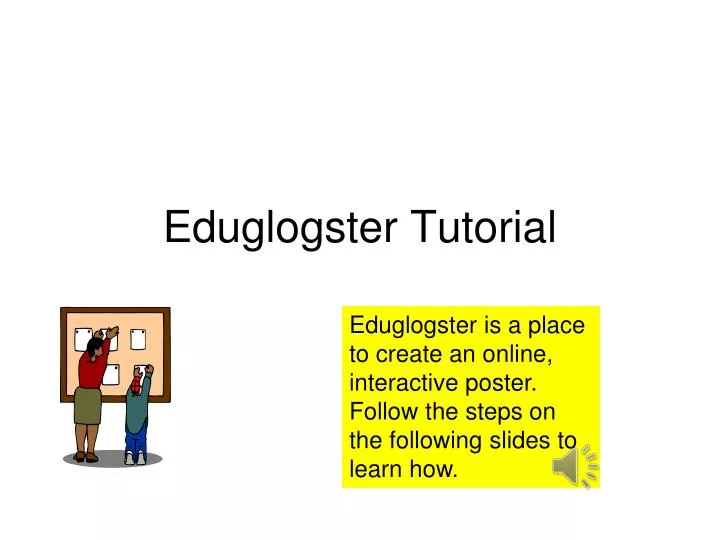
Eduglogster Tutorial. Eduglogster is a place to create an online, interactive poster. Follow the steps on the following slides to learn how. Log in using your user name and password. Click on Create a New Glog to get started. Click on “WALL” to choose your background. 2.

E N D
Eduglogster Tutorial Eduglogster is a place to create an online, interactive poster. Follow the steps on the following slides to learn how.
2 Then close this window 1 When you have chosen one that goes with your topic, click “USE IT!”
Click on objects that you do not want and click the pink trash can
Adding Pictures Click on “UPLOAD” and browse to the file on your u-drive for your pictures. You can load them all into the window Click on “IMAGE” 2 1 3 4 Click on the one you want, “ADD A FRAME” if you want, then click “USE IT!” 5
You can move objects and pictures to where you want them by clicking, holding and dragging them.
Adding Text Click “TEXT” to add the information to your glog (poster). Choose the one you want and click “USE IT!”
Resize and move the text object. To add your text, click “EDIT”. When you are finished click “OK”.
Click here to change the color, font, etc.. Click “APPLY” when you are done.
Add graphics by clicking “GRAPHICS”. Select and click “USE IT!” like before. Be creative, but add things that help your message, not drive the person looking at your glog crazy.
When you are finished, or finished for today, click “SAVE OR PUBLISH”.
Change the name, and click “FINISHED” or “UNFINISHED” and then “SAVE”.