Download
1 / 6
160 likes | 402 Views
RAINSTICKS. The history & Let’s make one!. HOW TO MAKE A RAINSTICK. MATERIALS: Cardboard tubes (wrapping paper) Needle Toothpicks (flat kind) Glue Tempera Paint Rice and beans Scissors Duct tape Markers. CONSTRUCTION DAY ONE.

E N D
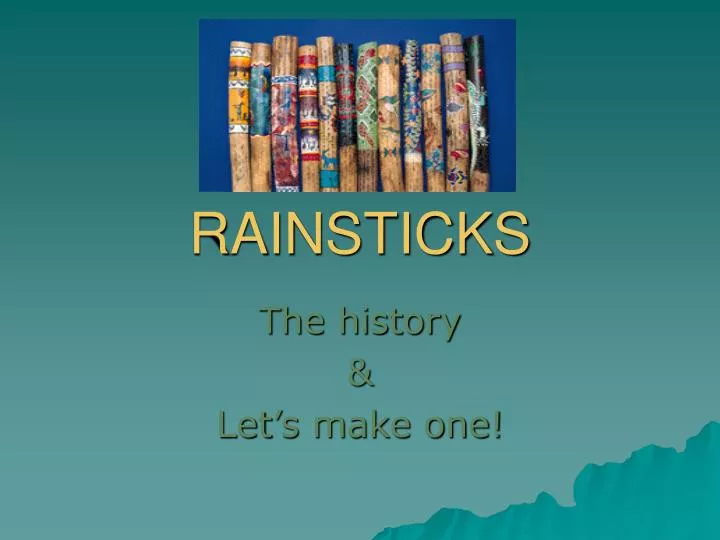
RAINSTICKS The history & Let’s make one!
HOW TO MAKE A RAINSTICK MATERIALS: • Cardboard tubes (wrapping paper) • Needle • Toothpicks (flat kind) • Glue • Tempera Paint • Rice and beans • Scissors • Duct tape • Markers
CONSTRUCTIONDAY ONE *Take cardboard tube and poke holes into it in a radial pattern with your needle *Put glue onto the pointed side of the toothpick and push it into one of the holes until the toothpick hits the inside of the tube *Repeat until all the holes are filled! *Let sit to dry
CONSTRUCTIONDay two *Cover one end of cardboard tube with duct tape securely *Pour rice or beans into the open end of the tube *Cover open end of tube with duct tape AND NOW….
IT’S TIME TO DECORATE!! • Use the tempera paint to decorate your rainstick! • Use markers to write words or draw designs onto your rainstick! • KEEP IN MIND…. The patterns and colors we researched and discussed in class!
SOME REAL EXAMPLES…