Download
1 / 10
100 likes | 764 Views
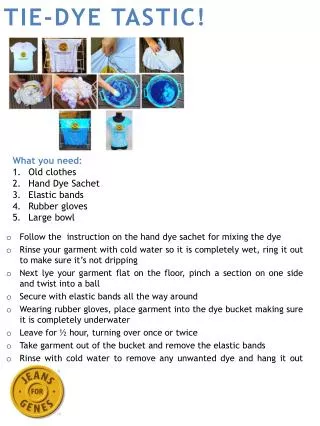
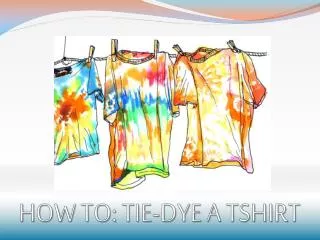
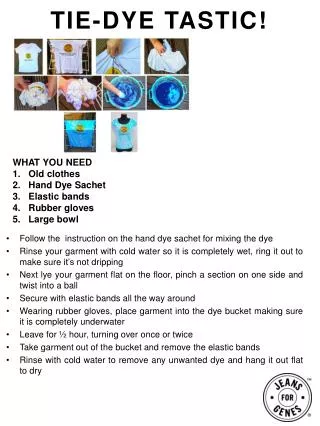
Sharpie Tie Dye Activity. Materials. Pre-washed white t-shirt Sharpie permanent markers (variety of colors) Plastic cups Rubber bands Rubbing alcohol (must be at least 70%) Medicine dropper or bottle dropper. Instructions.

E N D
Materials • Pre-washed white t-shirt • Sharpie permanent markers (variety of colors) • Plastic cups • Rubber bands • Rubbing alcohol (must be at least 70%) • Medicine dropper or bottle dropper
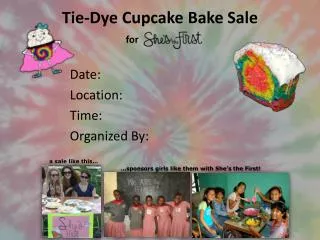
Instructions • Place the plastic cup inside the middle of the t-shirt. Position the opening of the cup directly under the section of the shirt that you want to decorate. Stretch the rubber band over the t-shirt and the cup to secure the shirt in place. 2. Place about 6 dots of ink from one marker in a circle pattern about the size of a quarter in the center of the stretched out fabric. If you like, use another color marker to fill in spaces in between the first dots. There should be a quarter size circle of dots in the middle of the plastic cup opening when you are finished.
Instructions 3. Slowly squeeze approximately 20 drops of rubbing alcohol into the center of the circle of dots. DO NOT flood the design area with rubbing alcohol. The key is to drip the rubbing alcohol slowly in the center of the design and allow the molecules of ink to spread outward from the center. As the rubbing alcohol absorbs into the fabric, the ink spreads in a circular pattern. The result is a beautiful flower-like pattern. Students often remark, however, that the design looks like the colorful surface of a compact disc.
Instructions • Apply as much or as little rubbing alcohol as desired, but do not let the pattern spread beyond the edges of the cup. Allow the developed design to dry for 3 to 5 minutes before moving on to a new area of the shirt. 5. It is important to heat set the colors by placing the shirt in the laundry dryer for approximately 15 minutes. Teachers have also suggested rinsing the shirt in a solution of vinegar and water as a means of setting the colors.