Download
1 / 10
110 likes | 558 Views
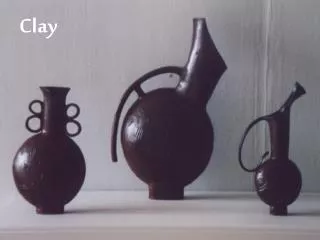
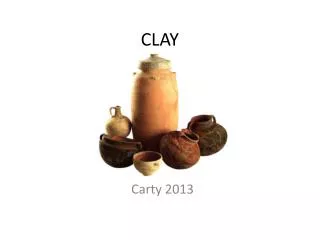
Clay Cup. Clay Vocabulary. Wedge: To knead to remove air bubbles Kiln : An furnace made for firing clay. Score: Making cross hatched marks on clay pieces that will be joined together. Think Velcro!) Slab: A Flat even piece of clay

E N D
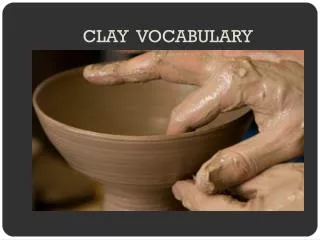
Clay Vocabulary • Wedge: To knead to remove air bubbles • Kiln: An furnace made for firing clay. • Score: Making cross hatched marks on clay pieces that will be joined together. Think Velcro!) • Slab: A Flat even piece of clay • Coiling: A hand building method of making clay objects using long rope like pieces of clay • Green ware: Air dried clay. Very Fragile! • Bisque ware: Clay that has been fired once. Permanent. • Leather hard: Clay that is almost dry. It is cool to the touch. At this stage it is easy to carve.
Continued….. • Slip: A mixture of clay and water • Texture: The art element that refers to the surface quality of an object • Pinch Pot: a method of hand building were a ball of clay is pinched and formed into a bowl shape. • Glaze: A special paint used on clay. Glazes must be fired to see the real colors. Glazes seal the clay body as well. Most glazes are applied to bisque ware.
Making the cup • Roll out slab with rolling pin. • Press design into Slab with rolling pin • Cut slab into a long rectangle about 2” larger than design board. • Connect seam together with a tool. • Attach the cylinder to flat base and cut to fit.
Attaching the handle • Roll out a slab and cut a long strip about 2 fingers wide. • Score the top and bottom of the area on the cup that you be attaching to the cup. • Using a little slip and a tool securely attach the handle to the cup. • Carve your initials and period into the bottom of cup.
Clay project of choice! • Draw a sketch of your next clay project. It can be a container of your choice. You may use… • Slab, Coil or pinch pot construction techniques. • Write a step by step plan as to how you will construct your container. Use correct vocabulary.
IDEAS!!! • Vase • Cup • Planter • Box • Candle holder • bowl