Download
1 / 17
170 likes | 253 Views
Learn about CCD calibrations for astrophotography, including dealing with thermal noise, pre-bias and readout noise, and sensitivity irregularities. Master the techniques to ensure high-quality images.

E N D
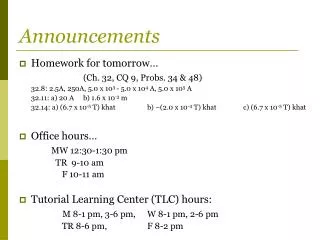
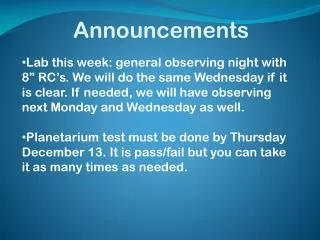
Announcements • Lab this week: general observing night with 8” RC’s. We will do the same Wednesday if it is clear. If needed, we will have observing next Monday and Wednesday as well. • Planetarium test must be done by Thursday December 13. It is pass/fail but you can take it as many times as needed.
The FITS file The FITS Header is a database that is saved with each image of a CCD camera. It contains information on the telescope, time, observers, camera, filters and lots of other stuff.
Problem 1: CCD’s suffer from thermal noise Phonons (thermal vibrations) produce electrons just like photons do. An electron is an electron however it is produced so the heat produced electrons create a constant “noise”
Solution 1: cool the chip Unless the chip is cooled to below -80°C there is still some thermal noise that must be accounted for
Solution 2: take dark frames, lots of them, and average them Take a picture with the shutter closed. The only thing that is imaged is the thermal noise. The image must be at the same temperature and have the same exposure time as your data image. The average of all dark frames will be subtracted from each data image.
Problem 2: pre-bias and readout noise A pre-bias charge is required to “activate” the chip. The readout process can introduce an electronic noise during transfer
Solution: Bias images The bias image (sometimes called “zeroes”) is a zero time exposure with the shutter closed. Zero time eliminates thermal noise so the only thing “imaged” is the pre-bias and read-out noise. The average of all the bias frames is subtracted from each data image unless dark frames are used.
Problem 3: irregularities in sensitivity across the chip and dust bunnies. There are two types of problems here. The first is how the sensitivity changes from pixel to pixel which doesn’t change with time. The second are dust bunnies which do change with time
Solution: Flat Frames Take images of a uniform white background Dome flats are taken of a prepared flat panel inside the dome A flat box can be made to attach to the front of a small telescope
The purist use sky flats or twilight flats For about an hour after sunset or an hour before sunrise the sky is bright enough to take flats without having a lot of stars in the frame
Image Calibration: Master Bias • Be sure the temperature is the same as your data image was taken at • Set the exposure time to zero • Take ~15 images • Average the 15 images • Save the result as Master Biaswith a date identifier • Note: bias images are not always needed
Image Calibration: Master Dark • Make sure camera is at same temperature as the data image was taken at • Set exposure time to the same as the data image used • Take ~15 images with the shutter closed • Average the 15 images • Save the result as Master Darkwith a date identifier
Master Flat • A set of flats should be taken whenever the camera is taken off the telescope or rotated since dust speck will move. • As with all calibration images, make sure the camera is at the same temperature as the data image was taken at • Find a plane white background to image Large whiteboard evenly illuminated, Flatbox or twilight sky
Master Flat 1 • Set exposure time to reach 35% - 50% saturation. Saturation is found by dividing the full well capacity by the camera gain. Both numbers are found in the camera manual. • Once exposure time is determined, take ~10 dark frames of the same time and create a Master Dark for your flats. • Take ~15 Flat frames. If possible, spread them out over the imaging session: a few before your first data image, a few halfway through and a few more after completing your data images.
Master Flat 2 • Subtract the Master Dark (for your flats) from each flat frame. Save each with a number and date identifier. • If you aren’t doing darks, subtract the Master Bias from each flat frame and save each • Average all the dark subtracted (or bias subtracted) Flat images and save the result as Master Flatwith a date identifier. • If you are doing color imaging, each color must have its own independent flat frames
Image Calibration: Applying the Masters to the data images • Subtract the Master Dark from each data image • Subtract the Master Bias from each data image* • Divide each data image - Dark-Bias by the Master Flat • You now have calibrated your images. • *Bias isn’t needed if darks are used(the dark frames all have the bias in them)