Download
1 / 30
340 likes | 852 Views
Clinical Examination of the Ear, Nose and Throat. Dave Pothier St Mary’s 2003. Important things to remember. ABC is ALWAYS necessary See patient as a whole Look at patient from the time they enter the room Systemic problems give valuable clues Look for health ‘props’. Practice is vital

E N D
Clinical Examination of the Ear, Nose and Throat Dave Pothier St Mary’s 2003
Important things to remember • ABC is ALWAYS necessary • See patient as a whole • Look at patient from the time they enter the room • Systemic problems give valuable clues • Look for health ‘props’
Practice is vital ENT examination/equipment is not intuitive
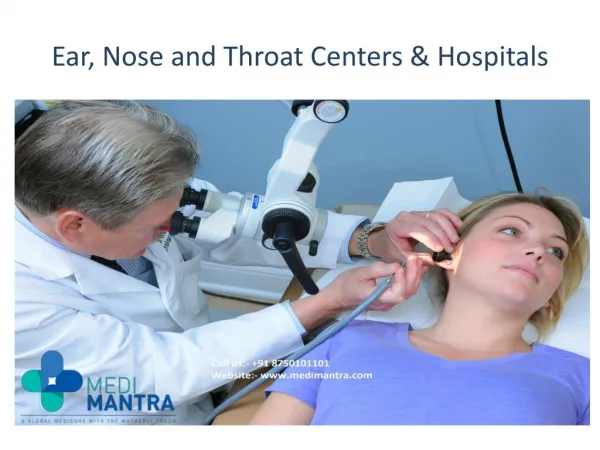
Position • Good light • Headlight / reflected light from headmirror • Side on to patient • Inspect, Palpate, Use otoscope NB look behind ear
Palpate • Feel pinna • Feel lymph nodes • Palpate neck
Canal • Inspect pinna and concha • Otoscopic examination • Pull upwards, outwards and backwards • Look for cavity, Otitis externa Osteomas Mastoid cavity
TM • Assess all quadrants • Look for malleus, incus • Record abnormalities
Pars flaccida Long process incus Handle of malleus Umbo Pars tensa Canal wall
Perforations Central perforation Marginal perforation
Don’t forget • Tuning fork tests • Simple free field tests • Look at audiological investigations
Inspection • Good light • Look at skin and scars • Assess shape • Look at vestibules by lifting tip
Palpation/inspection • Occlude each nostril in turn and assess air entry • Look at misting of tongue depressor
Anterior rhinoscopy • Use thuddicums speculum hold it properly!
Nasendoscopy • Rigid • Flexible
Don’t forget • Also examine neck and oral cavity • Check postnasal space • Ear disease may suggest pathology
What does this area consist of? • Mouth? • Pharynx? • Larynx? • Trachea? • Oesophagus? • Neck? Best to view as much as possible
Oral cavity • Open wide! • Two tongue depressors • Examine every mucosal surface • Protrude tongue • Look at salivary orifices • Bimanual palpation • Percuss teeth
Larynx • Indirect / direct laryngoscopy To be learned in OPD
View of larynx Tongue base Vallecula Epiglottis False cord Vocal cord Piriform fossa Arytenoid cartilage
Neck • Inspect • Palpate • Auscultate
Inspection • Scars • Lumps • Sinuses • Asymmetry • Stoma • Ask patient to swallow and protrude tongue • Ask patient to breathe deeply • Ask patient to count to ten
Palpation • Adequate exposure • Systematic • Develop system • From in front then mainly from behind Submandibular area, both triangles Supraclavicular area
Auscultation • Listen for bruit Thyroid and carotid
Summary • See patient as a whole – don’t focus in on one part of the body too soon • Be systematic • Adequate exposure • Be familiar with toys • Suggest further assessments