Download
1 / 50
500 likes | 717 Views
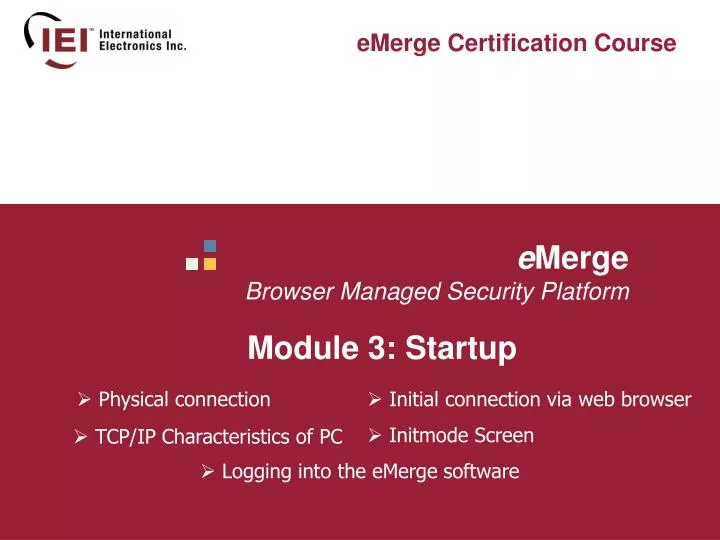
eMerge Certification Course. e Merge Browser Managed Security Platform Module 3: Startup. Physical connection. Initial connection via web browser. Initmode Screen. TCP/IP Characteristics of PC. Logging into the eMerge software. Agenda.

E N D
eMerge Certification Course eMerge Browser Managed Security Platform Module 3: Startup • Physical connection • Initial connection via web browser • Initmode Screen • TCP/IP Characteristics of PC • Logging into the eMerge software
Agenda • Physically connect a PC to the eMerge Network Controller/Node • Temporarily changing the TCP/IP Characteristics of our PC • Initial connection to the eMerge panel using our web browser • Characteristics of the Initmode screen • Logging into the eMerge panel
Connecting PC The first Step is to establish an initial connection between the PC and the eMerge Network Controller. To do this we will connect both the eMerge Network Controller and the Network Interface Card of the PC to an Ethernet Router. Essentially we will create our own Local Area Network (LAN) consisting of the PC and the eMerge Network Controller.
Connection via Ethernet Router Connect both the PC and the eMerge Network Controller to an Ethernet Router using Ethernet patch cords. Set the IP address of the Ethernet Router to 192.168.0.1 this will allow the PC to browse to the default IP address of the eMerge Network Controller.
TCP/IP settings on eMerge Default IP address of eMerge Network Controller/Node is; 192.168.0.250 To enable the PC to see the default IP address of the eMerge Network Controller/Node we must temporarily change the Network Connection settings on the PC. We will temporarily change the IP address of the PC in the TCP/IP properties of the Local Area Connection.
Operating Systems The operating system of the PC used in all eMerge Certification Lessons is Windows XP Professional. As a result all references to programming the Networking Characteristics of the PC are in terms of Windows XP Pro. If you are using a different OS on your PC then refer to the Owner’s Manual of that Operating System to affect changes. This by no means is a requirement since the eMerge software operates independent of any PC or other Operating System. The User Interface of the eMerge panel can be accessed from any PC regardless of operating system. The only PC requirement is that it must have a web browser client i.e Internet Explorer, Mozilla Firefox, Netscape Navigator…etc.
PC Network Settings Since the PC is now connected to an Ethernet Router (and essentially a small network) that has an IP address of 192.168.0.1 The TCP/IP settings of the PC must be set to a Static IP address of 192.168.0.X whereas X can be any number between 0 and 255 (except 250) which is the default IP address of eMerge Network Controller.
TCP/IP settings on PC To change the IP address of the PC we need to open the Network Connections item in the Control Panel. The Control Panel can be found in the Settings option of the Windows Start Menu.
TCP/IP settings on PC Open Control Panel on your PC Locate Network Connections
TCP/IP settings on PC The Network Connections window contains defined network connections for this computer. We are only concerned with the Local Area Connection.
TCP/IP settings on PC Open Local Area Connection Click Properties
TCP/IP settings on PC Locate the Internet Protocol/(TCP/IP) and select it Click Properties
TCP/IP settings on PC Click on the radio button <Use the following IP address>
TCP/IP settings on PC Enter the IP address and Subnet Mask Click OK The Internet Protocol (TCP/IP) Properties window will close.
TCP/IP settings on PC Click OK The Local Area Connection Properties window will close.
Review We are now at the halfway point of Module 3. So far we have: Connected the Network Interface Card (NIC) of a PC and the Ethernet switch of the eMerge Network Controller/Node to an Ethernet Router which has an IP address of 192.168.0.1. Temporarily changed the TCP/IP characteristics of that PC so that we may access the eMerge system via a web browser. To do that we use a web browser and access the default IP address of the eMerge Network Controller/Node.
Review Now it is time to access the eMerge system for the first time.
Opening the Initmode Page Open your web browser
Opening the Initmode Page Type in the default IP Address of the eMerge Network Controller/Node into the Location Bar of the web browser. The default IP address of eMerge is: 192.168.0.250 Hit <Enter> or click the GO button to the right of the Location Bar. http://192.168.0.250
Opening the Initmode Page The Initmode Page of the eMerge Network Controller/Node will appear
Initmode Page Enter the information supplied to you by the IT Administrator (IP address, Subnet mask, Gateway, DNS1 and DNS2) into the proper fields as shown. DHCP Client will remain as “NO” 192.168.2.56 255.255.255.0 192.168.2.122 192.168.2.1 192.168.2.2
Initmode Page A DNS (Domain Name Server) is required for the eMerge Network Controller/Node to update the time via 3 Time Servers which are defined on the Initmode Page. The Time Servers will be illustrated in the following screens of this lesson. 192.168.2.56 255.255.255.0 192.168.2.122 192.168.2.1 192.168.2.2
Initmode Page Under the header Node IP Addressing Scheme you can define whether the IP address of the Network Nodes are DHCP (dynamically provided) and specify the range of IP addresses available. You can also specify that those IP addresses are provided by the Network Controller or Static.
Initmode Page Under the header Time Settings you can manually set the Real-Time Clock of the Network Controller/Node. You can also set up to 3 different Timeservers as well as the Time Zone the Network Controller is located in. Requires that DNS servers be defined at top of Initmode Page.
Initmode Page You can define the email address of the eMerge Network Controller/Node here.
Initmode Page You can define the IP Port that the eMerge Network Controller/Node is addressed to here. (default port is 80)
Initmode Page At the very bottom of the Initmode Page is a header named Factory Defaults. This section contains the procedures to delete all defined data in the database tier. This will bring the eMerge Network Controller back to factory default settings This is a 4 step procedure to prevent anyone from performing this action accidentally. After performing these 3 actions a pop screen will appear requiring confirmation
Saving and Rebooting Scroll down to bottom of Init Mode Screen Change the YES to NO under Init Mode Settings Click Save and then Click Reboot
Saving and Rebooting Waiting for the Magic Beep… By clicking the Reboot key on the Init Mode Screen the programming that is currently in the RAM, Random Access Memory, which is volatile, is saved to ROM or Read Only Memory which is non-volatile. By Rebooting the eMerge Network Controller/Node the system will startup with the new Networking Settings (IP address, Subnet Mask, Gateway, DNS servers) we programmed into the Initmode Page. It will take the eMerge Network Controller/Node 1 minute and 45 seconds to complete this procedure and will not be accessible via the web browser during this time. When the reboot is complete the sounder on the Controller will BEEP. The BEEP signals that the eMerge is GOOD TO GO and be accessed via a web browser.
TCP/IP settings on PC The networking information has been programmed into the eMerge Network Controller/Node. Now that the Networking Information has been changed to the values supplied by the IT Administrator the eMerge panel is ready to be connected to the onsite Ethernet connection (the LAN or WAN). The next step is to access the eMerge Network Controller/Node across that Ethernet connection, to do that the TCP/IP settings of the PC must be returned to their previous configuration.
TCP/IP settings on PC Open the Local Area Connection.
TCP/IP settings on PC Open Local Area Connection Click Properties
TCP/IP settings on PC Locate the Internet Protocol/(TCP/IP) and select it Click Properties
TCP/IP settings on PC Click on the radio button <Obtain an IP address automatically>
TCP/IP settings on PC Click OK The Internet Protocol (TCP/IP) Properties window will close.
TCP/IP settings on PC Click OK The Local Area Connection Properties window will close.
Connect PC and eMerge to Ethernet The PC has been restored to its previous configuration. We have programmed the networking values into eMerge. The eMerge and PC are ready to be connected to the Ethernet connection at the installation site.
Logging in to eMerge Open your Web Browser For all IEI eMerge Lessons Microsoft Internet Explorer is used but not required. Most Web Browsers may be used i.e. Internet Explorer, Netscape, Mozilla Firefox, etc…
Logging in to eMerge Type in the new IP address of the eMerge Network Controller/Node. http://192.168.2.56 Hit the <Enter> Key.
Logging in to eMerge The login screen will appear.
Logging in to eMerge Type in the default Username <admin> Type in the default Password <admin> admin Hit the <Enter> key ##### or Click Go
Start Page The eMerge Security Software will open to the current Start Page (Main Screen)
Module 3 Summary What we accomplished in Module 3: Reviewed the 2 methods of establishing an initial physical connection between the PC and the eMerge Network Controller. Temporarily changed the TCP/IP characteristics of that PC to enable us to browse to the default IP of the eMerge panel using a web browser. Entered in the supplied networking values for the eMerge into the Initmode Page. Reviewed the features of the Initmode Page. Was then able to browse directly into the eMerge software across a network connection.
Backup Database We have reached the end of Module 3. We will now Backup the Database
Browse to The Backup Database Page 3. Click on Backup Database 1. Click on + to left of Setup 2. Click on + to the left of System Maintenance
Backup Database Page Previous Backups will be listed here. Module 3 Completed Click Backup Now when ready Add any desired comments here
Backup Database Page Confirmation message will appear indicating that the backup is in progress.
Backup Database Complete Confirmation Message Click “Get” button to save file to a storage medium i.e. PC’s hard drive or CDROM
End of Lesson This concludes Module 3 of the eMerge Certification Course