Download
1 / 24
250 likes | 394 Views
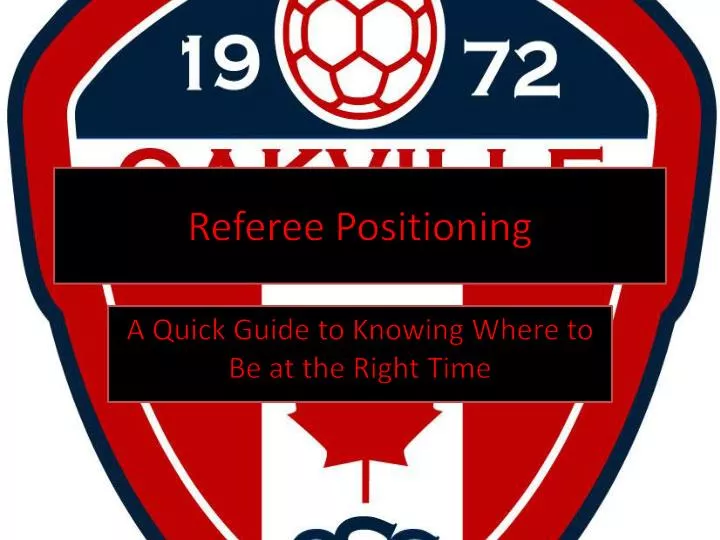
Referee Positioning. A Quick Guide to Knowing Where to Be at the Right Time. What is the Objective?. The objective of positioning is so that the Referee will be in the correct position, at the right time, in any situation that may arise. How Do You Achieve The Best Position?.

E N D
Referee Positioning A Quick Guide to Knowing Where to Be at the Right Time
What is the Objective? The objective of positioning is so that the Referee will be in the correct position, at the right time, in any situation that may arise.
How Do You Achieve The Best Position? A knowledge or understanding of the game including some tactical awareness is very useful as well as using common sense. • Mobility: the ability to get somewhere (based on fitness) • Positioning: anticipation and knowing where that somewhere is
Philosophy of Good Positioning • The “strict” diagonal is a starting point, it is not vital to stick ONLY to this path/zone • Keep play between Referee and Assistant Referee • Do not interfere with play or players • Anticipate play
Philosophy of Good Positioning Three Components to have a good position: • I can see play and the potential problem area • I can see my Assistant Referee • I am not occupying space needed for players
NOTE: PLEASE TAKE NOTE, ON THE SLIDES TO COME, THE DIAGRAMS DEPICT NOT ONLY THE POSITIONING OF THE REFEREE BUT OF THE ASSISTANT REFEREES AS WELL!!!!
Positioning – Goal Kick (Taken by Defender, Attacker Close to Penalty Area)
Positioning – Throw-In (Assistant Referee Side, Attacker Throw-In)
Positioning – Throw-In (Assistant Referee Side, Defender Throw-In)
Positioning – Free Kick (Referee Side-Middle of Penalty Area)
Positioning – Penalty Kick • Use “Dead Ball Time” as much as possible • This means to utilize the time that the ball is out of play as much as possible (ie. Move to the correct position to see the assistant referee, see the play, not interfere with play, see the field) • Use this time to anticipate where the ball will end up / where the next significant area of action will occur (ie. Throw in – do not line up directly with the actual throw, but where the ball will be thrown to