Download
1 / 6
60 likes | 126 Views
Did you submit your art filter image?. Prior to Spring Break you were to apply 2 different art filters to an image and email it to Ms. Adams as a jpeg… Many of you haven’t done this…today is the last day to do so if you want the chance for full credit.

E N D
Did you submit your art filter image? Prior to Spring Break you were to apply 2 different art filters to an image and email it to Ms. Adams as a jpeg… Many of you haven’t done this…today is the last day to do so if you want the chance for full credit.
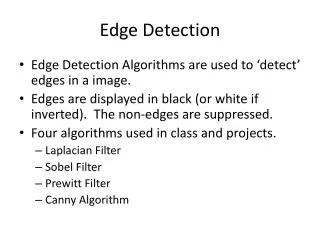
Still Life Unit image and print requirements You must submit the following: • Edit your 5 best images (resize, level, burn, sharpen) and show layers to Ms. Adams prior to merging layers • Email these 5 images to Ms. Adams as jpegs (show her edit layers first) • Print out 4 of your images as follows: - straight color with editing steps - black & white - sepia tone - art filter special effects
Create Black & White from color…simple • Open your color image • Go to Layer > New adjustment layer > Hue/Saturation > click OK - move Saturation slider all the way to left - go to Layer > New adj layer > Levels > click OK - adjust levels sliders to build contrast…esp. mid- tones • Now time to BURN the edges…follow steps you learned in Basic editing steps to create the merge burn layer (remember to change mode to Soft light and opacity to 10-20%)
Alternative steps for black & white…Ms. Adams’ choice • Open your color image • Go to Layer > New adjustment layer > Hue/Saturation > click OK - click “colorize” to shift image’s colors initially - Move Hue slider toward orange a little until you see a pretty “antique brown” hue on image - Move Saturation slider to left to adjust the degree of black & white (this process gives you a “warmer” neutral image…not as cold as straight black & white) • Now time to BURN the edges…follow steps you learned in Basic editing steps to create the merge burn layer
Making a Sepia tone on your image • Open your color image • Go to Layer > New adjustment layer > Hue/Saturation > click OK - click “colorize” to shift image’s colors initially - Move Hue slider toward orange a little until you see a pretty “antique brown” hue on image • Now time to BURN the edges…follow steps you learned in Basic editing steps to create the merge burn layer