Download

1 / 10
100 likes | 112 Views
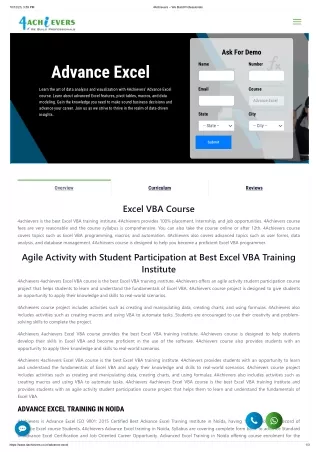
Advance excel training in Chandigarh- in sector 34A, Chandigarh offer the classes and courses of advance excel.

E N D
Advanced formula Resource to learn advance excel formula SUMIFS AVERAGEIFS SUMPRODUCT VLOOKUP HLOOKUP INDEX+MATCH HANDLING FORMULA ERROR ARRAY FORMULA CIRCULAR REFERENCE FORMULA AUDITING
Once you have entered the information in the spreadsheet, you will want to format it. Formatting your spreadsheet can not only improve the look and feel of your spreadsheet, but it can be easier to use. In the last lesson, we discussed many manual formatting options such as bold and italics. Like regular formatting, tables can help you organize your content and make it easier for you to find the information you need. To use tables effectively, you will need to know how to format the table as a table, modify the tables, and apply table styles. Formatting Tables
To format information as a table: Select the cells you want to format as a table. In this example, an invoice, we'll format the cells containing the column headers and order details. Click Format in the form of table command in the style group on the home tab. A list of predefined table styles will appear. Click on a table style to choose it. A dialog box will appear, which will confirm the range of cells selected for your table. Cells will appear selected in the spreadsheet, and the border will appear in the dialog box. If necessary, change the border by directly selecting a new set of cells on the spreadsheet.
Modifying tables To add rows or columns: Select any cell in the table. The design tab is displayed on the ribbon. On the Design tab, click the Resize Table command. Select the new range of cells to display directly in the table directly on the spreadsheet. You must also select the original table cell. Click [OK]. New rows and columns are added to the table.
To change the table style: Select any cell in the table. The [Design] tab is displayed. Look for a table style group. Click the Other drop-down arrow to display all table styles To show live preview, move the mouse over various styles. Select the desired style. The table style appears on the worksheet.
When using an Excel table, you can change its appearance by turning various options on or off. There are six options: Header Row, Total Row, Banded Rows, First Column, Last Column, and Banded Columns. • Select any cell in the table. The [Design] tab is displayed. • On the Design tab, turn on or off the options you want in the Table Style Options group.
CBitss Technologies . For any query about courses Call us now: 9914641983 Address: SCO: 24-25, Piccadilly Road, Sub. City Center, Sector 34A, Sector 23, Chandigarh, 160022 Website- http://cbitss.co.in/advance-excel-training-in-chandigarh.html