Download
1 / 30
580 likes | 1.35k Views
Tire and Wheel Service. Chapter 62. Objectives. Adjust tire pressures correctly for all cars Rotate tires Repair tire punctures in the correct manner Determine causes of tire-related vibration Understand and perform tire balancing. Introduction.

E N D
Tire and Wheel Service Chapter 62
Objectives • Adjust tire pressures correctly for all cars • Rotate tires • Repair tire punctures in the correct manner • Determine causes of tire-related vibration • Understand and perform tire balancing
Introduction • Tire service is a large area of automobile repair • Average owner will replace at least one set of tires • Tire life defends on: • Tire quality • Air pressure • Vehicle weight • Driving conditions • Suspension condition • Wheel alignment
Tire Inflation • Results of low tire pressure • Temperature of the tire rises • Load-carrying capacity of the tire is lowered • Tread life is reduced • Fuel consumption increases • Outside edge of tire wear excessively
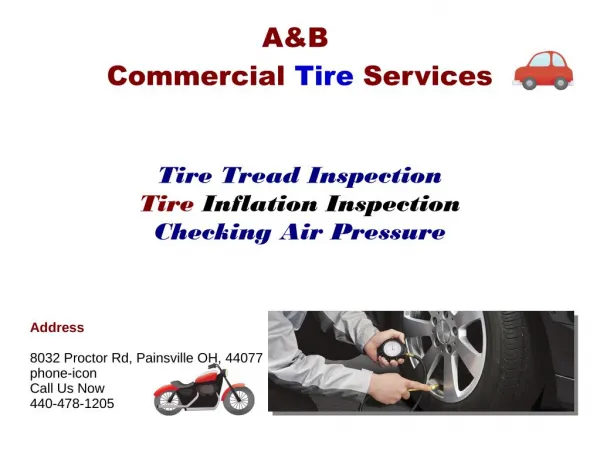
Checking Air Pressure • Vehicle owners should check air pressure • At least once a month • Considerations • Check when tires are cold • Use accurate air pressure gauge • Normally inflated radial tires have a bulging sidewall
Checking and Adjusting Tire Pressure • Important points • All valve stems should have screw caps • Use a high quality tire gauge • Tire pressure gauges are usually equipped with a pin to release air • Government has mandated the installation of tire pressure monitoring systems (TPMS) on all new vehicles manufactured since 2008 • Typical tire loses one psi in pressure each month
Tire Wear • Four psi decrease in pressure below recommended amount • Results in a 10% loss of tread life • Fastest tire wear occurs during hard cornering, braking, and acceleration • When tire wears within 1/16" of the bottom of its tread, wear bars become obvious • Scalloped or cupped wear is caused by tire hopping up and down on road • Inspect tire for physical damage
Sidewall Checks and Tire Rotation • Sidewall cracks • Caused by age and years of exposure • Slight sidewall indentation • Common characteristic of radial tires • RVs and light trucks with dual rear tires • Often have uneven wear on rear tires • Front wheels wear the most • Typical rotation for front-wheel-drive cars moves front tires to the rear on the same side
Removing and Tightening Lug Nuts • Important points • Removing lugs is easiest with impact wrench • Tighten evenly in a crisscross pattern • Lugs nuts for steel wheels and some aluminum are tapered • Anti-theft nuts are popular on custom wheels • Special type of lug nut is used with aluminum wheels
Repairing Wheel Studs • When one or two threads are damaged • They can be cleaned up with a thread chaser • Broken lug bolts must be replaced
Removing and Mounting Tires on Rims • Important points • Tires can explode and fingers can be cut off if proper caution is not observed • Tire size and construction matches wheel rating • Rim diameter matches diameter on sidewall • Remove valve core to deflate tire completely • New tire changer design has emerged in response to needs • Beads must be unseated from the bead seats • Tire iron is used to remove the tire from wheel
Inspecting the Tire and Wheeland Valve Stem Service • Inspecting the tire and wheel • After tire is removed: inspect inside for damage • Inspect wheel rim for damage • Rust can damage bead seat on a wheel • Valve stem service • Rubber valve stems are customarily replaced when new tires are installed • Can be replaced without removing tire • Be careful not to damage a direct-type TPMS • Do not force the tire over the sensor
Rubber Lubricant • Advantages of rubber lubricant • Reduces friction between tire beads and edge of rim during mounting • Helps seal around bead during initial inflation • Friction between bead seats and tire bead will be reduced when inflating • Directional tires • Designed to be run in only one direction • Indicated with an arrow
Install the Tire • Major steps and considerations • Clamp wheel to tire changer • Install inside bead • Inflate the tire • Seat the beads • Tubeless tires require a substantial volume of airflow for beads to start to seat on rim • Most tire machines have an inflation chamber and an in-line dial indicator-type tire gauge • Custom rims should be clamped from the outside
Mounting High-Performance Tires • Vehicle can have many thousands of dollars invested in its tires and wheels • Aftermarket wheels: $100 and $1,500 each • Speed-rated tires: $600 or more each • Servicing high-performance tires with tighter tire beads results in tear to bead or sidewall • Low-profile tires are more apt to suffer bead damage during removal of rim • Always apply rubber lubricant
Bead Roller Tire Changer • Bead roller tire changer • Developed for use with high-performance wheels • Tulip clamping system uses pads protected by rubber • Removing a tire is similar to the rim clamp type • Except bead is automatically pushed into drop center while bead lever tool pulls bead over rim edge • Valve core should not extend above top of valve stem
Tire Runout • When a tire is not correctly mounted on a rim or is out-of-round it will have runout • Another possible is a out-of-round blemished tire • Runout can be checked with a dial indicator
Tire Repair • Important points • Full water tank is used to check for leaks • Mark the location of leak • Inspecting tire: remove it from wheel • Tire must be dry prior to inspection • Check tire outside and inside
Repairing a Tire • Puncture repairs can be done with a rubber tire plug and a patch • Repairs can be made within tread area • Opinions differ as to repairability of some tires
Preparing the Tire for Repair • Important points • Inside of tire liner must be cleaned • Steel-belted radials should be plugged and patched • Hole must be drilled or reamed first • Rubber plug is inserted into the hole with vulcanizing cement • Liner is lightly buffed
Patching the Tire • Major steps • After cleaned area dries: apply an even amount of vulcanizing cement to buffed area • Remove adhesive covering and center patch over hole • Roll patch into place • Some plugs are a combination of plug and patch • Used when the hole goes straight into the tire • Liquid puncture sealants • Not recommended
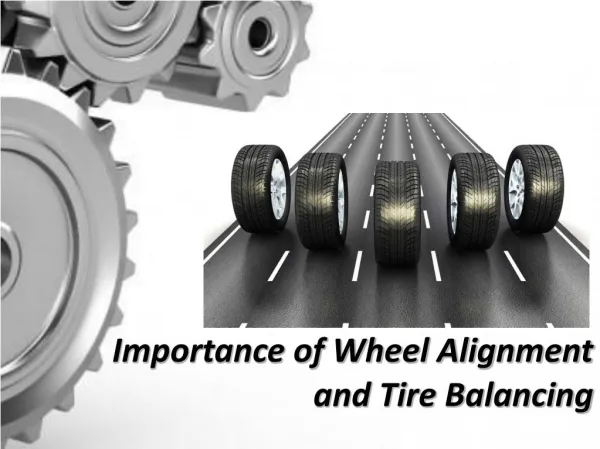
Tire and Wheel Balance • Tire imbalance is one of several causes of vehicle vibration • Wheel weights are attached to the rim to correct imbalance • Several types of clip-on weights are available • Lead was banned for use in wheel weights • Substantial number of wheel weights fall off vehicles
Types of Wheel Balance and Couple Imbalance • Types of wheel balance • Wheel balancing methods: static and dynamic • Static imbalance subjects wheel to vertical impacts that become worse with higher speed • Couple imbalance • Tire is lopsided • Usually imbalance on both sides of the tire • Wheel may be in static balance but not couple balance
Dynamic Balanceand Computer Balancers • Dynamic balance • Combination of static and couple imbalance • Dynamic wheel balancers spin the wheel and locates vibration sources • Computer balancers • Very popular and easy to use • Balance both the static and dynamic planes • Tire that is dynamically balanced will also be statically balanced
Centering the Wheel on the Balancer • Wheel not properly installed on wheel balancer • Causes imbalance • Major steps and considerations • Center wheel with manufacturer method • Backing plate and wheel lug flange must be clean and undamaged • Hub-centric steel wheel: use a centering cone • Lug-centric wheels: use lug-centering adapter • Program wheel balancer after mounting
Match Mounting and Force Variation • Match mounting • Some balancers match a tire's imbalance to a wheel's imbalance • Computer determines amount the wheel and tire are out of balance • Force variation • Load is placed against tire: stiffness of sidewall and tire's footprint change • Some come with a mark or paint dot on sidewall • Some tire balancers can measure force variation
Installing the Wheel • Major steps and considerations • Before installing: double-check to see bolt holes in wheel are in good condition • Finger-tighten lug nuts • Shake wheel to center it • Cross-tighten lug nuts with a torque wrench • Some shops use a torque stick or torque socket to initially tighten wheel lugs using an impact wrench
Tire Pressure Monitoring System Service • When tires are rotated or a defective sensor is replaced • Some TPMS require the computer to be reprogrammed • Different types of TPMS measuring/resetting tools • TPMS sensor • Replaced if it fails mechanically or electrically • Special procedures are followed • Tire pressure monitors • Installed on vehicles that did not have them as OE