Download
1 / 18
180 likes | 277 Views
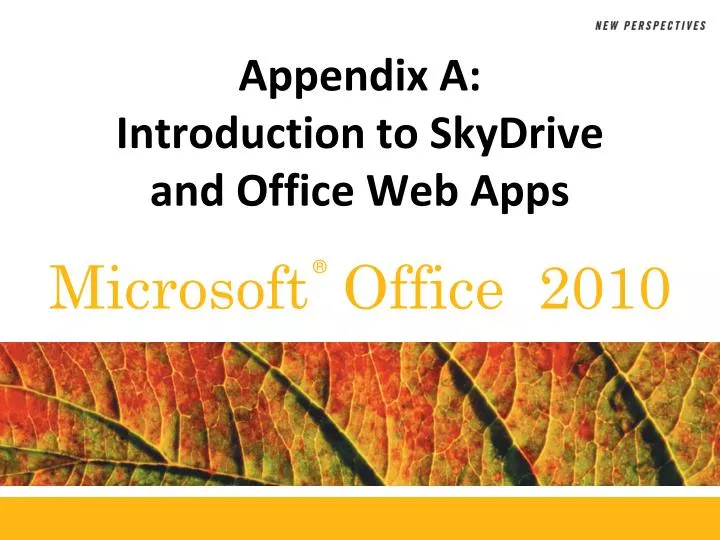
Appendix A: Introduction to SkyDrive and Office Web Apps. Objectives. Explore Windows Live Obtain a Windows Live ID Upload files to SkyDrive Use Office Web Apps in View and Edit modes Work with folders and files on SkyDrive Give permission for access to a folder on your SkyDrive

E N D
Objectives • Explore Windows Live • Obtain a Windows Live ID • Upload files to SkyDrive • Use Office Web Apps in View and Edit modes • Work with folders and files on SkyDrive • Give permission for access to a folder on your SkyDrive • Co-author using the Excel Web App New Perspectives on Microsoft Office 2010
Exploring Windows Live • Windows Live is a collection of services and Web applications that you can use to help you be more productive both personally and professionally • SkyDrive is an online storage and file sharing service • Office Web Apps are versions of Microsoft Word, Excel, PowerPoint, and OneNote, an electronic notebook program included with Microsoft Office, that you can access online from your SkyDrive • Cloud computing refers to data, applications, and resources that are stored on servers that you access over the Internet rather than on your own computer New Perspectives on Microsoft Office 2010
Obtaining a Windows Live ID • Start your Web browser, and then go to www.windowslive.com • Click the Sign up button • Follow the instructions on the screen to create an ID with a new live.com email address or create an ID using an existing email address New Perspectives on Microsoft Office 2010
Uploading Files to SkyDrive • Start Word, and then open the file to save to the Web • Click the File tab, and then click Save & Send in the navigation bar. The Save & Send options available in Word appear in Backstage view • Under Save & Send, click Save to Web. A Sign In button appears • Click the Sign In button • In the E-mail address box, type the email address associated with your Windows Live ID account, press the Tab key, and then type the password associated with your Windows Live account in the Password box New Perspectives on Microsoft Office 2010
Uploading Files to SkyDrive • Click the OK button • Navigate to the desired save location • Click the Save button • Exit Word New Perspectives on Microsoft Office 2010
Uploading Files to SkyDrive New Perspectives on Microsoft Office 2010
Uploading Files to your SkyDrive in your Browser Window • Start your browser, and then go to www.windowslive.com • In the Windows Live ID box, type the email address associated with your Windows Live ID account, click in the Password box, type your password, and then click the Sign in button • In the list of navigation links, click the Office link • In the list of navigation links, click the Add files link • In the list of folders, click the My Documents folder New Perspectives on Microsoft Office 2010
Uploading Files to your SkyDrive in your Browser Window • In the box, click the select documents from your computer link • Navigate to the folder containing the file(s) to upload • At the bottom of the box, click the select more documents from your computer link, and navigate to the additional files to upload, and then click Open • At the bottom of the page, click the Continue button New Perspectives on Microsoft Office 2010
Uploading Files to your SkyDrive in your Browser Window New Perspectives on Microsoft Office 2010
Using Office Web Apps New Perspectives on Microsoft Office 2010
Using Office Web Apps • Click the Edit in browser link to edit the file in the Web App New Perspectives on Microsoft Office 2010
Editing a Presentation in PowerPoint On Your Computer • Click the Home tab • In the Office group, click the Open in PowerPoint button • Click the OK button • In the yellow Protected View bar, click the Enable Editing button New Perspectives on Microsoft Office 2010
Deleting a File from Your SkyDrive • Point to the file you wish to delete • In the list of commands, click the Delete button • Click the OK button New Perspectives on Microsoft Office 2010
Creating a New Folder and then Moving a File Into It • In the list of navigation links, click the Office link • In the list of navigation links above Recent documents on SkyDrive, click the New link, and then click Folder • Type the folder name in the Name box • Click the Next button New Perspectives on Microsoft Office 2010
Creating a New Folder and then Moving a File Into It • Navigate to the new folder and point to the file to move, click the More link, and then click Move • In the list of folders, click the folder to move the file to, and then click Move this file into [name of new folder] New Perspectives on Microsoft Office 2010
Giving Permission for Access to a Folder on SkyDrive • In the list of command links, click the Share link, and then click Edit Permissions New Perspectives on Microsoft Office 2010
Co-Authoring with the Excel Web App • When you work with the Excel Web App, you can use its co-authoring feature to edit a workbook at the same time as a colleague New Perspectives on Microsoft Office 2010