Download
1 / 57
570 likes | 676 Views
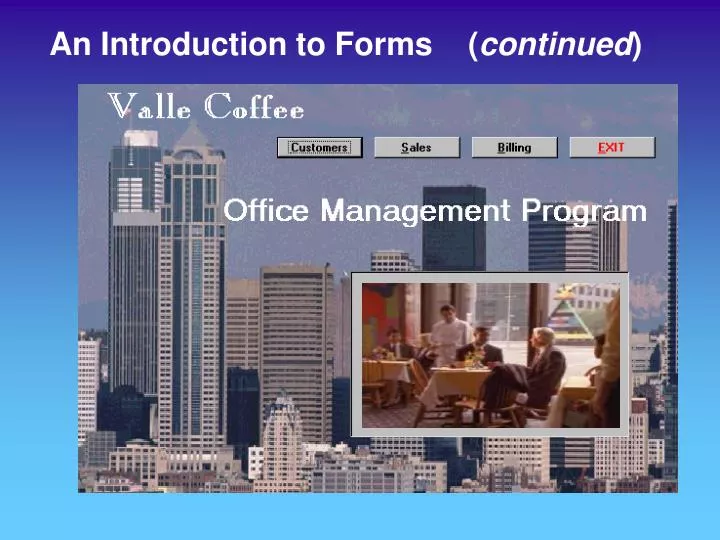
An Introduction to Forms ( continued ). The Major Steps of a MicroSoft Access Database. Tables Queries Forms Macros Reports Modules. On our road map, we are here!. SESSION 4.2.

E N D
TheMajorSteps of a MicroSoft Access Database • Tables • Queries • Forms • Macros • Reports • Modules On our road map, we are here!
SESSION 4.2 This section covers creating a form with a main form and sub-form, creating a report using the Report Wizard, inserting a picture in a report or form and print / print-preview a report. Creating Forms & Sub Forms
To create a form based on two tables, you must first define a relationship between two tables. In Tutorial 3, we defined a one-to-many relationship between the Customer (primary) and Order (related) tables, so we are now ready to create the form based on both tables.
Let’s say that you were looking at a form with all your customer information so that you could use some of this information in order to find the invoices that have been produced for this customer. It would be much more convenient to have a form that showed all the customer data on the top half and all the order information for that customer in datasheet format on the bottom.
The same principal applies to reports. You could create a report with a subreport showing the customer name and address on the top part and all the unpaid invoices for that customer on the bottom part. You could call this report a “Monthly Statement”.
A form with a SubForm and a Report with a SubReport are joined together much in the same manner as two tables were joined together in a relationship, by a common field. If you decide to create a Form/SubForm manually, you will need to create each form as an individual form first, and then from the design view of the Main Form you would insert the subform using a special tool.
Once the subform has been inserted into the Main Form you would then link the two forms together by opening the Main Form’s properties box and indicating in the properties box the common field that links the two together.
The Master Form would look something like this in the Design View Master Form SubForm
You would link the two forms together in the properties window below.
When we click in either Link field a builder button appears that indicates a built-in helper.
This button will activate the Subform Field Linker dialog box.
‘97 This is also included in Access 97.
The final form would look something like this, showing the customer and orders.
Two sets of Navigation buttons appear near the bottom of the form.
The top set of navigation buttons is used to navigate through the orders for this customer.
The bottom set of navigation buttons is used to navigate through the list of customers.
Each time you change customers, the orders in the subform will change to the orders for the new customer that you are viewing.
Once you have created both the Master Form and the Sub Form as individual separate forms you would continue the process in the design view of the Master Form by clicking on the Tool Box button on your tool bar.
This will open your tool box. We will be exploring the different tools of the tool box during the next session. For now we are interested in only the subform/subreport tool.
To activate this tool, you click only once on it. The button will become inserted and you will notice that your cursor will change.
To activate this tool, you click only once on it. The button will become inserted and you will notice that your cursor will change.
Without clicking, position the cursor in the upper left corner of where you want your subform to be and then click and hold the left mouse button.
While the mouse button is held down, draw a box that will be your subform, as shown below and then release the button. If you don’t get it just right, you can resize it or move it later.
A white box will appear with the word unbound in the upper left corner. This means that the subform object on the master form has not been linked to another form yet.
To begin the process of binding this form to it’s source object, right click anywhere in the white area, then click on the properties option of the resulting menu that appears with the left mouse button .
In the Source Object property shown in the properties window select the form that you created for your subform.
The final step is to indicate the common field that is found on both forms, such as the customernum field, if Access has not already found it for you.
In today’s class, we will be using a shortcut method to create the Form / SubForm combination.
When you create a form containing data from two tables that have a one-to-many relationship, you actually create a main form for data from the primary table and a subform for data from the related table. Main Form SubForm
Access uses the defined relationship between the tables to automatically join the tables through the common field that exists in both tables. Common Field
We will also look at Creating a Report using the Report Wizard.
Tutorial 1 tells us that a report is a formatted hardcopy of the contents of one or more tables in a database. In Access, you can create your own reports or use the Report Wizard to create them for you. Like the Form Wizard, the Report Wizard asks you a series of questions and then creates a report based on your answers.
Whether you use the Report Wizard or design your own report, you can change the report’s design after you have created it. We will be looking at methods to do this with Forms and Reports during the next session.
Regardless of the method that you will be using to create your report, it is a good idea to sketch the report out on paper first.
The figure on the right shows a sketch of the report that Kim wants to create for Valle Coffee.
This sketch will give you not only an idea of the fields and tables needed in the report, but will also indicated if subreports are necessary.
In Access, you can insert a picture or other graphic image on a report or form to enhance the appearance of the report or form.
Sources of graphic images include (but are not limited to) Microsoft Paint, other drawing programs, and scanners.
The file containing the picture you need to insert is named ValleCup, and is located in the Tutorial folder on the student disk that you will use today.
Converting an Access 2000 Database to Access 97
Access 2000 includes a new feature that lets you convert a database to the previous version, Access97. When you convert an Access 2000 database to Access 97 format, any functionality that is specific to Access 2000 is lost. However, the database’s structure and data will be useable in the converted database.
Page AC 4.32 in your book discusses the method to use to convert an Access 2000 database back to an Access 97 database.
Finally, when you delete records in Access table, the space occupied by the deleted records on disk does not become available for other records. The same is true when you delete an object, such as a table, query, or form. To make space available, and to clean house, you must “Compact” a database.
Compacting a database rearranges the data and objects in a database and creates creates a smaller copy of the database. Unlike making a copy of the database file, which you do to protect your database against loss or damage, you compact the database to make it smaller, thereby making more space available on your disk.
In the Compacting process, Access actually makes a copy of your database and compacts the copy, leaving the original in tack, just in case. Before you can compact a database, you must first close it, but do not exit Access.
Quick Check Review Page AC 4.32
Quick Check Review Let’s take a few moments to break up into discussion groups. Each group will discuss the quick check questions on page AC 4.32 in your books. We will then review the answers at the end of the discussion.
Quick Check Review Session 4.2 1) How are a related table and a primary table associated with a form that contains a main form and a sub form?