Download
1 / 32
320 likes | 512 Views
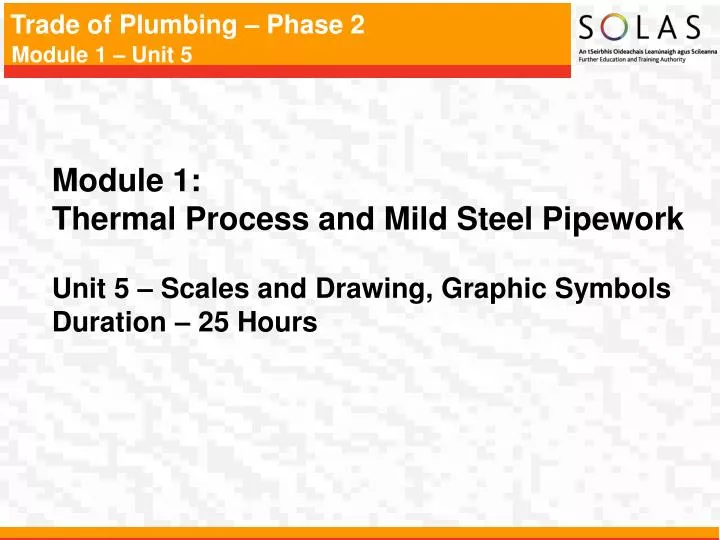
Module 1: Thermal Process and Mild Steel Pipework Unit 5 – Scales and Drawing, Graphic Symbols Duration – 25 Hours. In unit 5 we learn how to: Produce basic first and third angle orthographic projection drawings. Produce basic isometric line drawings. Read and interpret working drawings.

E N D
Module 1: • Thermal Process and Mild Steel Pipework • Unit 5 – Scales and Drawing, Graphic Symbols • Duration – 25 Hours
In unit 5 we learn how to: • Produce basic first and third angle orthographic projection drawings. • Produce basic isometric line drawings. • Read and interpret working drawings. • Read and interpret house plans with plumbing details. • Read and interpret sample industrial mechanical services drawings.
Key Learning Points • RK ‘A’ size drawing sheets. • RK Drawing standards and conventions. • RK D Borders, title blocks and lettering. • RK Dimensioning. • RK D Orthographic projection. • D M Spacing and drawing sheet layout. • RK D Isometric projection. • M Ratios. • M Fractions. • RK D Reading and interpreting piping drawings. • RK D Use of scale rule. • RK D Graphical symbols and abbreviations for the plumbing trade. • RK D Pipe identification charts.
Introduction • Drawings are a means of visual communication used to transfer information between people. The ability to read drawings, interpret symbols and understand scales is an essential requisite for the modern craftsperson.
Materials and Equipment • The basic materials and equipment required by the student apprentice are listed below. • A2 Drawing Board. • T-Square. • 45° Set Square. • 60°/ 30° Set Square. • Protractor. • Springbow Compass. • Metric Scale Rule. • Selection of Pencils i.e. 2H – 3H – 4H. • Pencil Sharpener. • Eraser. • Drawing Board Clips or Masking Tape. It should be noted that when purchasing any of these items the standard might vary according to cost. In general however, good equipment may help to produce a better standard of work.
Standards and Conventions • In the construction industry all drawings are carried out to a British Standard referred to as BS 1192. This ensures that every drawing produced within Ireland and the UK relating to a building project will follow the same standard principles. • Dimensions • Dimensions should be shown as follows: Projection Line Dimension Line
Dimensions (contd.) • The conventions relating to dimensions are as follows: • State dimensions once only. • Place in the most appropriate view. • Keep related dimensions on the same view. • Select the functional dimensions. • Avoid redundant dimensions.
Letters and Numbers • All drawings require some form of lettering and numbers. • The principles to remember are: • They should be legible and clear – especially numbers, as they often have to be read on their own. • They should be of a suitable size and not less than 3mm tall. Title blocks and relative information are usually larger. • They should be correctly spaced and positioned. Notes and captions should be placed so that they can be read in the same direction as in the title block. In other worlds it should not be necessary to turn a drawing on its side to read the information. • Notes should be grouped together and not spread over the drawing. • Underlining is not recommended.
Borders and Title Blocks • One of the most important features of any drawing is the border and title block. The border (or margin) is a line which follows the outer edge of the drawing and is usually 10 or 20mm inside it. This margin is very important because everything inside it forms part of any contract. • The ‘Title Block’ is locked within the border and contains information such as: • Project title – i.e. New Community School. • The subject – i.e. Hot and Cold Water Services. • The date of the original drawing. • Dates of any revisions. • Job Number. • Drawing Number. • Scale. • The name of the person who drew up the drawing. • Name of architects, consultant engineers or surveyors.
Title Blocks are usually located along the bottom or sides of drawings as shown below:
Scales • A scale can be used to increase the detail of a small object or to • accurately represent a large object on a smaller piece of paper. • The list below shows the scales used in BS 1192: • Block Plans 1:2500 – These show the outlines of buildings and may also indicate roads, railway lines or rivers. • Site Plans: Between 1:500 and 1:2500 – Although often drawn at the same scale as the block plan site plans only give details relevant to the actual project. These details could relate to landscaping arrangements or show underground drainage pipe-work. • General Location Drawings 1:200 or 1:100 – These drawings can show pipe runs within the building and the location of radiators and sanitary fixtures. • When details of boiler houses or plant rooms are given the scale may increase to 1:50. This enables greater detail to be shown. • Where particular detail is necessary the scale could be as high as 1:20 or 1:10. This could be in the case of a bracket or support for a piece of equipment.
Here is a drawing of Block Plan originally drawn at 1:2500 but printed not to scale (NTS):
Scale Rulers • Scale rules are usually manufactured from plastic and have several scales indicated on the ends as shown below:
Graphical Symbols and Abbreviations • In order to read a drawing properly, and to understand what is happening, • an agreed set of graphical symbols and abbreviations are used. All the • different trades have a set of symbols pertaining to their respective works. • The works of the plumber is often referred to as the “Mechanical Services”. • The Mechanical Services includes: • Hot and Cold Water Services. • Central Heating Installations. • Air Conditioning Pipe-work. • Compressed Air Lines. • Oil and Gas Supply Lines. • Above and Below Grounds Drainage. • Medical Gas Services. • Sheet Metal Roof Coverings.
When pipes and their relative components are shown on a drawing it is vitally important that the craftsperson can correctly identify their locations and positions. The symbols for the location of pipes in a building are as follows: Pipes at low level _________________________________ Pipes at high level ___ ___ ___ ___ ___ ___ ___ Pipes in roof or above ceiling ___ ___ ___ ___ ___ __ Pipes below floor or underground _ _ _ _ _ _ _ _ _ _ _ _ _ _ _ _ _ When pipes rise or drop to a different level they are shown To show the direction of flow
In order to know if the pipe rises or drops the following abbreviations will be used:
To identify individual services some of the following abbreviations may be used.
Symbol Description Application Draw-off tap Shower head Sprinkler head Float-operated valve Float switch (Hydraulic type) Float switch (Magnetic type) Filter or screen Supply stopvalve (SV) Servicing valve (SV) Water meter
Symbol Application Description Draw-off tap Shower head Sprinkler head Float-operated valve Float switch (Hydraulic type) Float switch (Magnetic type) Filter or screen Supply stopvalve (SV) Servicing valve (SV) Water meter
Symbol Description Application Draining valve (BS 1192) (Drain valve) (drain cock) Draining valve (Abbreviated version used in this book) Line Strainer Pressure reducing valve (Small end denotes high pressure) Expansion vessel Pressure relief valve (Expansion relief valve) Check valve or non-return valve (NRV) Double check valve assembly Combined check and anti-vacuum valve (check valve and vacuum breaker) Air inlet valve
Cold water storage cistern (Storage and feed cistern) (Feed Cistern) Feed and expansion cistern Hot water storage cylinder or tank (plan) Hot water storage cylinder or hot store vessel (Direct types) (elevation) Hot water storage cylinder or hot store vessel (indirect types) (elevation) Boiler (elevation) Temperature relief valve Tundish Symbol Description Application
Specifications • There are many advantages to having a specification for a project, for • example: • When tendering or pricing a job the specified standards must be followed. This ensures that no one can use sub-standard materials to keep a price low. • The specification is also referred to at the installation stage. This means that the client is guaranteed that all materials are up to the required standard. Specification will normally include the following information: • The different materials that pipes and equipment are to be manufactured from. • The spacing of brackets. • The type of valves to be used. • The standard and type of sanitary fixtures. • The type of radiators. • Type of boiler, cylinder and storage cistern.
Identification of Pipework • In large plumbing and heating installations it may be difficult to correctly • identify what services pipes are supplying. A system of colour coding has • been designed which enables pipe contents to be identified.
Occasionally it is necessary to indicate the direction of flow on a pipe. This is shown by an arrow situated close to the colour code. In the case of central heating pipe-work the word FLOW or the letter F may be shown on one pipe and RETURN or R on the other.
Systems of Representation: Orthographic Projection • Orthographic projection shows the views of an object in three different • positions, namely: • PLAN – ELEVATION – END VIEW. • The plan is an outline of the object when viewed from above. • The elevation is what is seen when looking from the front. • The end view shows the view from one of the ends. Orthographic projection is generally not used in the construction industry. It is more commonly found in the engineering sector where precise measurement is essential.
Try drawing this object in orthographic projection i.e. draw a plan (z) an elevation (x) and an end view (y).
Systems of Representation: Isometric Projection • In isometric projection all the horizontal lines are drawn at 30° to the • horizontal plane while vertical lines are drawn vertical. • Isometric projection embraces the three views from orthographic projection • in the one drawing. In the drawing of the matchbox below you can see the • plan, elevation and end view.