Download
1 / 3
30 likes | 39 Views
Garden maintenance comes in many forms. Some homes simply need the hedges and bushes trimmed every week or so. Some homes need lawncare services performed several times a week. Other homes simply need cleanup work performed every few months or so.

E N D
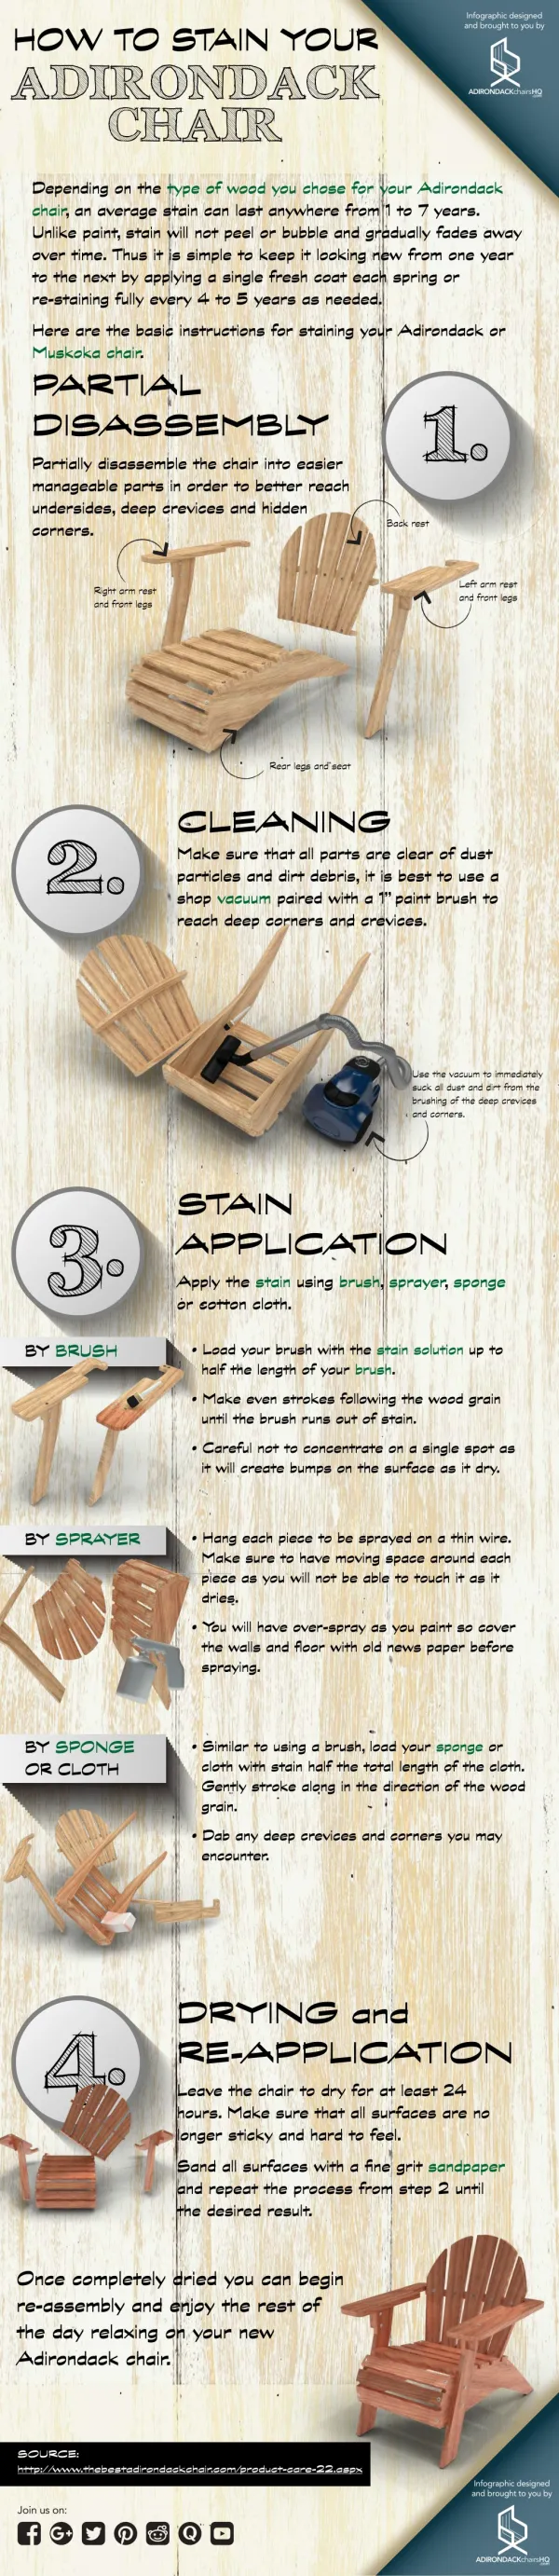
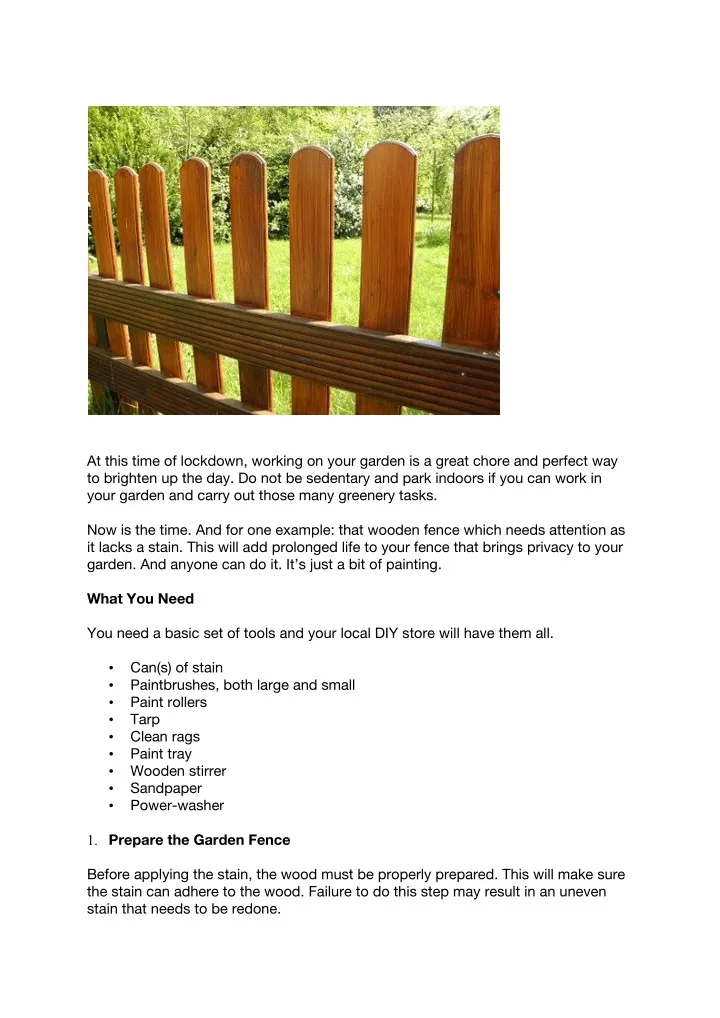
At this time of lockdown, working on your garden is a great chore and perfect way to brighten up the day. Do not be sedentary and park indoors if you can work in your garden and carry out those many greenery tasks. Now is the time. And for one example: that wooden fence which needs attention as it lacks a stain. This will add prolonged life to your fence that brings privacy to your garden. And anyone can do it. It’s just a bit of painting. What You Need You need a basic set of tools and your local DIY store will have them all. • Can(s) of stain • Paintbrushes, both large and small • Paint rollers • Tarp • Clean rags • Paint tray • Wooden stirrer • Sandpaper • Power-washer 1. Prepare the Garden Fence Before applying the stain, the wood must be properly prepared. This will make sure the stain can adhere to the wood. Failure to do this step may result in an uneven stain that needs to be redone.
Begin preparing the fence by sanding down any noticeable rough spots. It’s not imperative that the fence is completely smooth, but you will want to sand any broken edges to prevent splintering. It’s also necessary to completely sand a fence if it’s been previously painted. The wood should then be cleaned with a power-washer. You want to fully remove any dirt and debris. If you notice black mould, scrub it with bleach and water to kill the mould and prevent regrowth. Allow enough time for the fence to fully dry before moving on to the next step. 2. Protect the Surroundings Place a tarp around the fence to protect the area from any drips. It’s also smart to cover any garden furniture or plants in the surrounding area. If it’s windy, it may be necessary to use rocks or bricks to hold the tarp in place. 3. Timing is Everything Check the weather forecast before you begin staining the fence. Avoid staining if it’s humid or rainy outside. It’s also not wise to stain wood on a cold day. All these situations may prevent the stain from fully drying. It’s best to stain a wooden fence when it’s dry and warm outside. If the wood is too hot, you may find the stain dries too quickly. Try staining the wood in a shaded area. Windy days are also not ideal for applying a stain. The wind may cause dirt or grass to get stuck in the wet stain before it has a chance to dry. 4. Apply the Stain Now you’re finally ready to apply the stain. This is easily done with paintbrushes and a paint roller. Large areas of the fence are easy to stain with a paint roller. Use paintbrushes on edges, tip, trellis, and other small areas, as brushes allow for more precision. When applying the stain, never go against the wood grain. Always move the brush or roller in the same direction. This will prevent streaking. It’s also wise to always keep a wet edge. This is done by brushing into the wet area and back brushing. Always apply a liberal amount of stain to the fence. You need to use enough stain so that it’s able to penetrate the wood. Use a paintbrush or clean rag to blot away any drips. Start at the top of the fence and work your way down to prevent drip marks. Most wooden fences require two coats, but you should always refer to the manufacturer’s instructions for the best results. The manufacturer will also recommend how long to wait before applying the next coat.
Some more tips Consider these points to get the best results. • If you want to cover a large fence with stain, consider using a paint sprayer. You will still need to use a paintbrush to stain any hard-to-reach areas. • Choose your stain color carefully. Stains come in a vast array of colors, from bright to dark. Stain a small, inconspicuous area first to test the color. • Consider staining before the fence is installed. If you have a new fence, it’s easier to apply a stain before it’s erected. This may also reduce the chance of missing a spot or applying an uneven stain. Get tips like this on maintaining your garden and advice from the pros at Your Job Cost.