Download

1 / 21
210 likes | 214 Views
You are all ready for a good ride with friends and fellow riders. You safety check your ride to make sure it is roadworthy, the front tire is flat. You are in luck, the tube inside the tire is the problem, not the tire, and you will only have to get a new inner tube. You decide to do the tire fix yourself.

E N D
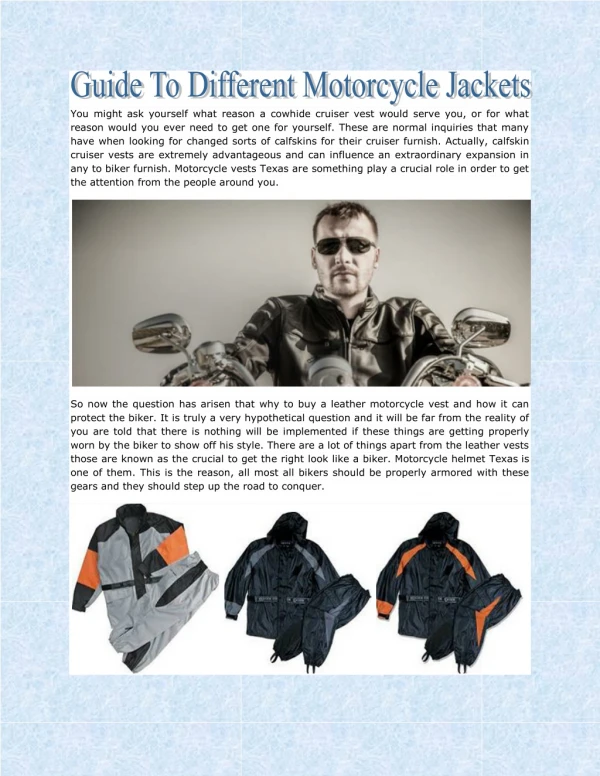
WICKED STOCK Changing Motorcycle Tires: A DIY Guide
Get the Wheel Off You are all ready for a good ride with friends and fellow riders. You safety check your ride to make sure it is roadworthy, the front tire is flat. You are in luck, the tube inside the tire is the problem, not the tire, and you will only have to get a new inner tube. You decide to do the tire fix yourself.
Repair shops charge by the hour, usually $100, tire repairs can run from $50 to $120 depending on the bike model. Don't forget the cost of a new tire or inner tube; unless you are inept as a mechanic, is it worth it? The tire has to come off the bike and be broken down whether or not you are replacing the tire or tube. You might want to change out of your Men Textile Motorcycle Pants and your All Season Motorcycle Jackets as grease and tire dust will ruin them.
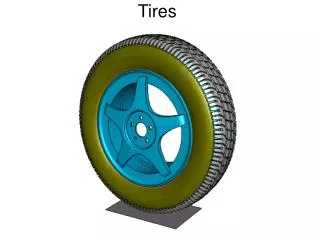
Socket wrenches or end wrenches to remove the wheel and valve stem locknut.
The front-wheel must be raised off the ground with the bike being stable, safety first. There several devices on the market for lifting the bike off the ground. • Refer to your motorcycle manufacturer's manual for details on removing either front or rear wheel. For more information on Motorcycle tools, please visit 5 Motorcycle Tools You May Not Have Used.
Get the Tire off the Rim • You got the wheel off and on the workbench. Using the valve stem tool, remove the valve stem, let the air out, and then remove the valve stem locknut. • If you are not replacing the tire, mark the valve stem location on the tire to replace it correctly. Break the bead holding the tire to the rim; this might be somewhat difficult if the tire been seated for a long time.
The bead has to be completely broken before the tire can be removed from the rim. C-clamps, welding clamps, or even a bench vise can be employed to break the bead from the rim. If more help is needed, the Motion Pro Bead Buddy works very well and can be purchased off Amazon for around $15.00. • Once the bead is broken off, the rim flip the wheel over and break the bead on the other side of the rim. Now it is time to remove the tire from the rim, a mixture of water and dish soap is an excellent lubricant for the task. The objective is to get the rim to slip off the rim as easy as possible.
Put the rim protectors on the valve stem side of the wheel and insert the tire spoons, aka tire irons, hooked end up. Using small bites ease the tire up and over the rim, until the tire is off the rim. If there is an inner tube, now is the time to pull it out. • Get the other bead off the rim, you might be able to pull it off, if not, use the irons. Once the tire is completely off the rim, it is time to inspect the inside of the rim for rust, cracks, etc.
If this is the first tire removal, there should be a thin rubber band going entirely around the inside of the rim. This protects the inner tube form chaffing if the spoke ends poke through. • Toss this rubber band away; you will be using something else to protect the inner tube. Clean off the rust and corrosion by using a stiff wire brush, then you can re-line the rim with duct tape or wide electrical tape, at least three wraps.
Finish Up • Ready to put the tire back on the rim, place the tire over the rim and start working the tire back onto the rim with the tire irons. When the first bead is back over the rim, put the new inner tube inside the tire and partially inflate to prevent pinching by the tire irons. Fit the valve stem into the valve stem hole on the rim and partially secure the valve stem locknut. • You can fit the other side of the tire to the rim using the tire spoons and generous squirts of the soapy water solution to help things along. Inflate the tire to the right pressure setting as the pressure is increasing; you should hear the beads popping into place. If you are replacing the tire as well, locate the rotation arrow on the outside of the tire.
This mark indicates the direction the tire is to rotate during operation. The tire is fixed, and back on the bike, you are ready to take that ride with fellow riders and friends. So hop into your Men Leather Motorcycle Pants and Leather Motorcycle Jackets and have a great ride. • Like us on Facebook and check us out on Instagram. • Hop onto Wicked Stock and check out what is available online and what is on sale. • Content is originally posted athttps://wickedstock.com/changing-motorcycle-tires-a-diy-guide/
Great Stylish and Faison • Perfect Color • Simple to Maintain • Best Quality
Business Details: Business Name: Wicked Stock Contact Person:MuneebRehman Phone: +1 410 585 5467 E-Mail: muneeb30772@gmail.com Address: 9700 Old Court Road, Windsor Mill MD 21244 Website: https://wickedstock.com/


![Bluetooth motorcycle helmets [guide]](https://cdn4.slideserve.com/7717056/bluetooth-dt.jpg)