Download

1 / 16
160 likes | 166 Views
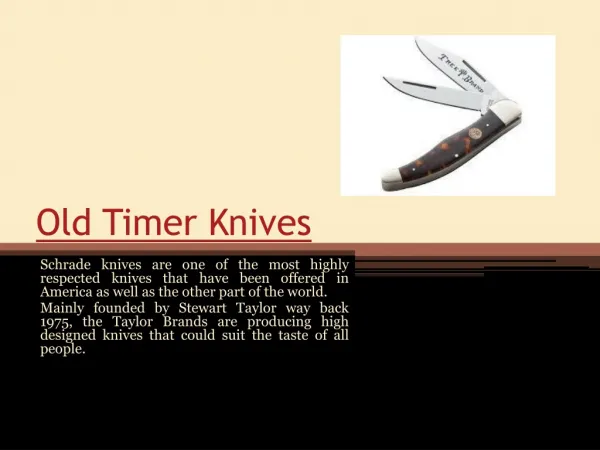
Foods I Unit 5: Knives & Cutlery. “One of the most important skills to master”. The History Behind the Cutting Tool.

E N D
Foods I Unit 5: Knives & Cutlery “One of the most important skills to master”
The History Behind the Cutting Tool Stone cutting tools are believed to be around 3 million years old. Before mining evolved knives were produced primarily from flint and obsidian. Flint, a stone particularly suited to take an edge, was created to take a thin cutting edge. Obsidian, a volcanic glass, took even better edge and was noted to be more durable. After mining evolved and pure metals were extracted miners learned to blend metals together and create new properties. Carbon steel was the first widely used metal for knives which made knives more durable and hard enough to take an edge.
The Parts of the Knife The knife is constructed from several parts, each of which plays a role in the utility, balance, and longevity of the whole. Knives should be selected for quality and comfort and feel balanced in the hand. 1. The Blade (Cutting Edge): 2 Types • FORGED: Heated metal is dropped into a mold and pounded out for shape and thickness. ADVANTAGES: Better balance, strength and durability DISADVANTAGE: Expensive • STAMPED: Cutting blade shaped pieces out of milled steel. ADVANTAGES: Lighter, improved durability DISADVANTAGE: Less durable than “forged”
The Parts of the Knife 2. The Bolster (Collar or Shank): *The point where the blade meets the handle. *Greater stability and strength.
The Parts of the Knife 3. The Rivets *Metal fasteners used to attach the tang of a knife to the handle. *High quality knives have multiple rivets. *Rivets should be flush with the handle’s surface
The Parts of the Knife 4. The Tang: *Point at which the handle is attached to the knife *Greater durability and balance 3 Types of Tangs • Full: runs the entire length of handle and more durable • Partial: does NOT run the entire length of the handle and less durable. • Rat Tail: Encased in the handle and less durable.
The Parts of the Knife 5. The Handle: *Made from woods, metals, plastic and vinyl. *Attached by the rivets.
Knife Safety • NEVER catch a falling knife • NEVER leave a knife in the sink place on counter • ALWAYS wipe a knife’s blade facing outward • ALWAYS pass a knife by laying it down on a table or giving the person the handle first • ALWAYS walk with knife tip down by your side • ALWAYS dry a knife completely • ALWAYS use a cutting board • ALWAYS store knives in proper containers
Knife Skills & Techniques The Knife Grip… provides the best control, stability, safety, and accuracy. • Thumb rests on opposite side of knife • Index finger rests on the side of knife blade • Three finger grip on the knife handle Consistency is the KEY for successful knife skills!
Knife Skills & Techniques The Guiding Hand is responsible for guiding the item to be cut into the knife. • The guiding hand is placed next to the knife blade in the proper position with fingertips slightly tucked under. • The guiding hand should be near the back half of the blade (not the tip). • The side of the blade should rest against the knuckle of the middle finger on the guiding hand.
Knife Skills & Techniques The Cutting Movement where the knife blade is curved and allows the knife to have a smooth, rocking motion. • With the front third of the knife on the cutting board, being rocking the blade of the knife up and down along the curve of the blade. • While rocking the knife up and down allow the tip of the knife to slide forward a few inches on the downward motion and pull back on the upward motion.
Did YOU Know? A sharp knife is safer and performs much better than a dull knife. A dull knife requires more pressure or force to cut through food, making it more likely for the knife to slip, which could result in serious injury. A sharp knife requires less force and therefore allows the user to focus on technique and safety.