Download
1 / 10
100 likes | 190 Views
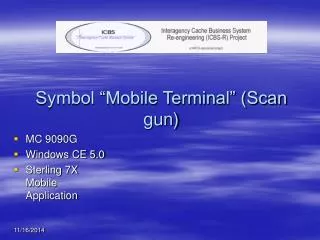
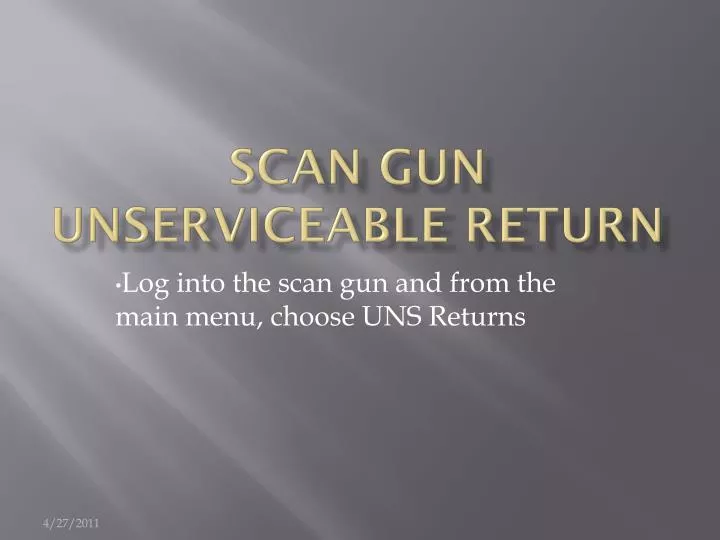
Scan Gun Unserviceable Return. Log into the scan gun and from the main menu, choose UNS Returns. Scan Gun Menu. Unserviceable Return Header. A system generated Return Number will default into the Return Number text Box. Enter Year and Incident Number. Click on “Add Return Lines.”.

E N D
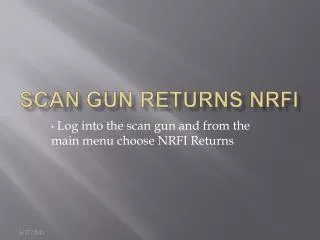
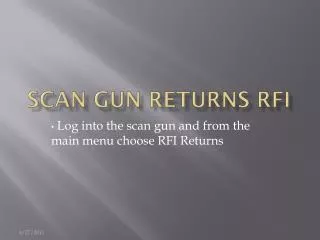
Scan Gun Unserviceable Return Log into the scan gun and from the main menu, choose UNS Returns
Unserviceable Return Header A system generated Return Number will default into the Return Number text Box Enter Year and Incident Number. Click on “Add Return Lines.”
Unserviceable Return Lines Scan or enter the NFES Item ID and then enter the Quantity returned unserviceable. Click on “Add To List,” if there are more lines to add. If this is the only line, click on “Process Return.” Notice that there isn’t an option to use an LPN with an UNS return!
Unserviceable Return Item List If you make a mistake and want to delete an entered line, click on “View List” seen in the previous screen. The Item List screen appears. Double click on the line that you want to delete, and it is deleted from the list.
Unserviceable Return Item List You have deleted the returned line item, as seen on this screen. Click on “Add New Item” to get to the next screen
Unserviceable Return Lines On the previous screen, you clicked on “Add New Line,” and you’re taken to the “UNS Return Lines” screen, where you can continue adding new line items or can now “Process Return” if there are no further lines to add. On this screen in the Item ID text box we’ll add 000148
Unserviceable Return Lines TID Whenever you scan or enter an NFES number for a Trackable item in the Item ID text box (000148 in the previous screen), the screen will automatically refresh to the screen shown and prompt you to enter the Trackable Number into the Trackable ID text box. If you have more UNS Trackable items or more non trackable items to add, click on “Add New Item” and continue adding to the list. If there are no more items to add, click on “Process Return.”
Process Return Success After clicking on “Process Return,” the ensuing screen is the “Process Return Success” screen. You can now “Create Another Return” or “Go Back to Menu” If you choose “Create Another Return,” you will be taken to the UNS Return Header screen