Download
1 / 13
140 likes | 400 Views
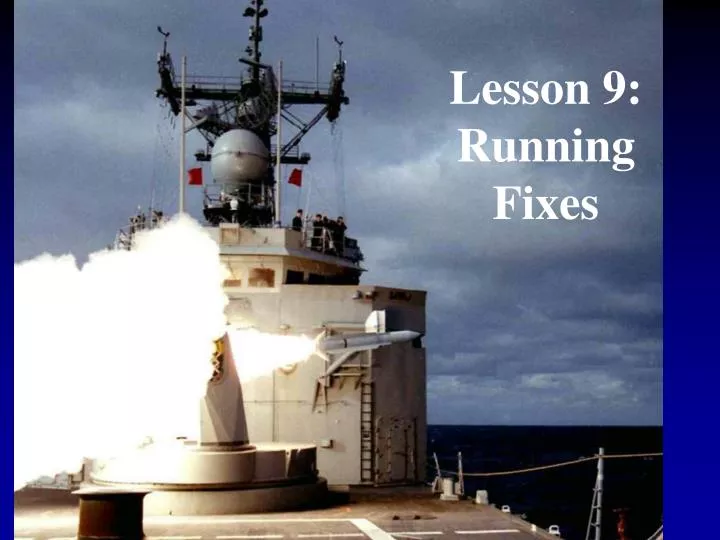
Lesson 9: Running Fixes. Lesson 8: Running Fixes. AGENDA: Definition of Running Fix Advancing non-simultaneous LOP’s. Plotting/labeling running fixes. Determining an EP. Applicable reading: Hobbs pg. 138-147. Learning Objectives:. Upon completion of this lesson, the student will:

E N D
Lesson 8: Running Fixes • AGENDA: • Definition of Running Fix • Advancing non-simultaneous LOP’s. • Plotting/labeling running fixes. • Determining an EP. • Applicable reading: Hobbs pg. 138-147.
Learning Objectives: Upon completion of this lesson, the student will: • Apply correct procedures for advancing two or more non-simultaneous, nonparallel lines of position to establish a running fix. Applicable Reading: Hobbs, pp. 138-142
Learning Objectives: Upon completion of this lesson, the student will: • Apply correct procedures to plot and label a running fix with bearings on different objects, a running fix with bearings on the same object and a running fix advancing a distance circle of position. • Comprehend the reliability of running fixes compared to simultaneous fixes.
Running Fixes • Running Fix - A position determined by crossing non-simultaneous lines of position (LOP’s) that are advanced or retired to a common time. 0945 NOTE: NOT TO SCALE
Tank Running FIX Light FL 6s 58ft 9M Long 9 Point 5 5 9 9 5 9 9 9 9 11 11 5 9 11 9 11 15 11 11 15 15 9 11 19 15 17 pa 17 19 19 9 6 17 17 0810 19 11 20 20 20 21 20 20 20 0810 20 0800 STEP #1: • Take a bearing to the Nav Aid and draw on the chart. • Plot your associated DR position. 20 21 20 C- 085 S - 12 21 21 21 21 23 23 23 23 23 23
Tank Running FIX Light FL 6s 58ft 9M Long 9 Point 5 5 9 9 5 9 9 9 9 11 11 5 9 11 9 11 15 11 11 15 15 9 11 19 15 17 0830 pa 17 19 19 0810 9 6 17 17 19 11 20 20 0830 20 20 20 0810 21 20 21 0800 20 20 21 20 C- 085 T S - 12 21 STEP #2: • Take a second bearing and plot it. • Plot your associated DR position. 21 21 21 23 23 23 23 23 23
Procedures for Advancing an LOP STEP #3 • Determine distance traveled between the DR’s associated with your two LOP’s. • Draw a construct line your DR course. • Terminate line @ distance = DR1 DR2 • Parallel the first LOP through this point • Label this advanced LOP with both the original time and the time it was advanced.
Tank Running FIX Light FL 6s 58ft 9M Long 9 Point 5 5 9 9 5 9 9 9 9 11 11 5 9 11 9 11 15 11 11 15 15 9 11 19 15 0810-0830 0830 pa 17 19 9 6 0810 17 17 19 11 20 20 4 nm 0830 20 20 0810 21 0800 21 20 20 21 20 C- 085 T S - 12 21 21 21 21 23 23 23 23 20 min @ 12 kts = 4 nm 23 23
Procedures for Advancing an LOP STEP #4: • The point where this advanced LOP and the second LOP cross is the running fix position. • Mark a circle and properly plot and label the “R-FIX” with the time. • Plot a new course and speed line IAW the six rules of DR.
Tank Running FIX Light FL 6s 58ft 9M Long 9 Point 5 5 9 9 5 9 9 9 9 11 11 5 9 11 9 11 11 11 15 0810-0830 15 9 11 19 15 17 0830 pa 17 19 19 9 6 0810 17 17 19 11 20 20 0830 20 20 0810 21 21 0800 20 20 20 20 C- 085 T S - 12 21 21 21 C- 085 T S - 12 21 R-FIX 0830 23 23 23 23 23 23
Estimated Position (EP)From a single LOP • Estimated Position - The most probable position of vessel determined from incomplete data or data of questionable accuracy. Purpose: • Used when you can’t obtain a second LOP within the allowed 30 minutes.
Estimated Position (EP) Plotting Procedure Draw a construct line originating at the DR position corresponding to the time of the single LOP and terminating at the closest point on the LOP ( a segment).