Download
1 / 11
120 likes | 266 Views
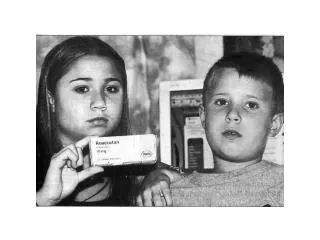
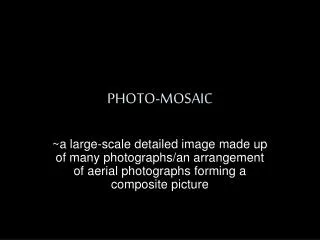
How to Make a Photo Mosaic. Haley DeLong. Step 1. Open Photoshop with picture Add a new blank layer and call it “Template” Select the Rectangular Marquee tool with Style: Fixed Aspect Ratio in the Options bar Drag a square selection over a face in your image Go to Edit> Fill> Use: White

E N D
How to Make a Photo Mosaic Haley DeLong
Step 1 • Open Photoshop with picture • Add a new blank layer and call it “Template” • Select the Rectangular Marquee tool with Style: Fixed Aspect Ratio in the Options bar • Drag a square selection over a face in your image • Go to Edit> Fill> Use: White • Reduce the opacity layer to 50%
Step 2 • Go to Edit> Transform> Rotate and rotate the layer a little so that the square is tilted. • Double-Click to commit the transformation
Step 3 • Select the Template Layer • Ctrl-Click the Template layer thumbnail to make a selection from its Transparency • Select the background layer and place the cursor inside this selection on the main image • Right-Click and choose Layer Via Cut • This will cut and paste the first square image on another layer
Step 4 • Return to the Template layer, and Ctrl-Click the Template layer thumbnail to make a selection form its Transparency again. • Go to Edit> Transform> Rotate again to rotate and move it. • Commit the transformation and return to the background layer. • Again right-click the selection on the main image and go to Layer Via Cut.
Step 4 Continued • Repeat Step 4 until the entire image is divided into small squares. • NOTE: It is very important to work on the correct layer for each part of the process. • Make sure some squares overlap to help tie the picture together.
Step 5 • When all the cuts are compete hit Ctrl+Shift+N to add a new blank layer, and call it “Fill Layer”. • Choose a light color for the foreground swatch and go to Edit> Fill> Use: Foreground Color this will create the background. • Go back to the Template Layer and change the opacity back to 0
Step 6 • Click on the topmost cut layer in the stack and then Ctrl-Click that layer’s thumbnail to generate a selection from it. • Make sure the foreground color is white and go to Edit> Stroke. • Enter 20 pixels for the Stroke Width and choose Inside for Location. • Repeat this process for each of the cutout layers, stroking the edges of all the separate images.
Step 7 • Click again on the top layer in the stack and click on the Layer Styles button at the base of the Layer palette. • Choose Drop Shadow from the list. • Experiment with the Distance and Size sliders for the best effect. • Click OK to apply the Layer Style. • Right-Click the Effects panel attached to this layer and choose copy layer style.
Step 8 • Now Right-Click the rest of the cutout layers, one by one by choosing Paste Layer Style form the pop-up sub-menu. This will apply the drop shadow to each of the layers. • FINISHED!