Download
1 / 1
10 likes | 54 Views
Printer Support Experts team, explaining some views on " How to calibrate Canon Printer "Canon Printer Support Number: 1 877 234 3909;<br>http://www.oncalltechsupport.co/canon-printersupport.php

E N D
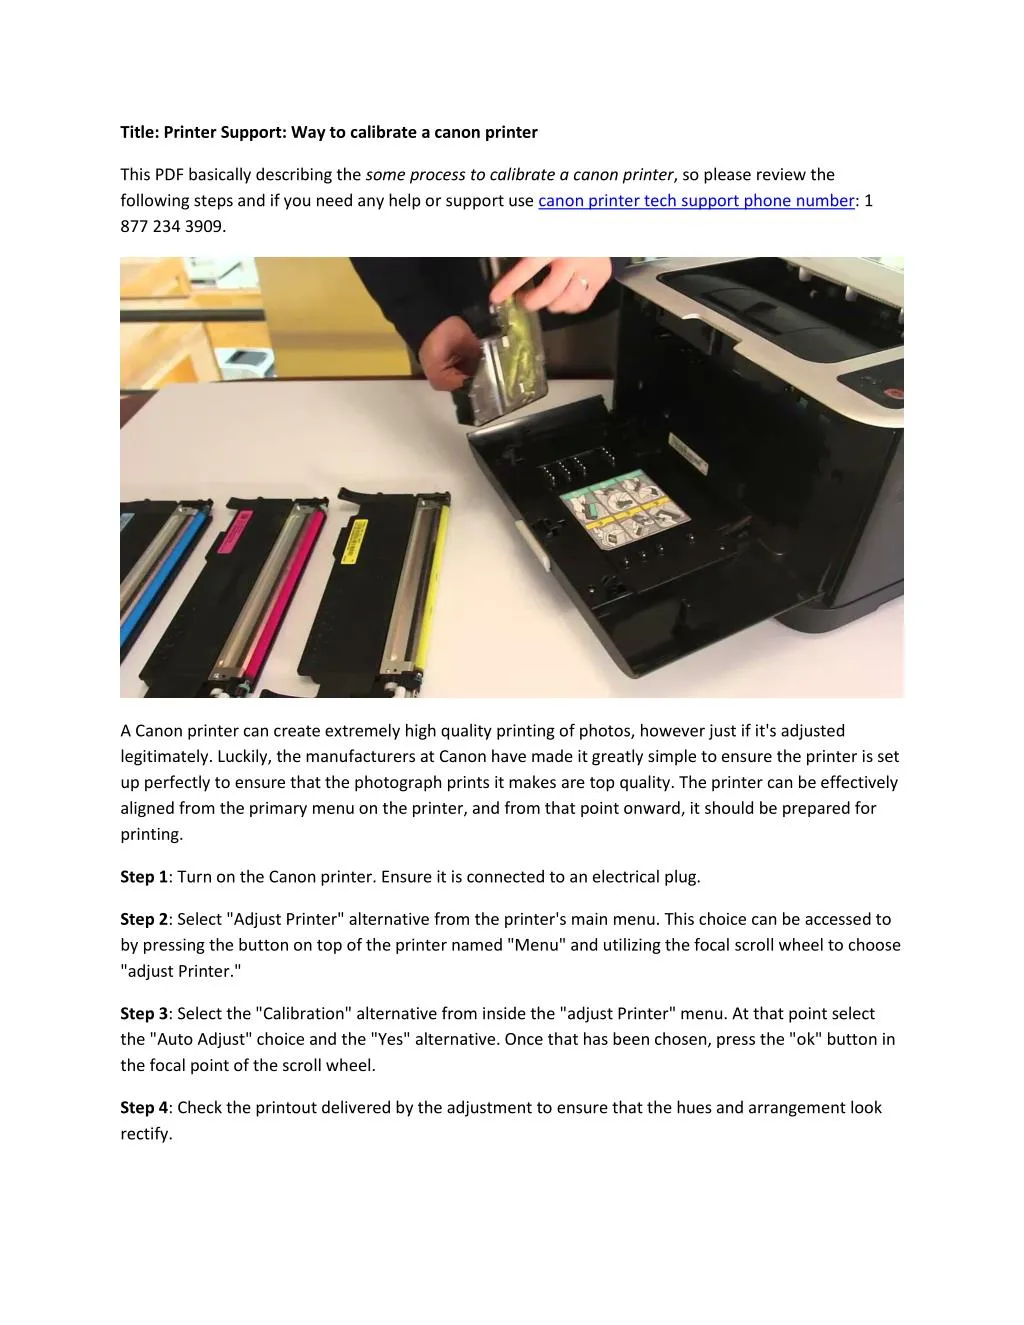
Title: Printer Support: Way to calibrate a canon printer This PDF basically describing the some process to calibrate a canon printer, so please review the following steps and if you need any help or support use canon printer tech support phone number: 1 877 234 3909. A Canon printer can create extremely high quality printing of photos, however just if it's adjusted legitimately. Luckily, the manufacturers at Canon have made it greatly simple to ensure the printer is set up perfectly to ensure that the photograph prints it makes are top quality. The printer can be effectively aligned from the primary menu on the printer, and from that point onward, it should be prepared for printing. Step 1: Turn on the Canon printer. Ensure it is connected to an electrical plug. Step 2: Select "Adjust Printer" alternative from the printer's main menu. This choice can be accessed to by pressing the button on top of the printer named "Menu" and utilizing the focal scroll wheel to choose "adjust Printer." Step 3: Select the "Calibration" alternative from inside the "adjust Printer" menu. At that point select the "Auto Adjust" choice and the "Yes" alternative. Once that has been chosen, press the "ok" button in the focal point of the scroll wheel. Step 4: Check the printout delivered by the adjustment to ensure that the hues and arrangement look rectify.