Download
1 / 63
630 likes | 751 Views
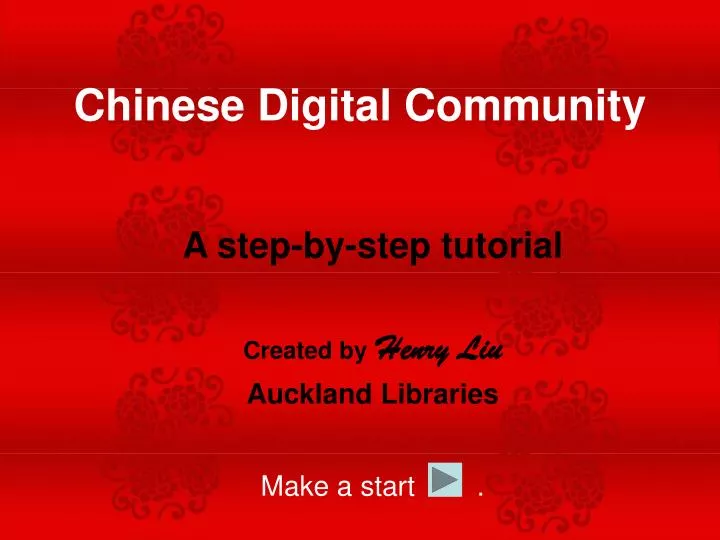
Chinese Digital Community. A step-by-step tutorial Created by Henry Liu Auckland Libraries Make a start. Chinese Digital Community. What is it? An online community created by the New Zealand Chinese Association (NZCA) and Auckland Libraries. Web address: www.chinesecommunity.org.nz.

E N D
Chinese Digital Community A step-by-step tutorial Created byHenry Liu Auckland Libraries Make a start .
Chinese Digital Community What is it? An online community created by the New Zealand Chinese Association (NZCA) and Auckland Libraries. Web address: www.chinesecommunity.org.nz
Chinese Digital Community What is it for? • To preserve the heritage of New Zealand’s Chinese community • To provide future generations with an online archive about the Chinese who lived and contributed to the development of New Zealand • To share Chinese culture
Chinese Digital Community Who is it for? • Those who wish to provide, share and store information on the website that is related to New Zealand’s Chinese heritage. What can you do? • Join for free • Contribute in the form of a • Topic (e.g. text article, personal story) • Document (e.g. pdf) • Link • Audio • Video • Image • Discuss (i.e. add comments) • Create groups (it’s possible to set group information for members only so it’s not viewable by the public)
Chinese Digital Community How to use the website? • Basic use – browse as a non-registered user. • Advanced use – contribute as a registered user.
Basic use Browse as a non-registered user
In your web browser, type in www.chinesecommunity.org.nz. You will be taken to the Chinese Digital Community website. See Featured, Tags…
See alsoLatest 5 topics and license settings on the homepage
Just click on any of the six ‘Featured’ boxes to see/read more.
Tags are labels given to articles, images, videos, etc. Try clicking on the “Harry Fong” tag
You’ll see a list of all topics (i.e. articles) tagged with “Harry Fong”
Here are the categories. Click on a category you wish to browse, e.g. Sport & Recreation
The default size is medium. But you can also check out the small, large and original options.
You can search the website by typing a keyword or phrase in the search box. Try typing “Otago”then click “Go” or press Enter on your keyboard. Otago
You’ll see a list of results related to Otago. Scroll down to see rest of page.
Summary of basic use • Browse featured items • Browse by tags • Browse by category • Search the website
Advanced use Register for free
Choose a preferred license. You can read more about each license by clicking on ‘View license’. Selecting the default setting means people are allowed to download, alter and distribute your stuff as long as they credit you and use the same license as yours. Type in the security code. Tick this box to agree to the terms and conditions. Click on Sign up.
Now you’ve signed up successfully, your name will be displayed here.
Click on drop-down arrow, then highlight what you’d like to add, e.g. image.
Select a privacy setting. Type in the title of your image. Scroll down the page.
Write a brief description of the image. Select the privacy setting for your image. Scroll down the page.
Add tag(s) separated by commas. Upload image. Click on category dropdown, select a category, e.g. Social Life & Customs.
Click on drop down arrow, select sub-category e.g. Events & Festivals
The default setting for location is “on” and “Auckland”. But you can drag the red balloon to another location on the map or switch this function off by ticking this box. Scroll down the page.
Select a preferred license setting. The default setting means people can download, change and distribute your stuff but they’ll have to credit you and use the same license as yours. Now click on Create.
Here is the image you’ve just uploaded. Uh-oh, typo! Word should be spelt “launched”. Click on ‘Edit’ to make changes.
You’re now in editing mode. Scroll down the page.
Typo has been corrected. Wow, you’re also allowed to edit other people’s stuff – as long as you sign in first.
Group Created by people with common/similar backgrounds or interests.
You’ll be emailed once your application has been approved – or no approval is required if you’re joining a public group; membership is instant.