Download
1 / 15
150 likes | 254 Views
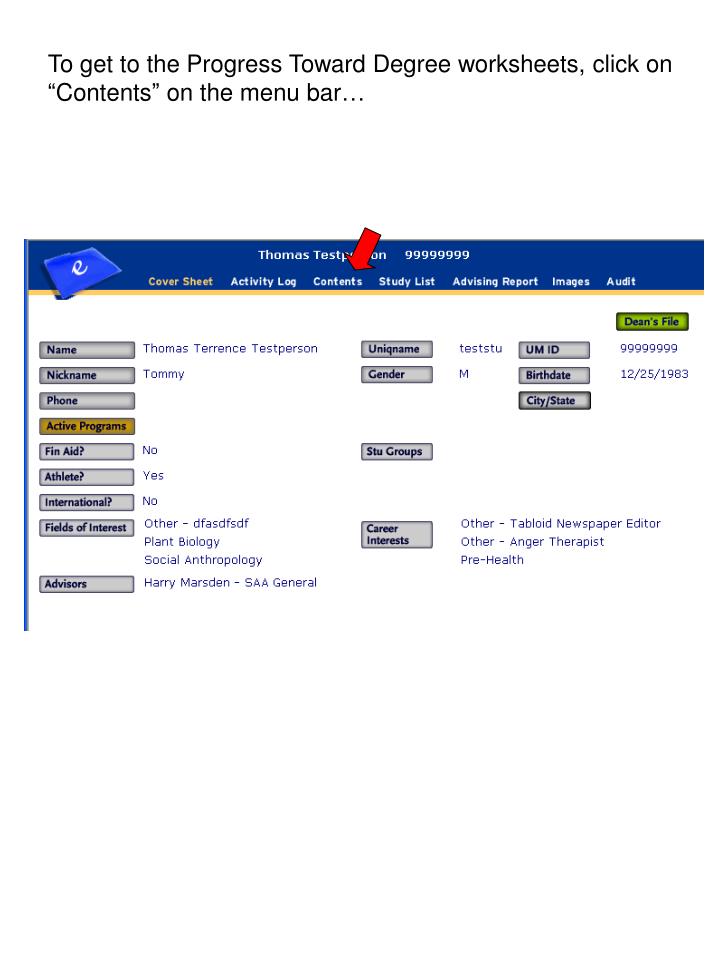
To get to the Progress Toward Degree worksheets, click on “Contents” on the menu bar…. …then click on “Prog To Degree Worksheets” on the side bar. Using the drop down menu, select the appropriate major or minor for this student, and click the blue “add” button.

E N D
To get to the Progress Toward Degree worksheets, click on “Contents” on the menu bar…
Using the drop down menu, select the appropriate major or minor for this student, and click the blue “add” button.
When you add a Progress Toward Degree checklist in a student’s on-line file, you will see all of their courses on the left and the requirements for the major or minor on the right. You re-order courses by term, subject, or catalog no. by clicking on the buttons at the top of the course list.
Click on the checkbox next to a class that fulfills a requirement.
Then click on the arrow next to the requirement, and the class will be listed beneath that requirement. You can show the same class listed under multiple requirements, if appropriate, by repeating these two steps.
You can also click on several classes and move them into one requirement all at once.
Use the white boxes next to each requirement and the large white box at the bottom to write notes.
When you’ve finished filling out the PTD, click on “printable view” to create a paper copy to give to the student.
If your checklist has multiple choices, you have to re-click on the appropriate selection on the printable page. It will default to the left-most choice.
HINT: If you want the paper version to have shading (right) but it shows up with no shading (left)... (with shading) (without shading) …go to your browser Tools menu and select Internet Options, then select the Advanced tab. Scroll down to the section on Printing and check the box that says Print background colors and images.
To get back to the student’s file, close this browser window by clicking on the red box in the top right corner of your screen (for PC users).
Click “save” and a copy of this worksheet is added to Contents of this student’s on-line file, and an entry is made in the Activity Log. The next time an advisor opens up the same worksheet type for the same student, the latest “filled-in” version of the worksheet will come up on the screen for editing.
If you want to start over, the “clear” button will remove any Classes and notes you’ve added under Degree Requirements.