Download
1 / 22
220 likes | 361 Views
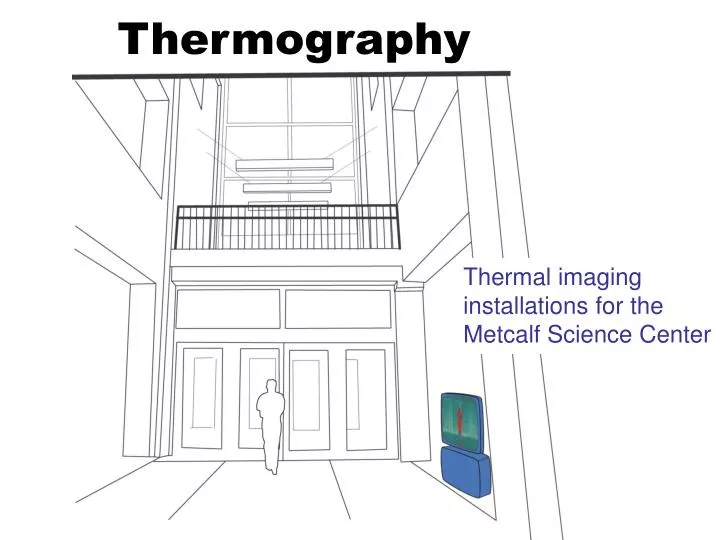
Thermography. Thermal imaging installations for the Metcalf Science Center.

E N D
Thermography Thermal imaging installations for the Metcalf Science Center
Introduction:Basic GoalTo enhance perception of the physical world by way of infrared imaging.By demonstrating the use and utility of detectors in the scientific community, we may help students understand a fundamental process by which we perceive our environment.
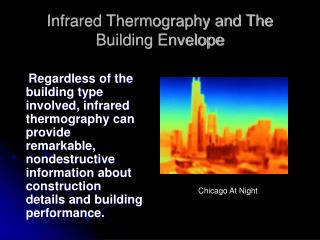
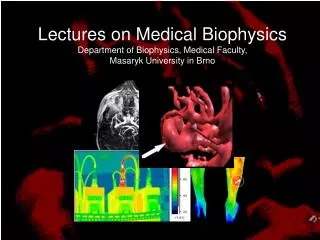
What is Infrared? All matter (gases, planets, etc) emits some amount of electromagnetic radiation across a range of energies (or wavelengths). “Infrared” refers to the portion of the electromagnetic spectrum where biological life-forms emit the most light, at wavelengths slightly longer than what we perceive as the color red.
Why Don’t We See It? Put simply, our eyes do not have the elements necessary for detecting infrared. While there are practical evolutionary reasons for this, infrared is a reality that exists behind the scenes.
Everyday Infrared We may not be able to see infrared, but we can still sense it through what is commonly called heat. Physical touch is the most direct way of observing it. You sense it on a hot day under the sun, or when someone walks between you and a campfire.
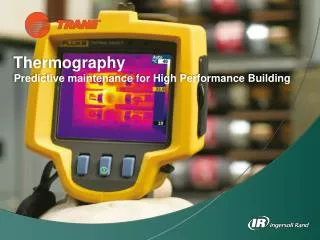
With FLIR’s ThermaCAM B1, we can capture running video of the infrared spectrum in the everyday.
Some properties of the ThermaCAM B1: Thermal Sensitivity: 0.12°C Min/Max Auto Adjust: Continuous or Manual Range: -20 to 50°C (-4 to 155°F) Spectral Range: 7.5 - 13 m Lens: standard 24° or wide angle 45° Additional Features: Video Output: NTSC/Standard RCA Available Palettes: Iron, High Contrast Rainbow, B/W, B/W inverted On board 1mW 635nm laser enables long-range precision temperature measurements.
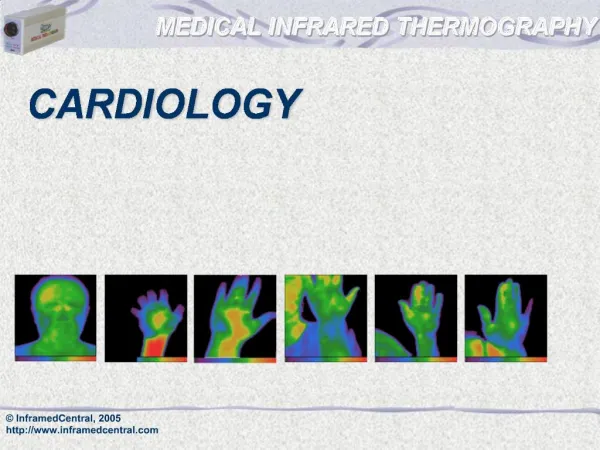
Using the ThermaCAM B1 infrared camera, we conducted a series of experiments. The following images are just a small indication of what is possible using this technology. Shown here are some examples of reflection off computer monitors, doors, and pennies.
Our Proposal: Personal, Dynamic Illumination for the Cafeteria by Back-Projecting Infrared Emissions Construction: 1. Mount an infrared camera above the cafeteria, monitoring the movement of faculty, staff, and students. 2. Link the camera to a projector, also stationed above the cafeteria, which will then project infrared images of individuals back onto the people themselves. Effect: Those eating and studying in the cafeteria will have a personal lamp illuminating their individual space - a dynamic, interactive light source that corresponds to their own infrared emissions.
A Diagram of the Intended Result From Above:Students in the cafeteria…
A Diagram of the Intended Result From Above:Students in the cafeteria… illuminated by their own infrared emissions.
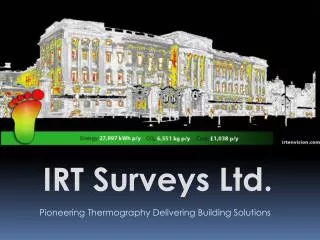
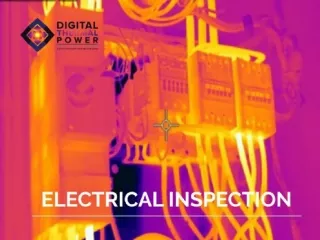
What will the camera see? These raw images were captured with an infrared camera stationed on the fourth floor. Notice the heat signatures on cafeteria seats after the students have left. Using our projection system, those areas would remain lit until the heat dissipates; if you were to leave your seat to get a drink, you would come back to find your own heat signature, still lit.
Projector Placement: When the infrared images are projected onto the cafeteria, we can control the size, localization, and intensity of the individual infrared lamps - by adjusting the focus and contrast on the camera or by changing the height of the projector.
A Simulation of the Desired Effect: Here is an attempt to visualize the actual outcome: each student enjoys a pleasant white light, the projected thermal video supplementing existing light sources. If so desired, an alternate color palette could be employed.
An Alternative Approach: The same set-up could easily be used to project thermal video onto the ceiling, creating an infrared mirror for those peering up. This approach may be less invasive, but it may also be less engaging.
Additional Suggestions: A. Infrared Passage Ways Construction: 1. Mount an Infrared camera across from one of the corridor windows. 2. Link the camera to a viewing screen, stationed on the exterior corridor wall that looks onto the cafeteria atrium. Effect: As students and faculty pass through the corridor space, their infrared emissions will appear visible in the viewing screen, creating ghost-like apparitions. A series of infrared mirrors could also be in place behind the wall to give the impression of infrared transparency.
Additional Suggestions: B. General Viewing Screens Construction: Link the existing camera mounted above the cafeteria to a viewing screen stationed elsewhere in the building. Effect: Viewers will be met with a visually abstract representation of the everyday cafeteria scene, which will stimulate curiosity; groupings of students, as they come and go, form unique and evocative patterns of light.
The portable infrared camera affords flexibility; in addition to these proposals, we would encourage further investigation and demonstration (i.e. a camera could be placed above the front entrance). Ultimately, the use of infrared cameras in the Metcalf Science Center will personally engage the students, faculty, and staff; each will have the opportunity to see the invisible effects of a human body in its environment, moreover each will see that this phenomena is universal, common to everyone. Upon experiencing our installation, we would hope that students feel a greater connection to the building and its human inhabitants, with the understanding that this connection is intrinsically linked to their studies. As each human form is rendered in its own light, we begin to visualize and contemplate the ephemeral nature of man. The installation will provoke the imagination, prompting the students to wonder: “Of all the traces we leave behind, how many will remain? How many will endure?”
Costs Estimated Camera Price (depends on camera type): $10,000.00 Digital Projector: $1,299.99 OR 30” Flat Panel Display: ($1,174.95) Parts and Installing: $500.00 Total Cost:$11,799.99 (or $11,674.95) The costs reflect a maximum price. Less expensive, used cameras are also available.
Our thanks to the following individuals for their resources and support: Jason St. John, former Physics Demo Room Coordinator Christian Murphy, current Physics Demo Room Coordinator Claudio Rebbi, Professor of Physics Tom O’Toole of FLIR systems