Download
1 / 1
10 likes | 106 Views
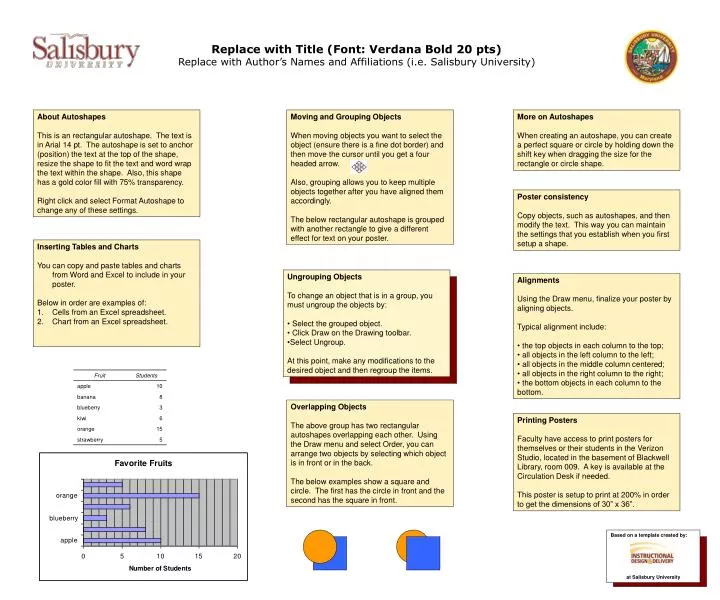
Ungrouping Objects To change an object that is in a group, you must ungroup the objects by: Select the grouped object. Click Draw on the Drawing toolbar. Select Ungroup. At this point, make any modifications to the desired object and then regroup the items.

E N D
Ungrouping Objects • To change an object that is in a group, you must ungroup the objects by: • Select the grouped object. • Click Draw on the Drawing toolbar. • Select Ungroup. • At this point, make any modifications to the desired object and then regroup the items. Replace with Title (Font: Verdana Bold 20 pts) Replace with Author’s Names and Affiliations (i.e. Salisbury University) About Autoshapes This is an rectangular autoshape. The text is in Arial 14 pt. The autoshape is set to anchor (position) the text at the top of the shape, resize the shape to fit the text and word wrap the text within the shape. Also, this shape has a gold color fill with 75% transparency. Right click and select Format Autoshape to change any of these settings. Moving and Grouping Objects When moving objects you want to select the object (ensure there is a fine dot border) and then move the cursor until you get a four headed arrow. Also, grouping allows you to keep multiple objects together after you have aligned them accordingly. The below rectangular autoshape is grouped with another rectangle to give a different effect for text on your poster. More on Autoshapes When creating an autoshape, you can create a perfect square or circle by holding down the shift key when dragging the size for the rectangle or circle shape. Poster consistency Copy objects, such as autoshapes, and then modify the text. This way you can maintain the settings that you establish when you first setup a shape. • Inserting Tables and Charts • You can copy and paste tables and charts from Word and Excel to include in your poster. • Below in order are examples of: • Cells from an Excel spreadsheet. • Chart from an Excel spreadsheet. • Alignments • Using the Draw menu, finalize your poster by aligning objects. • Typical alignment include: • the top objects in each column to the top; • all objects in the left column to the left; • all objects in the middle column centered; • all objects in the right column to the right; • the bottom objects in each column to the bottom. Overlapping Objects The above group has two rectangular autoshapes overlapping each other. Using the Draw menu and select Order, you can arrange two objects by selecting which object is in front or in the back. The below examples show a square and circle. The first has the circle in front and the second has the square in front. Printing Posters Faculty have access to print posters for themselves or their students in the Verizon Studio, located in the basement of Blackwell Library, room 009. A key is available at the Circulation Desk if needed. This poster is setup to print at 200% in order to get the dimensions of 30” x 36”. Based on a template created by: at Salisbury University